
Auto/ Manual hubs ?
#16
 09-10-2011, 06:47 PM


#18
09-10-2011, 11:14 PM

Senior User
Join Date: Jun 2004
Location: graham, wash.
Posts: 138
Likes: 0
Received 0 Likes
on
0 Posts
Ok, you have the 5 screw hubs. Thats a good thing because you shouldn't need the spindle nut kit, it should be a straight across swap. Those two pins sticking out are a snap ring , squeeze them all the way together with some needle nose pliers and pull on the hub at the same time, the entire hub assembly should come out. Looks pretty rusty so might put up a bit of a fight but it has to come out if you want to get to the bearings.
#19
09-11-2011, 02:46 PM
Join Date: May 2011
Posts: 28
Likes: 0
Received 0 Likes
on
0 Posts
You right ...
I did it !!!!!!!
Like you said Holding those two pin squeezed and pull the hub out !
But .... SURPRISE ! its damaged !
I Immortalize this moment again ...
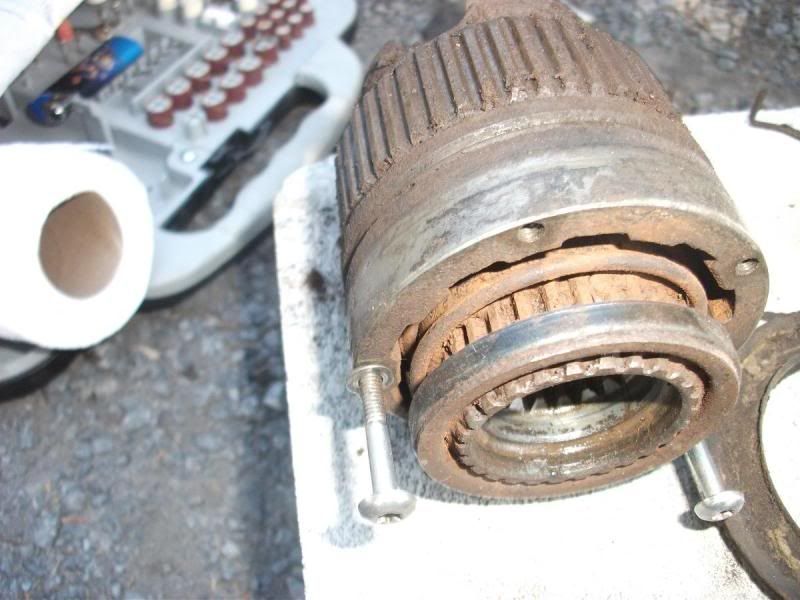
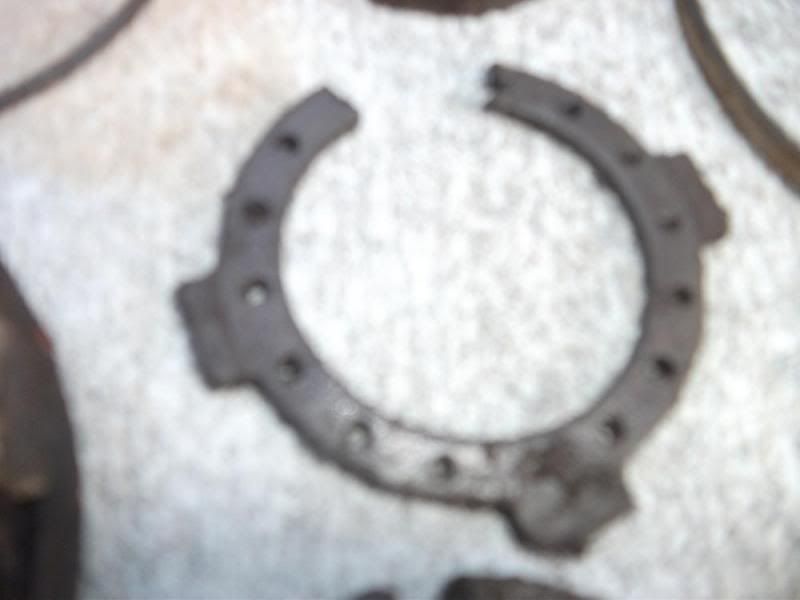
Not a clear one but as you can see , it is broken !
Question for the next pic !
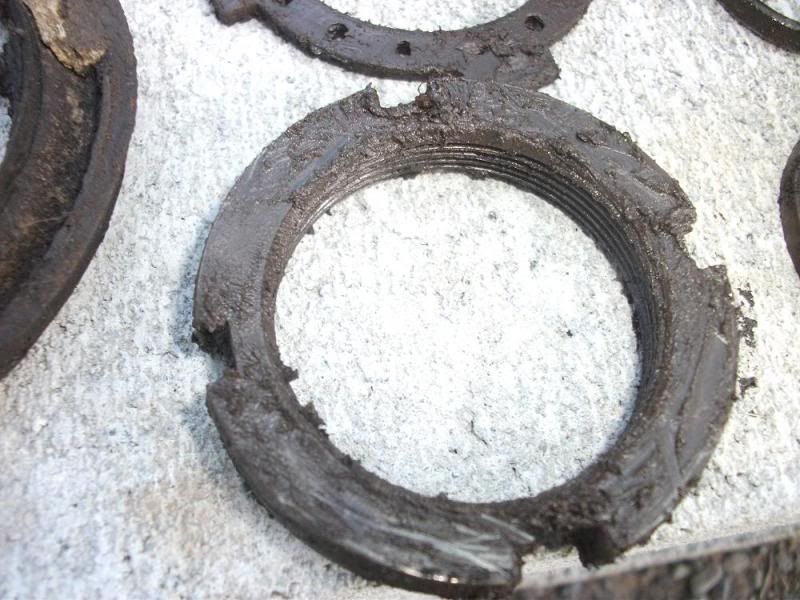
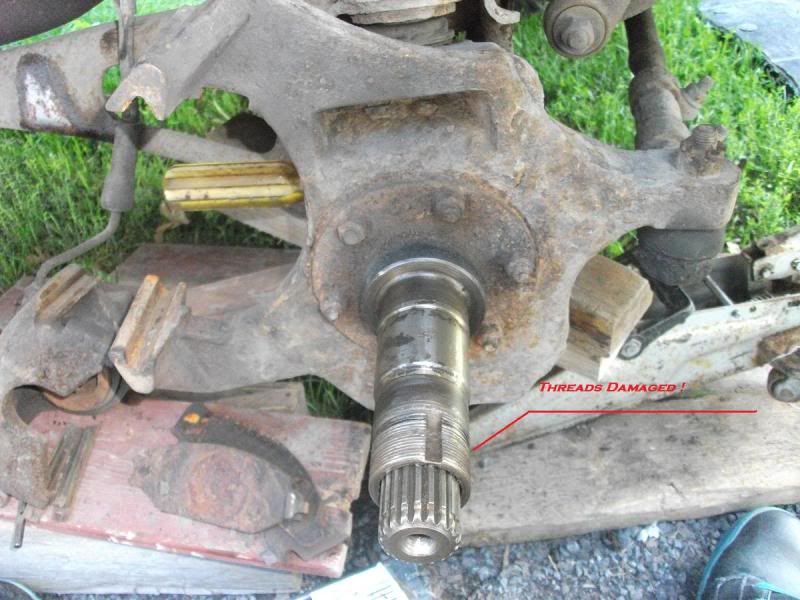
I got two of these .... should they be torqued ? because I removed them
with a flat screw driver & a hammer ! ???
( Maybe this not torqued, could damaging the threads like this ? )
I know , its Sunday , relaxing day ...
but your help is so priceless !!!
Thanks again !
I did it !!!!!!!
Like you said Holding those two pin squeezed and pull the hub out !
But .... SURPRISE ! its damaged !
I Immortalize this moment again ...
Not a clear one but as you can see , it is broken !
Question for the next pic !
I got two of these .... should they be torqued ? because I removed them
with a flat screw driver & a hammer ! ???
( Maybe this not torqued, could damaging the threads like this ? )
I know , its Sunday , relaxing day ...
but your help is so priceless !!!
Thanks again !
#20
09-11-2011, 04:28 PM

Posting Guru
Join Date: Jan 2004
Location: South...
Posts: 1,628
Likes: 0
Received 0 Likes
on
0 Posts
That looks similar to the spindle nut conversion kit I used on my 3-screw auto hub setup with my new Warn Premium hubs.
I removed every component of the auto hubs down to and including the bearing retainer nut...none of that was to be used with the Warns.
I installed the first spindle nut that holds the bearing in and torqued to 50 ft. lbs, while turning the rotor, (to seat the bearing), then back it off 45 deg. (1/4 turn). Then put the washer on with the holes in it, aligning with the notch on the spindle, but making sure that one of the holes lines up with the pin on the 1st spindle nut that you backed off after torquing. Then install the 2nd spindle nut (no pin), and torque to 165-205 ft. lbs.
At least that's the directions I followed that came with the spindle nut conversion kit...hope that helps.
#21
09-11-2011, 07:28 PM
Join Date: May 2011
Posts: 28
Likes: 0
Received 0 Likes
on
0 Posts
#22
09-11-2011, 07:38 PM
Posting Guru
Join Date: Jan 2004
Location: South...
Posts: 1,628
Likes: 0
Received 0 Likes
on
0 Posts
Glad to help! God knows I've gotten my share of help from these guys. 
One more thing...that "special socket" you referred to...the spindle nut socket...you can get one at Advance Auto Parts for ~$15.
I bought mine a few days ago...make sure to get the one that has the 4 "pins" recessed in the socket so the socket actually contacts the spindle nut all the way around...not just on the pins. I spent $22 via Amazon to get the first socket where the pins actually protrude from the end of the socket to engage the spindle nut...that type is a pain to keep engaged with the nut when torquing to 185 ft. lbs ( I always split the recommended torque near the middle of the given range). I went back in with the new socket that engages the entire nut surface and fits OVER the nut, not just the 4 notches...it was a PIECE of CAKE! The socket wasn't constantly trying to walk out of the notches with the new socket. I'll post a picture of the two sockets tomorrow so you can see the difference, if my explanation isn't all that clear.
#23
09-11-2011, 08:00 PM
Glad to help! God knows I've gotten my share of help from these guys.
One more thing...that "special socket" you referred to...the spindle nut socket...you can get one at Advance Auto Parts for ~$15.
I bought mine a few days ago...make sure to get the one that has the 4 "pins" recessed in the socket so the socket actually contacts the spindle nut all the way around...not just on the pins. I spent $22 via Amazon to get the first socket where the pins actually protrude from the end of the socket to engage the spindle nut...that type is a pain to keep engaged with the nut when torquing to 185 ft. lbs ( I always split the recommended torque near the middle of the given range). I went back in with the new socket that engages the entire nut surface and fits OVER the nut, not just the 4 notches...it was a PIECE of CAKE! The socket wasn't constantly trying to walk out of the notches with the new socket. I'll post a picture of the two sockets tomorrow so you can see the difference, if my explanation isn't all that clear.
Please post that pic and where you got the "good" socket. Item number would be great. I had the problem you described last time I was in the hub. Pain in the butt, for sure!!
#24
09-11-2011, 08:20 PM
Join Date: May 2011
Posts: 28
Likes: 0
Received 0 Likes
on
0 Posts


#25
09-11-2011, 11:32 PM

Figure on replacing the Pilot Bearing that is pressed into the inside back of the spindle. The axle stub shaft rides in that bearing, and a used spindle will probably have a worn-out or rusty pilot bearing in it. You only want to take this all apart ONCE!
#26
09-12-2011, 04:23 AM
Posting Guru
Join Date: Jan 2004
Location: South...
Posts: 1,628
Likes: 0
Received 0 Likes
on
0 Posts
#28
09-12-2011, 02:56 PM
Posting Guru
Join Date: Jan 2004
Location: South...
Posts: 1,628
Likes: 0
Received 0 Likes
on
0 Posts
spindle nut sockets
Ok...here ya go.
On the left is the "crappy" design (IMO)
On the right is the "far superior" design (again...IMO)

The socket with the pins recessed worked 1000% better when torquing the spindle nut...it didn't try to walk off the nut AT ALL...torquing to 185 ft. lbs was a breeze.
The part number for the good socket (recessed pins) is on this tag:

Bought it at Advance Auto Parts - $15.
The crappy one (for comparison) I bought off Amazon for $21.xx + shipping/handling.
Hope this helps you save some $$ by avoiding the poorly designed socket.
On the left is the "crappy" design (IMO)
On the right is the "far superior" design (again...IMO)
The socket with the pins recessed worked 1000% better when torquing the spindle nut...it didn't try to walk off the nut AT ALL...torquing to 185 ft. lbs was a breeze.
The part number for the good socket (recessed pins) is on this tag:
Bought it at Advance Auto Parts - $15.
The crappy one (for comparison) I bought off Amazon for $21.xx + shipping/handling.
Hope this helps you save some $$ by avoiding the poorly designed socket.
#29
09-13-2011, 12:21 PM
Join Date: May 2011
Posts: 28
Likes: 0
Received 0 Likes
on
0 Posts
Thank you , thank you !!!!!
You guys helped me so much !!!
I dream about getting my truck fix !
Here , where I live,
we got a 4x4 Off-roading rally event , in Victoriaville .
( " Rally de Victoriaville " on youtube to see )
Its my first truck , ... so as you can imagine , I cant wait to live that in real !
Thanks again !
You guys helped me so much !!!
I dream about getting my truck fix !
Here , where I live,
we got a 4x4 Off-roading rally event , in Victoriaville .
( " Rally de Victoriaville " on youtube to see )
Its my first truck , ... so as you can imagine , I cant wait to live that in real !
Thanks again !
#30
09-13-2011, 04:27 PM
Posting Guru
Join Date: Jan 2004
Location: South...
Posts: 1,628
Likes: 0
Received 0 Likes
on
0 Posts

Thread
Thread Starter
Forum
Replies
Last Post
thenewjohndeere
1978 - 1996 Big Bronco
12
09-05-2006 08:57 PM
johnnyroastbeef
1978 - 1996 Big Bronco
1
10-22-2004 08:23 AM