When you click on links to various merchants on this site and make a purchase, this can result in this site earning a commission. Affiliate programs and affiliations include, but are not limited to, the eBay Partner Network.
Sure, brand new split lock ring two and three piece rims and wheels are still used on a lot of OTR trucks. Both in Dayton style demountables and Budd style center disc. The really bad widow maker Firestone "RH-5�", and demountable rim Goodyear "K" style, though, are gone.....except on many of the old trucks that show up here. Stu
Edit - sure Joe, glad to help. Stu
Well, I still learn something new every day.
Originally Posted by Gicknordon
Looks like they have some sort of ring.
[/URL]
Nick, those are some awesome looking tires and wheels!
I received a few parts yesterday, so I proceeded to work on Betsy a bit today. I got these from LMC, who I haven't ordered from in a while. I usually get my parts from Classic Haulers, but LMC was $20 cheaper for these three parts. The parts fit fine.
Here's the gas pedal boot.
And the shifter boot.
And the trans cover seal.
As you can see, I needed to replace the rotting trans cover. The right side is missing so there's no way to screw it down. And I found another rust hole under the gas pedal which I hadn't noticed before.
The "new" trans cover had no holes for the gas pedal boot bracket, so I drilled those and installed the pedal and the boot, along with the Wide Open Throttle stop bolt.
Then I put the seal in place on the trans cover.
And I slipped the shifter boot into place. I'm only showing this pic because Ross said nobody would ever see my tranny again after I covered it up.
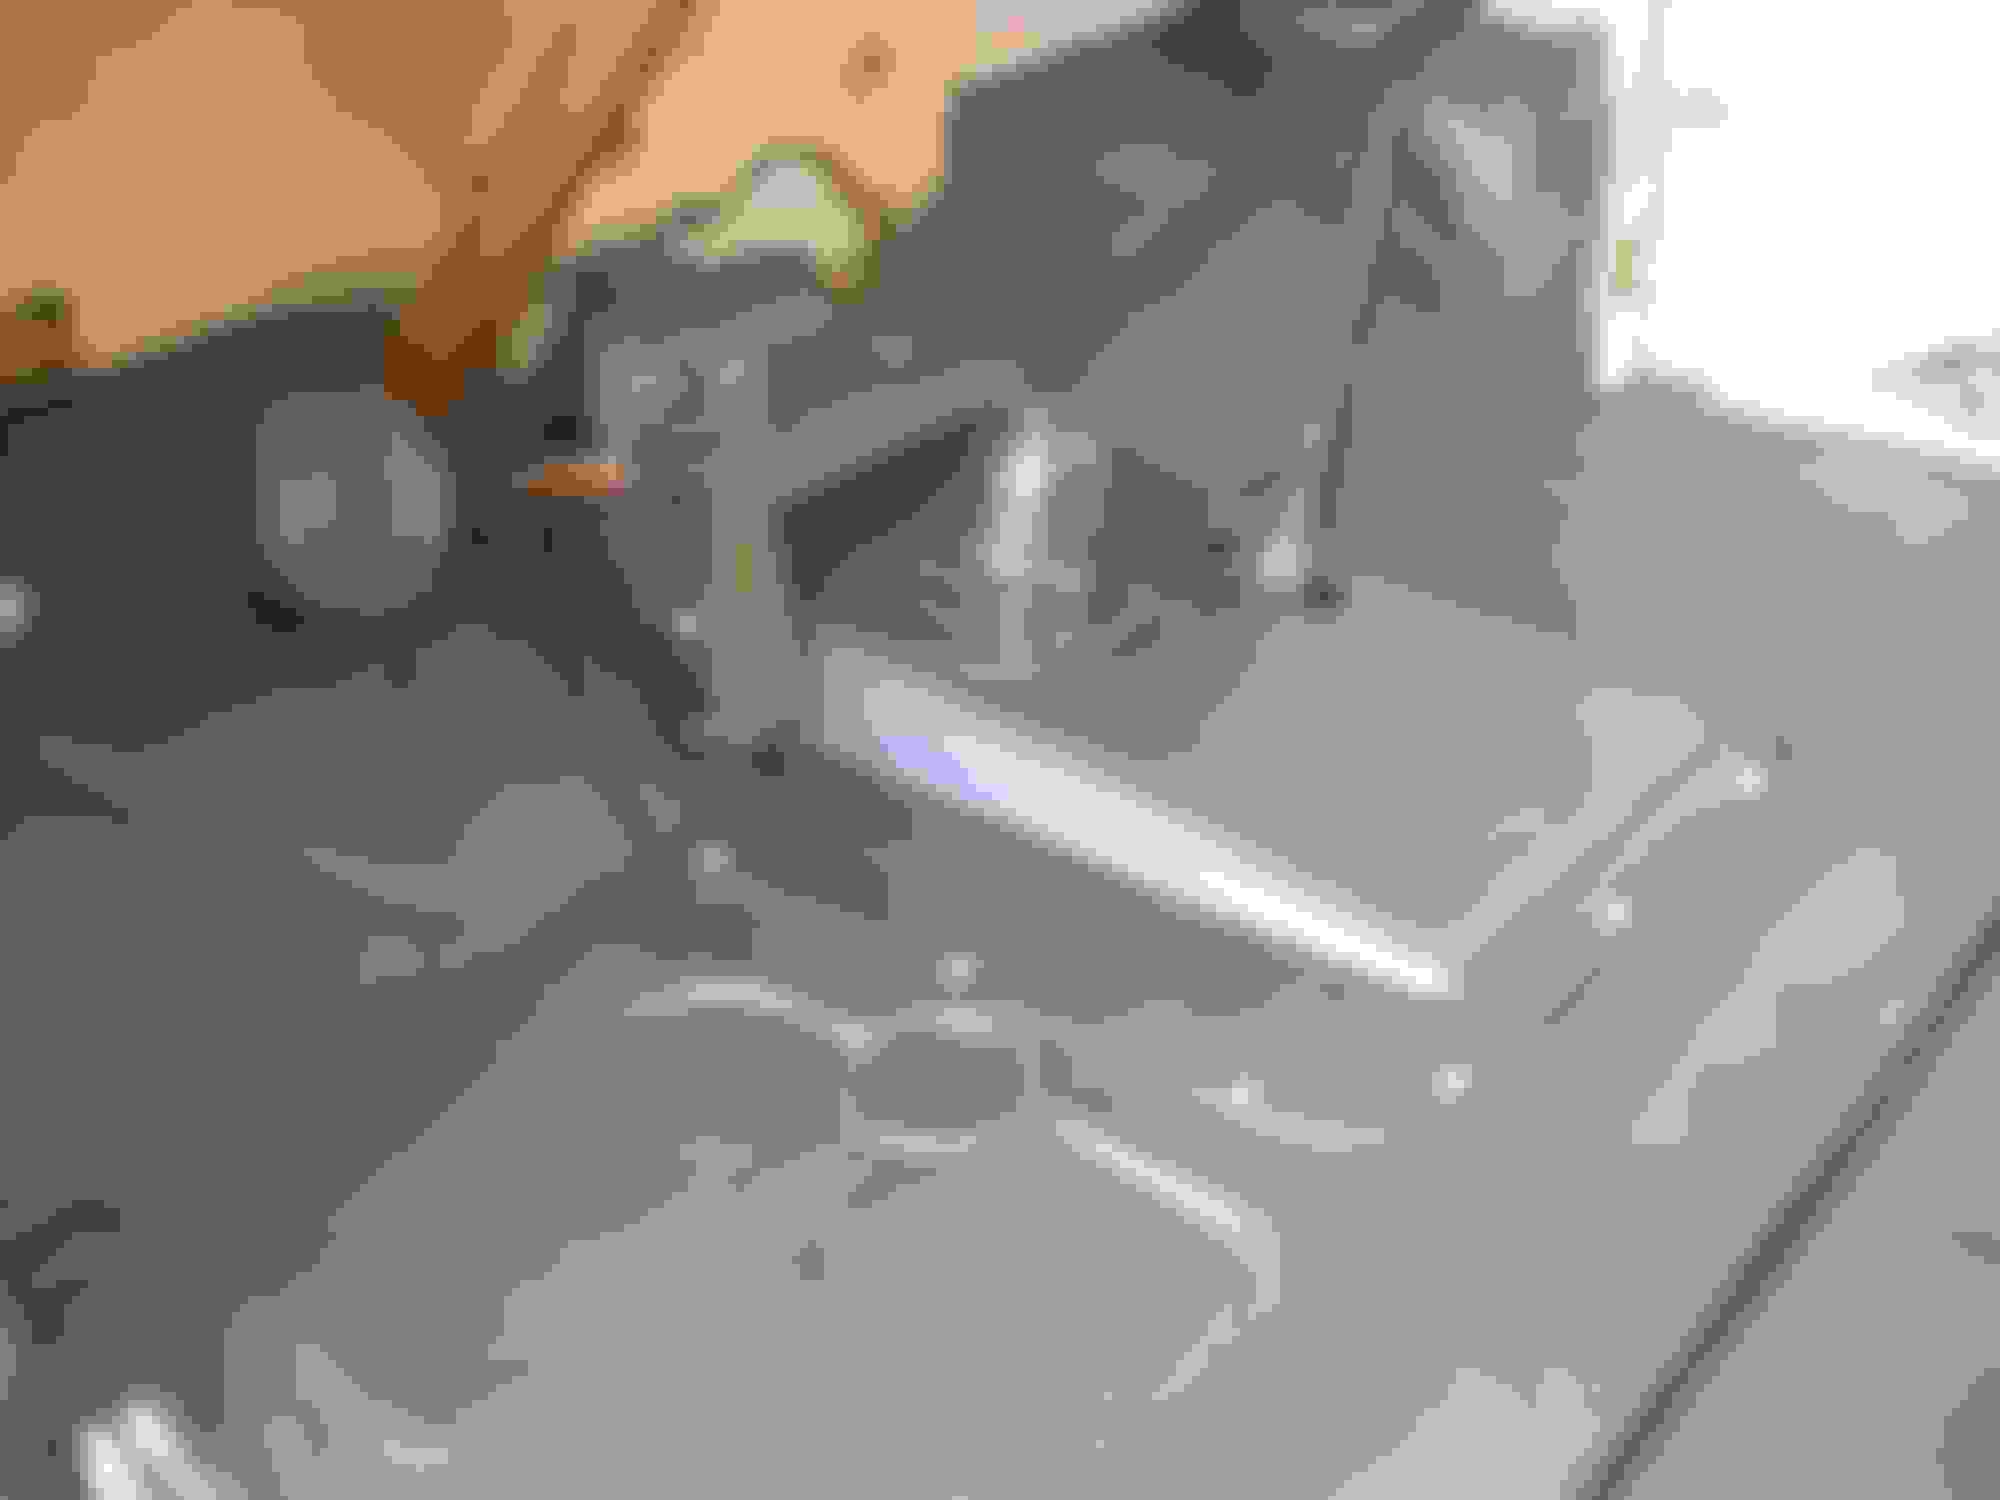
My Permatex curing time is 24 hours, so I won't finish this until tomorrow. But since I had the seat out, I decided to paint the floor. I'm sick of all the tan paint the PO sprayed everywhere in the truck.
Another "fix" a PO made was to rivet in a piece of metal over the hole in the passenger side floor. I suppose I'll replace that floor someday, but for now, it is what it is. Here's the hole they covered up.
Since I have the seat out, I intend to clean up the wiring under the dash and try my hand at body work on the passenger side under the gas filler pipe. But I'm going to let the paint dry over night.
Joe - that hole in your floor intrigues me. A southern CA truck, yet it has a big rust hole on the passenger side floor. I have a truck with the identical hole. I hauled it out of a guy's backyard in Phoenix, AZ! It had spent its whole life in the area and has NO other rust. I've guessed it might have been a battery that got set there. Any ideas about yours? Stu
Joe - that hole in your floor intrigues me. A southern CA truck, yet it has a big rust hole on the passenger side floor. I have a truck with the identical hole. I hauled it out of a guy's backyard in Phoenix, AZ! It had spent its whole life in the area and has NO other rust. I've guessed it might have been a battery that got set there. Any ideas about yours? Stu
Well Stu, it's a SoCal truck now, but it started life and spent most of it in Northern California as a farm truck. I have no idea what ate the floor there, but you can see the right side of the trans cover is rusted away too. And that happened before they riveted in the plate to cover the hole. But the hole in the floor does not match the rusted out side of the cover. So, I have never been able to figure out what caused it.
Originally Posted by raytasch
Lots of trips through the drive in, heavy salt applied with little concern whether the salt went on the food or on the floor.
That's as good a guess as any I've ever come up with.
Actually, this hole in the floor is one of the reasons I want to learn to weld. I went to the introductory meeting last night and my first welding class is on the 31st. I got out my copy of Chuck's Welding 101 - Theory and Practice last night to read it again.
I stood staring at the bottom of my project cab today debating whether to replace an oil canning floor pan, or practice shrinking techniques. On yours if all you're needing is half a floor it's not complicated. On mine the original AZ cab has more rust than I cared to tackle just now so have switched to my rust free ND cab. But it's hurt in other ways and is requiring a lot of straightening and welding. Yours should be pretty straight forward. Stu
Maybe the heater leaked and that's where the fluid settled.
No heater. It's never had one. The knockouts in the firewall cover are still intact.
Originally Posted by truckdog62563
I stood staring at the bottom of my project cab today debating whether to replace an oil canning floor pan, or practice shrinking techniques. On yours if all you're needing is half a floor it's not complicated. On mine the original AZ cab has more rust than I cared to tackle just now so have switched to my rust free ND cab. But it's hurt in other ways and is requiring a lot of straightening and welding. Yours should be pretty straight forward. Stu
Yes, as I was taking that picture today (the first one I've taken of that hole) I was thinking I won't need the whole $100 passenger floor panel. I can probably fix it with a 6 or 8 inch square.
Originally Posted by raytasch
Farm truck, pre OSHA, pesticides, fertilizers on the shoes or boots of an occupant? It does seem strange that it is the passenger side.
You may be onto something there. It would have to be something that was always wet on the bottom, but set on the floor instead of the seat. But I can't guess what it could have been. I've never worked on a farm.
You may be onto something there. It would have to be something that was always wet on the bottom, but set on the floor instead of the seat. But I can't guess what it could have been. I've never worked on a farm.
The PO was a drinker and he kept an old leaky bucket filled with ice and his favorite frosty beverage and over the years it rusted the floor.
I started researching this and I think Ray may be right. I suspect this farm truck floor was subjected to chemicals.
Here's an example (from my vivid imagination)...
Farmer John is usually alone in the truck, and carries pesticides in the cab which spill, seep under the rubber floor mat and remain because farmer John didn't know it was under the mat. Over time, it eats away at the steel floor, which would account for the strange shape of this hole. It doesn't really look like it rusted out, more like it was eaten away.
Then a passenger gets in one day and says "What's wrong with the floor? It's really spongy right here." Farmer John lifts the rubber mat, says something about manure, and fixes the hole with a sheet of metal he has lying around and some rivets.
Yep, that's what I'm going with until someone comes up with a better scenario.
Looking good Joe. I think you explanation has a lot of merit.
When you get to doing your body work and welding. Be sure to take lots of pictures and walk us through what you do. It will allow our experts to assist you better and for people like me, we can see your trials and tribulations from a beginners point of view. I think it will really help someone wanting to learn their own body work. (And I like pictures. )
Well, there was more to putting in the "new" trans cover than just setting it in place and screwing it down. But isn't that always the way?
It seems the "new" cover had a 3/4" hole for the throttle linkage to poke through whereas the original rotten POS has a 1" hole. I noticed the difference when I was originally comparing the two pieces, but didn't think it would make a difference. It does make a difference, but only if you want the throttle to work. I do want it to work, so I had to enlarge the hole and repaint that section of the cover.
Here's the original:
And here's the new one after I enlarged the hole.
Here are the tools I used to do it.
And here it is after new paint.
I had a lot of trouble getting the new cover in. As I said previously, I got the new shifter boot, and *** U ME d it should go on the shifter before the trans cover is installed. Maybe in a perfect world on a new truck, but there was no way the cover was going to attach to the floor with that boot on first. So now, I assume the boot is covered by the floor mat, which I don't have yet. Here's what I have now, after drilling several new holes because the original ones didn't line up.
So the freshly painted floor looks nice for now. But if I don't get the mat soon, I'm sure it will be a waste of paint.
And I have a couple more things to do with the seat out of the cab, so I won't be moving the truck yet. I still have a rat's nest of wiring under the dash to the fuse panel which I want to clean up. And then there's that section of body work I want to try my hand at.
Here's what I started with a while back.
I messed around with it 2 years ago, and this is where it is today. I did this much with the seat in the way, so hopefully I'll have better results now.
I reread this book, so I have an idea what to do. But as we all know, and has been said again and again, I need to practice. I figure if I mess it up too badly, I can pay someone to fix it.


 01-22-2015, 11:40 PM


 [/URL]