'51 F4 project
#1396
 06-01-2014, 11:09 AM


Generator bent pulley... HELP!
I pulled off the generator this morning. The bearing is in great shape (no wobble). But the pulley is wobbling. So the pulley is bent, or the armature shaft is bent.
I can't imagine that armature shaft being bent unless the generator was dropped onto a hard floor from a great height. And if that happened, I can't imagine the generator still working.
Does anyone know of a way to unbend a generator pulley? Is it possible the PO put the pulley on without lining it up with the key?
I can't get the nut loose to remove the pulley, so I'll have to pull the generator apart to hold the armature like it says in the SM.
#1397
06-01-2014, 12:14 PM

Lets hope someone has a spare pulley to offer you. I don't. I don't know that I've ever seen a bent armature shaft but all things are possible..Bent pulleys and fans, yes. An impact wrench is what you need to get the nut loose. Other than knowing you want to do this yourself, perhaps a generator or other electrical shop? Like BobJ found, he could hardly rebuild his starter for what the shop charged him...Or was it his son?
Yeah, Joe, if something can be done wrong, a part installed wrong, it has been done.
Yeah, Joe, if something can be done wrong, a part installed wrong, it has been done.
#1398
06-01-2014, 12:57 PM

Join Date: Sep 2008
Location: Whiting, NJ
Posts: 90
Likes: 0
Received 0 Likes
on
0 Posts
#1399
06-01-2014, 03:12 PM
Fleet Owner
#1400
06-01-2014, 05:31 PM
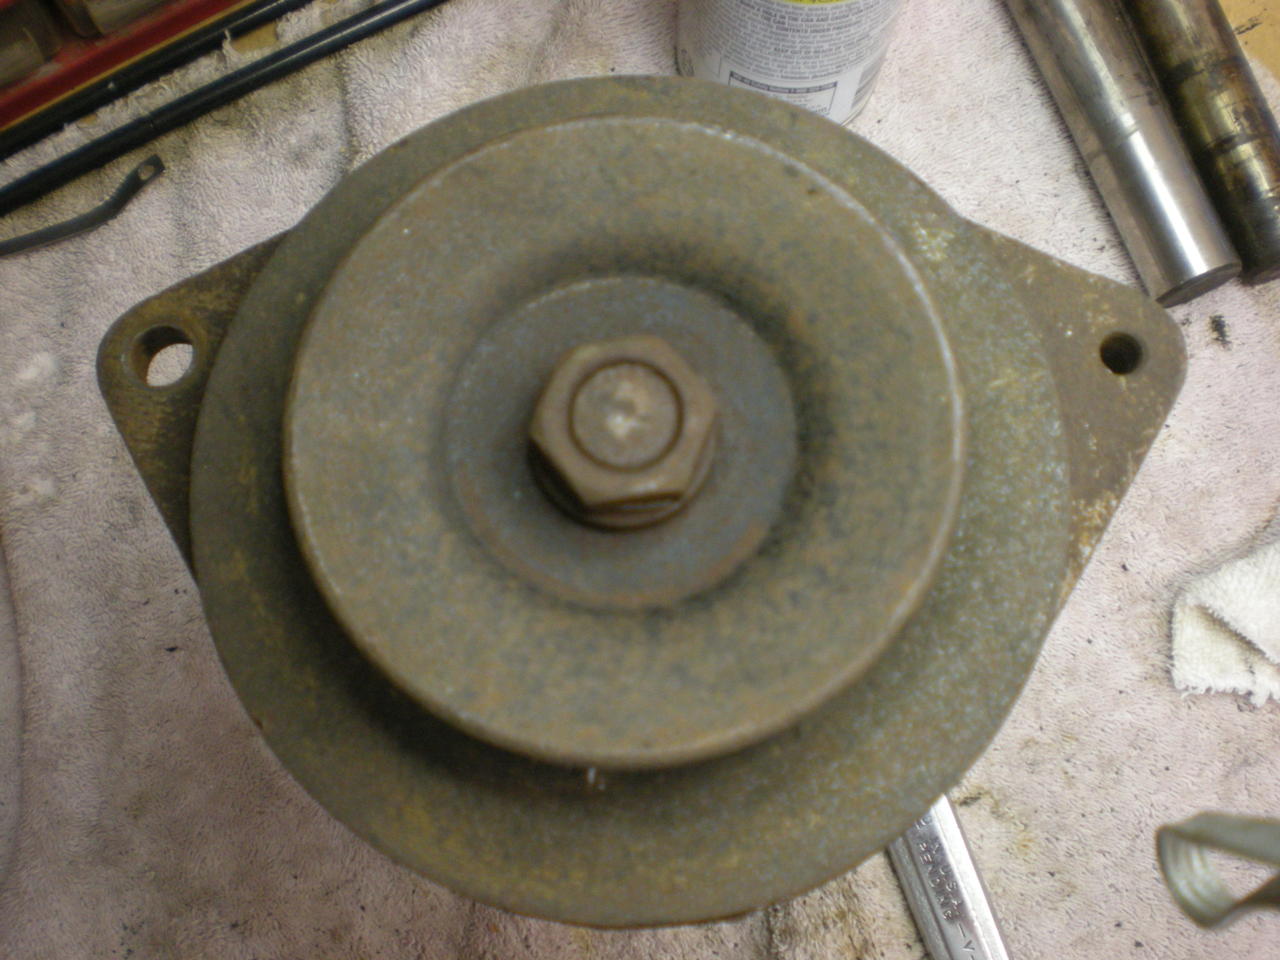
Well, I decided to see if I could determine exactly what was bent. I rigged up a "tool" to measure the wobble and found that the nut itself is not wobbly, but the pulley was varying 1/8". That told me the armature shaft is straight and the pulley is bent. The fan blades on the pulley are not bent, but I suspect you may be right Ross, about a screwdriver used to try to break loose the nut.
I figured I was going to need a new pulley (or generator) if I didn't try to fix it. So I very scientifically beat on it with a hammer until it straightened out. Still no slop in the bearing so I think I'll be OK. I'll try to make a video to show how it works after I reassemble everything. I have a before video of the engine running to compare the wobble (which is actually how I noticed the wobble to begin with).
I decided to take it apart to check the parts and clean up the rust. There is absolutely no play in the front bearing, so I bought one for nothing. Oh well, spare parts are good. The brushes are exactly the same length as the new ones except for the concave on the business end, so I don't need them either. And the rear bushing is in great shape. That's lucky for me, since the replacement I bought is WAY too big.
So, I cleaned up the rust and repainted the whole shebang. Since it was properly charging the battery before I started messing with it, I sure hope it works when I reinstall it.
I'll post "after" pics when the paint is dry enough to move it.
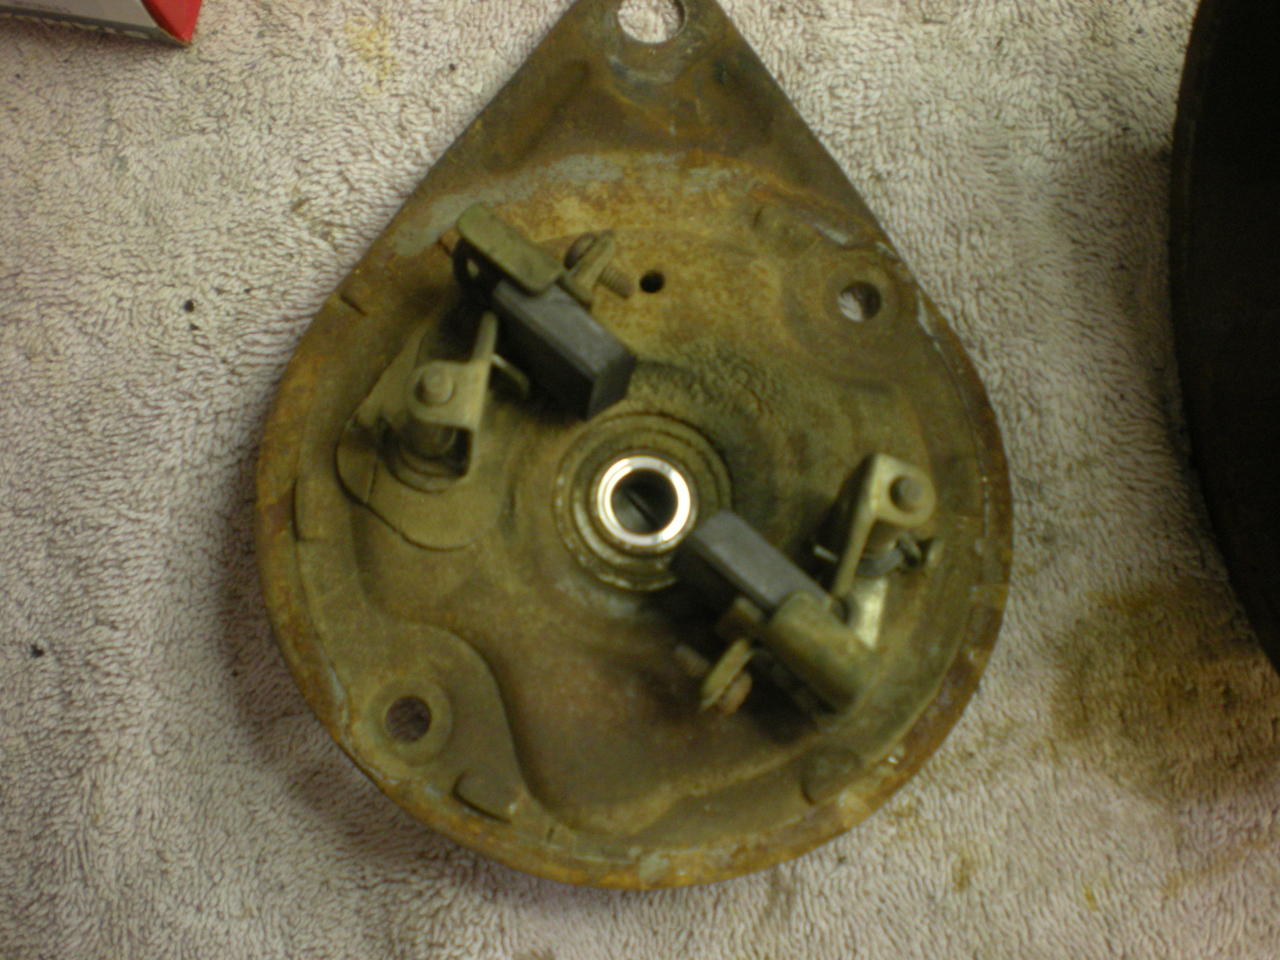
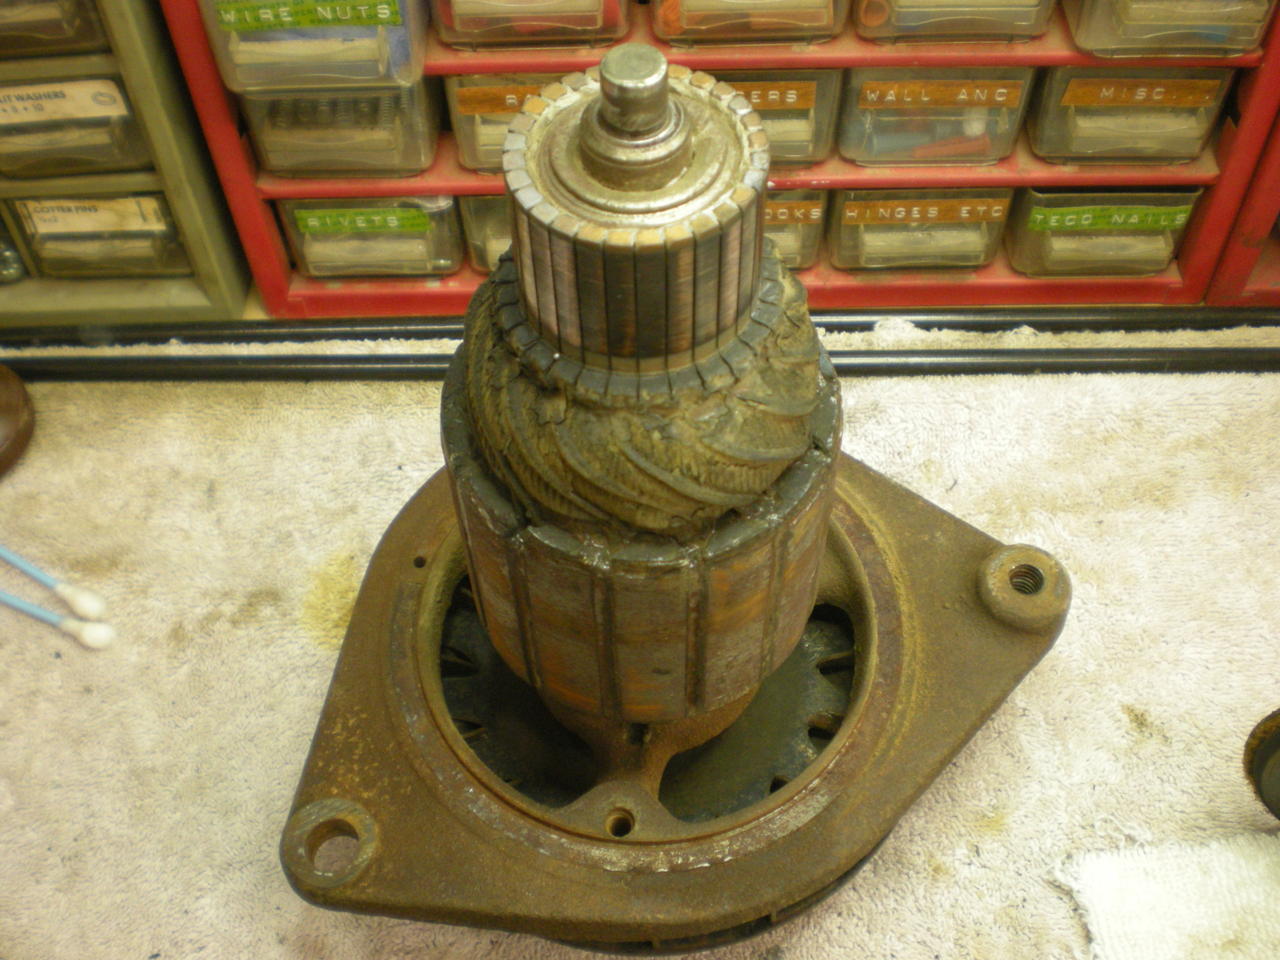
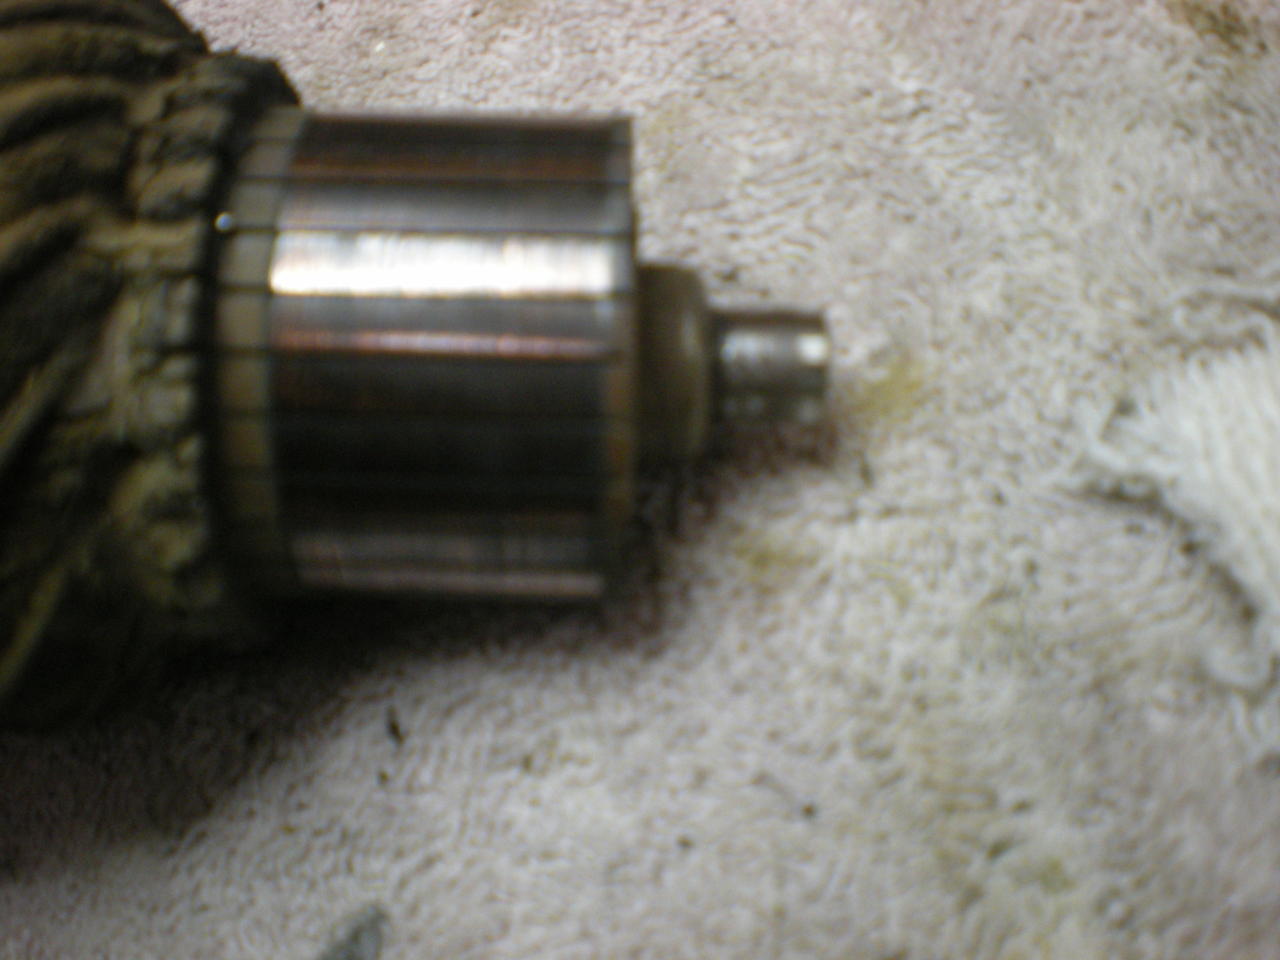
Here are some "before" shots...
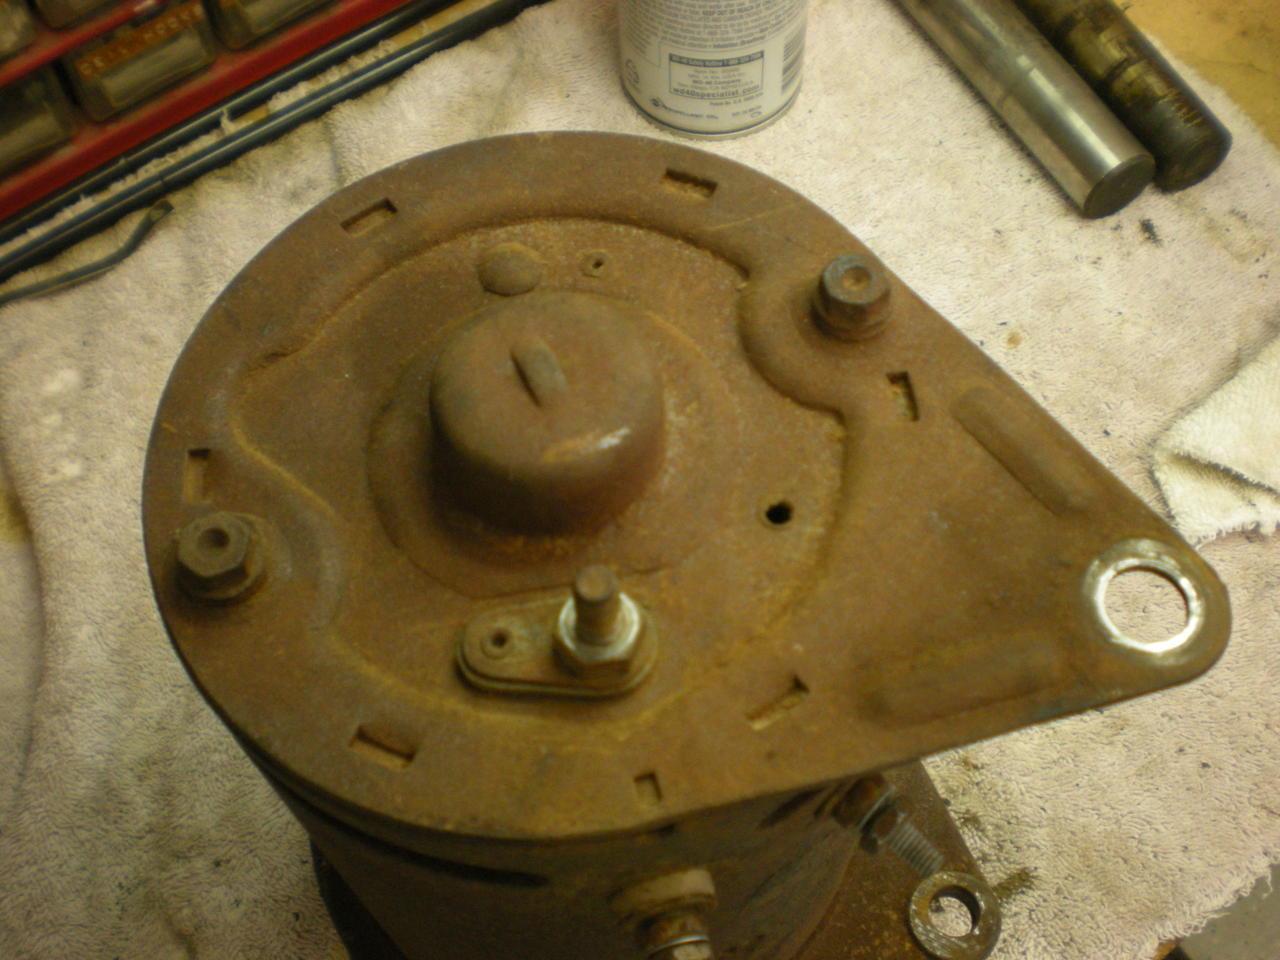
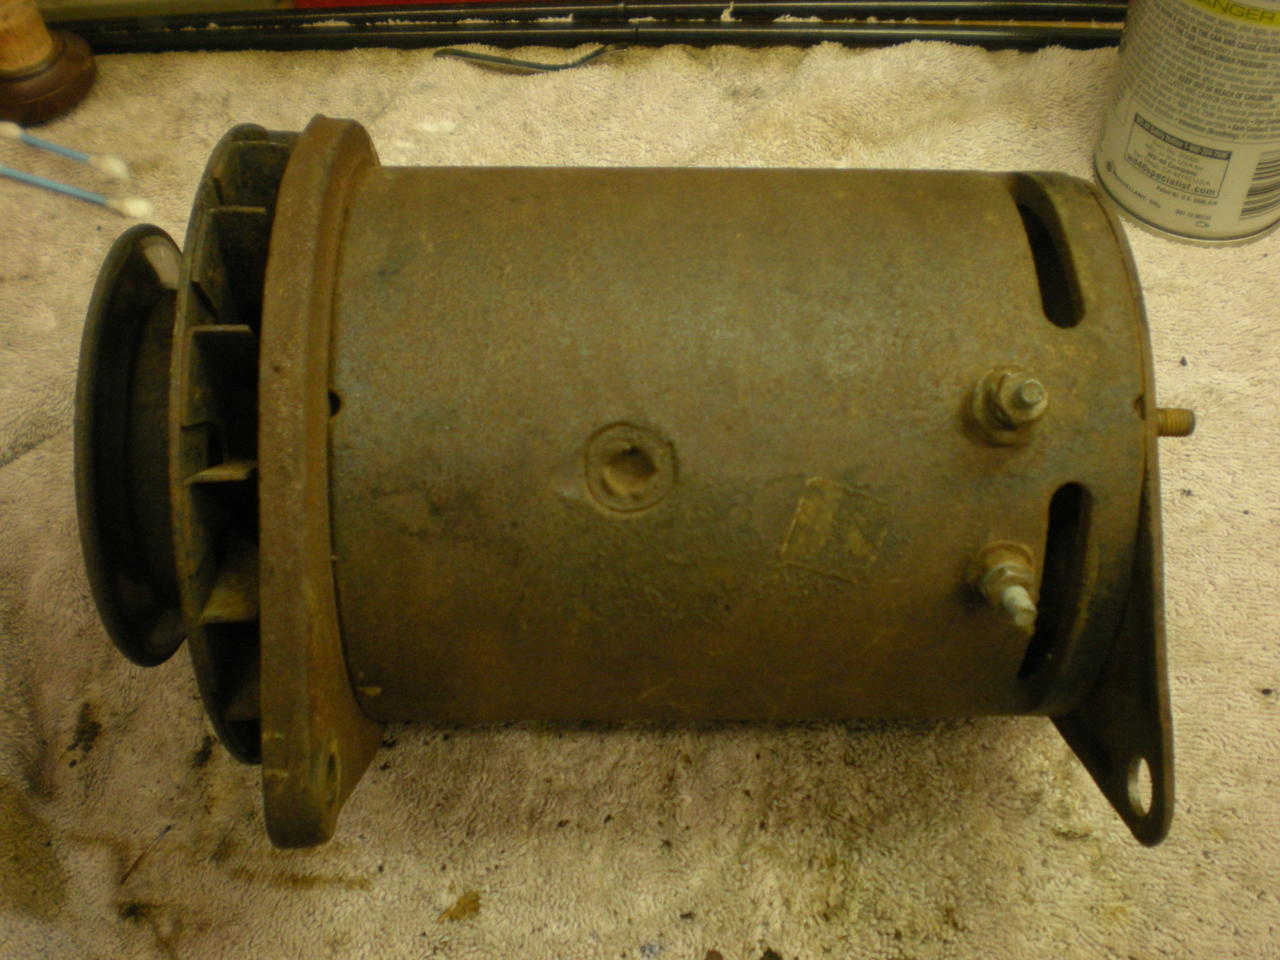
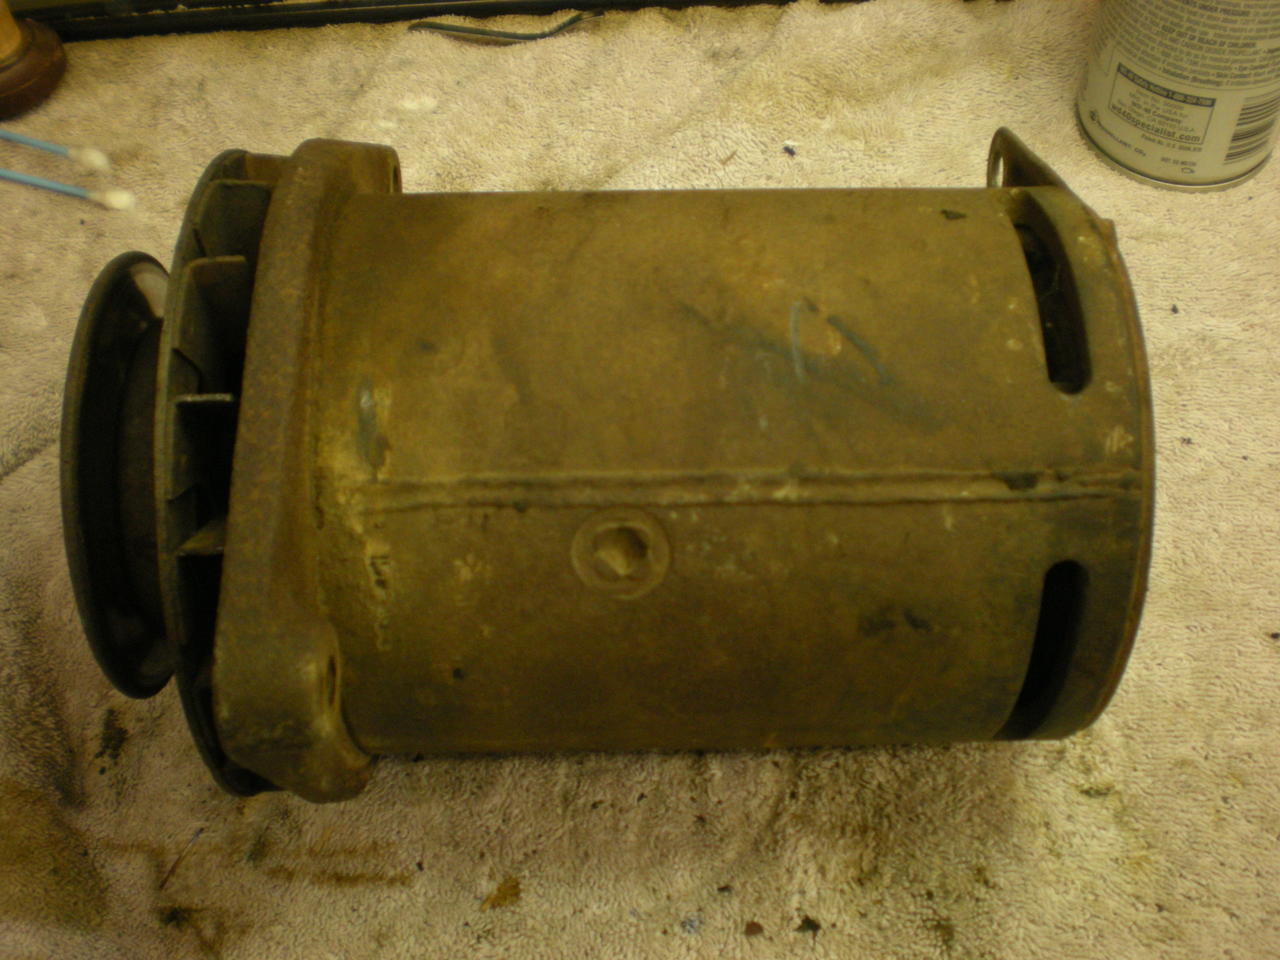
You can't see it before the rust was removed, but this pulley is stamped with 8HT. So it's 8HT 10130-A in the Parts book on page 665.
I discovered my brush springs look NOTHING like what's shown in the Shop Manual or "Typical" in the Parts Catalog. Glad I don't need any. I compared these brushes to the new ones, and there's almost no wear, so they'll stay.
And one "after" shot
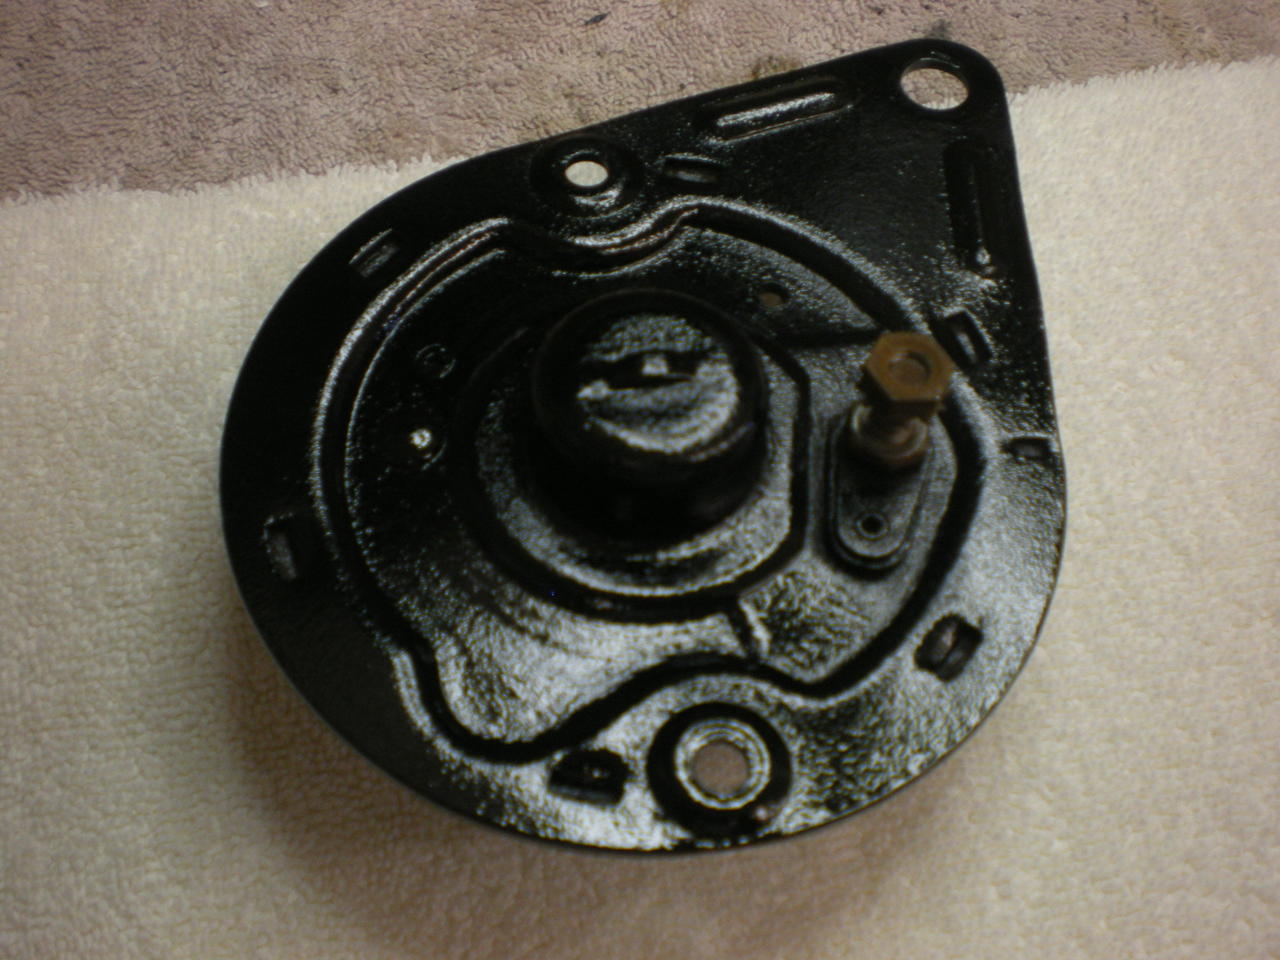
I'm going to let the paint dry all week so just MAYBE I won't mess it up installing the generator. I almost always get in a hurry and screw up the fresh paint.
I figured I was going to need a new pulley (or generator) if I didn't try to fix it. So I very scientifically beat on it with a hammer until it straightened out. Still no slop in the bearing so I think I'll be OK. I'll try to make a video to show how it works after I reassemble everything. I have a before video of the engine running to compare the wobble (which is actually how I noticed the wobble to begin with).
I decided to take it apart to check the parts and clean up the rust. There is absolutely no play in the front bearing, so I bought one for nothing. Oh well, spare parts are good. The brushes are exactly the same length as the new ones except for the concave on the business end, so I don't need them either. And the rear bushing is in great shape. That's lucky for me, since the replacement I bought is WAY too big.
So, I cleaned up the rust and repainted the whole shebang. Since it was properly charging the battery before I started messing with it, I sure hope it works when I reinstall it.
I'll post "after" pics when the paint is dry enough to move it.
Here are some "before" shots...
You can't see it before the rust was removed, but this pulley is stamped with 8HT. So it's 8HT 10130-A in the Parts book on page 665.
I discovered my brush springs look NOTHING like what's shown in the Shop Manual or "Typical" in the Parts Catalog. Glad I don't need any. I compared these brushes to the new ones, and there's almost no wear, so they'll stay.
And one "after" shot
I'm going to let the paint dry all week so just MAYBE I won't mess it up installing the generator. I almost always get in a hurry and screw up the fresh paint.
#1402
06-01-2014, 06:09 PM
So that's what it is... I was trying to clean it off so I could read it, but had no luck. That could explain why the replaceable parts look pretty new, except for the bent pulley (and it's not supposed to need replacing).
#1403
06-01-2014, 07:14 PM
#1404
06-01-2014, 07:23 PM
EDIT: I just looked it up in the Illustrations Catalog. You're right, the back plate is for the 15 volt generator in the '56 and onward for any 12 volt truck equipped with a generator.
Thanks again.
#1405
06-01-2014, 08:34 PM
Joe,
Yup, I'm pretty sure you'll need to persuade that nut with an impact to get it off.
How do you hold the brushes back to reinsert the armature? Sometimes there are tiny hole where you can insert a small punch to keep the brushes retracted, sometimes a washer the same diameter of the armature, or even a lock nut on the brush assy to retract them. I can't remember the last time I had an old Ford generator apart.
Good luck getting it back together and putting out jolts
Bobby
#1406
06-02-2014, 12:27 AM
Joe,
Yup, I'm pretty sure you'll need to persuade that nut with an impact to get it off.
How do you hold the brushes back to reinsert the armature? Sometimes there are tiny hole where you can insert a small punch to keep the brushes retracted, sometimes a washer the same diameter of the armature, or even a lock nut on the brush assy to retract them. I can't remember the last time I had an old Ford generator apart.
Good luck getting it back together and putting out jolts
Bobby
Yup, I'm pretty sure you'll need to persuade that nut with an impact to get it off.
How do you hold the brushes back to reinsert the armature? Sometimes there are tiny hole where you can insert a small punch to keep the brushes retracted, sometimes a washer the same diameter of the armature, or even a lock nut on the brush assy to retract them. I can't remember the last time I had an old Ford generator apart.
Good luck getting it back together and putting out jolts
Bobby
I put it back together tonight after the paint was dry enough to handle. I didn't take pics of the reassembly though. But I'm going to wait until next weekend to put it back in the truck so maybe the paint will cure.
I never tried to remove the pulley nut after I straightened out the pulley. Didn't see any point, since I think the wobble is fixed.
And I cleaned up the armature and field coil plates before I reassembled it. I just hope it still works. It's like "If it works, don't fix it"... except for the wobble. I was just worried the wobble would wear out the bearing.
#1407
06-02-2014, 06:01 AM

#1408
06-02-2014, 09:03 AM
But thanks for the reminder.
#1409
06-02-2014, 09:06 AM
#1410
06-02-2014, 09:10 AM
It has at times been a rant or rambling, but hopefully there's a bit of helpful info in here for guys like me that don't know what they're doing.
I'm fairly certain that if I had gotten this truck and had not found FTE, it would be someone else's truck already.

