My Cab Rebuild
#1
 06-18-2011, 08:40 AM

My Cab Rebuild
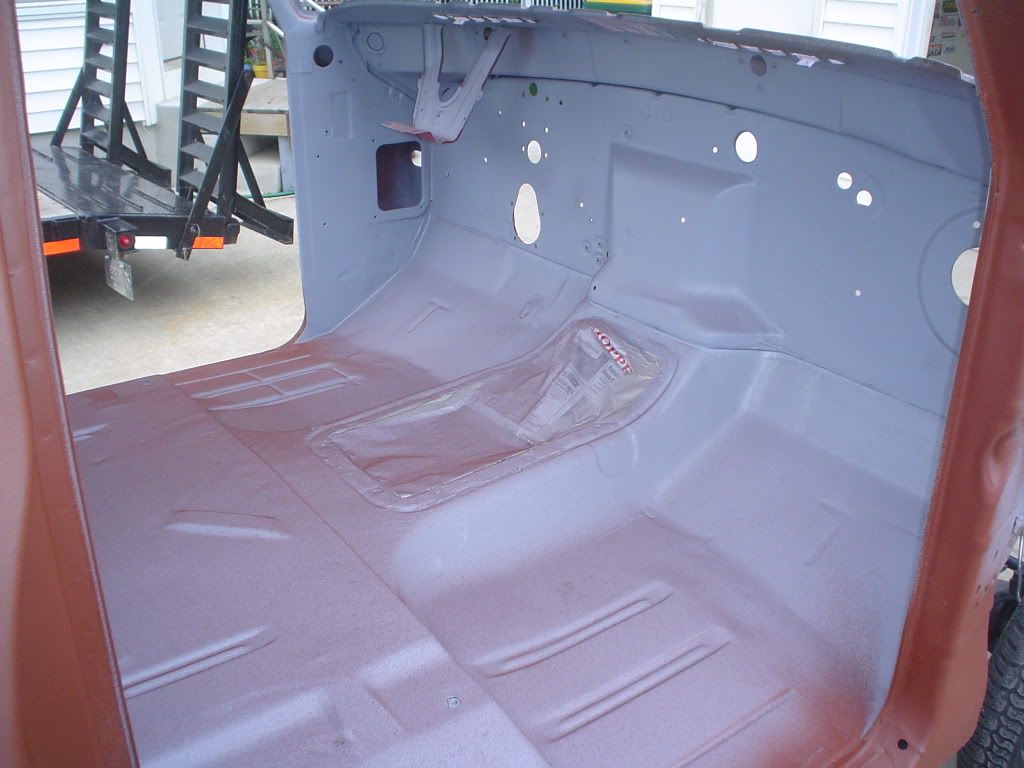
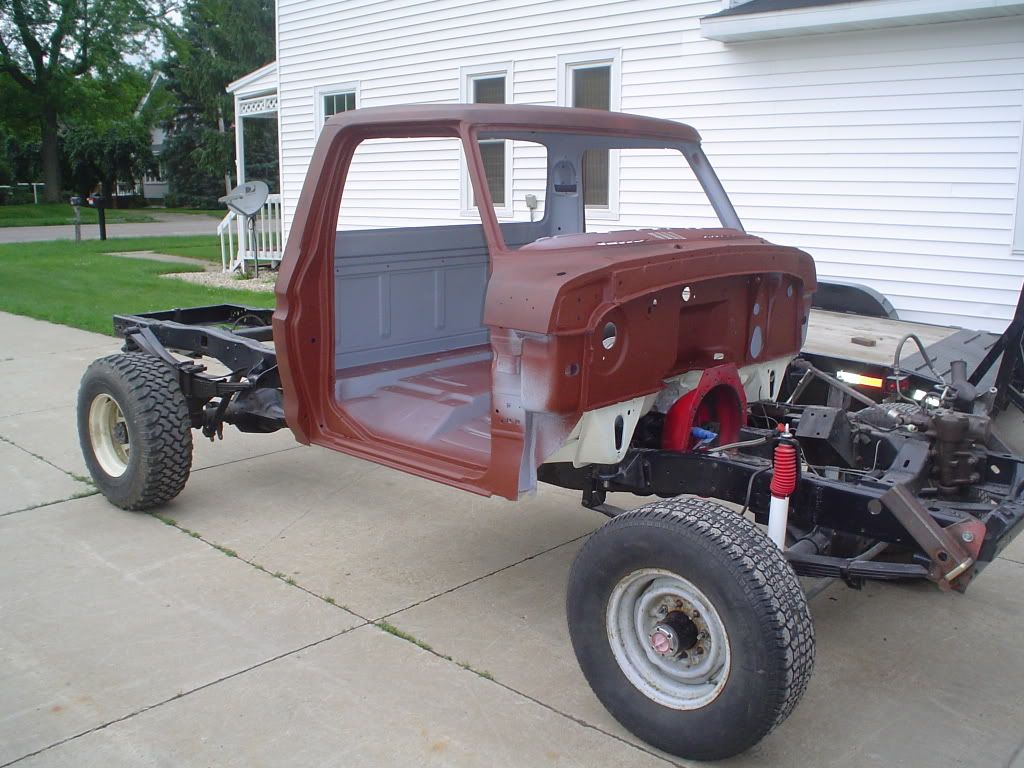
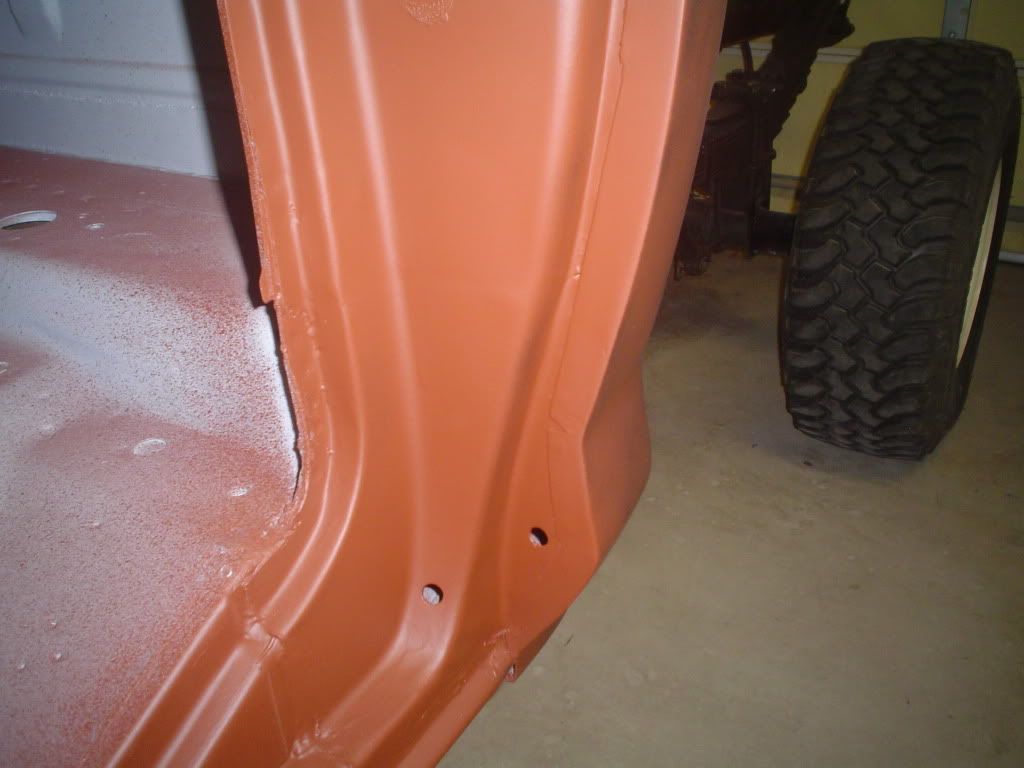
I've been working on this for a couple months and figured some of you folks might find it interesting. The short version of the story is that I live in Wisconsin where there just aren't any rust free cabs available. The cab on my old highboy was rotted beyond repair. The top half of it was relatively rust free, but the floor structure was just about gone. Previous owners had made repairs, but there was just nothing to work with anymore. I had every intention of going down south to get a rust free cab. Then a buddy of mine gave me a cab that had been on a pulling truck it's whole life. It was butchered up, but the floor was in good shape minus all the extra holes. The dash and firewall had been gutted, so I didn't think it was feasible to repair it for use on my truck. While drinkin' and thinkin' one night, I hatched this plan to cut the two cabs in half and and make one decent cab. I never intended it to be show worthy, just to keep road grime off of me and the girl when we drive the thing. I needed a winter project, and this started out being basically free. I have more time than money, so I thought why not. I sort of have this weird attachment to my original cab, so that's part of the reason I went to all this effort to save it. I could write a book on this whole ordeal, but the pictures explain most of it. Hopefully the link works. Enjoy the pics!
Frankencab pictures by deluxetruck - Photobucket
-Jared
Frankencab pictures by deluxetruck - Photobucket
-Jared
#3
06-18-2011, 10:02 AM
great job, it is not easy doing patch panels, definalty requires a lot of patience to make it look good. I had a cab that needed a lot of patching and i tossed it. got lucky and found a pretty rust free one in wiscosnin. a guy picked it up from nevada. I need to do some work on it like seam sealing.
#4
06-18-2011, 11:33 AM
Posting Guru
Join Date: Oct 2010
Location: townsend DE
Posts: 1,186
Likes: 0
Received 0 Likes
on
0 Posts
#5
06-18-2011, 01:28 PM
Posting Guru
Join Date: Feb 2011
Location: sacramento
Posts: 1,128
Likes: 0
Received 0 Likes
on
0 Posts
 Now just don't let it rust out again haha

#7
06-18-2011, 08:24 PM

Trending Topics
#9
06-18-2011, 11:27 PM


#10
06-20-2011, 12:00 PM
Thanks for the kind words guys. It's definitely not something I'd ever attempt again, but it was a great learning experience none the less. I'm done block sanding filler, and I should be shooting some epoxy followed by high build tomorrow or wednesday. I'll post a pic or two in this thread as I make progress.
-Jared
-Jared

#13
06-20-2011, 07:30 PM
I keep going back and forth on that.
Pros to in-cab tank-
-Weight further forward is beneficial for pulling
-Tank is already setup with AN fittings
-Fuel lines are plumbed for it
-I like the fuel cap on the side of the cab(looks like a highboy)
-Easy, and fuel level sending unit works
-I have no room aft of the axle to put a tank due to my pulling hitch setup.
-If I were to put the tank between the frame in front of the axle I'd have to shield it from flying driveshaft and u-joint debris.
-The only exposed welds from grafting the two cabs together are behind the fuel tank. Not that anyone would ever see back there besides me.
Cons-
-Fuel spilling down my fresh paint
-Human barbeque factor
-Takes up space that could be useful.
At this point I have it narrowed down to two options. I'll either just run the in-cab deal, or I'll put a fuel cell in the bed. I'd just leave the fuel cap on the cab and seal it off under the cap. I like the thought of being able to still use the bed though if I need to, so that idea has a strike against it. I'm indecisive to begin with, so I keep going back and forth. I'm open to ideas if you guys have any thoughts.
-Jared
#15
06-22-2011, 09:19 PM