New "X" Toy hauler
#61
 10-02-2012, 12:49 AM


Join Date: May 2011
Posts: 139
Likes: 0
Received 0 Likes
on
0 Posts
Decided it was time to replace the crappy old stereo in the truck. What was wrong with the stereo?
1 - it has a useless tape deck
2 - there has been a CD stuck in it since I got it (and it's a crappy Daughtry CD)
3 - the buttons are all sticky from lots of dust in the truck... like some of the other buttons on the dash/steering wheel. PO obviously liked to drive with the windows down on gravel roads.
Installed a touch screen, double din stereo that can play cds or dvds and can control my ipod through the screen.

Here's the install
https://www.ford-trucks.com/forums/1...o-install.html
1 - it has a useless tape deck
2 - there has been a CD stuck in it since I got it (and it's a crappy Daughtry CD)
3 - the buttons are all sticky from lots of dust in the truck... like some of the other buttons on the dash/steering wheel. PO obviously liked to drive with the windows down on gravel roads.
Installed a touch screen, double din stereo that can play cds or dvds and can control my ipod through the screen.
Here's the install
https://www.ford-trucks.com/forums/1...o-install.html


#63
10-26-2012, 12:02 AM
Step 6 - Installed the shackle on the new spring.
Here's a pic showing how I got the nut/bolt off. It was pretty tight

Step 7 - Installed the spring on the truck
a - rested the spring/shackle on the rear hanger and installed the front spring bolt (leave it loose)
b - Installed the bolt through the shackle (leave it loose)
c - positioned the axle to line up the spring center bolt to the axle perch
d - installed the u-bolts (left them loose for now)
Because the spring is slightly shorter in length, you can see here the difference in the shackle angle. The factory spring had the shackle sitting vertical
Here's a pic showing how I got the nut/bolt off. It was pretty tight
Step 7 - Installed the spring on the truck
a - rested the spring/shackle on the rear hanger and installed the front spring bolt (leave it loose)
b - Installed the bolt through the shackle (leave it loose)
c - positioned the axle to line up the spring center bolt to the axle perch
d - installed the u-bolts (left them loose for now)
Because the spring is slightly shorter in length, you can see here the difference in the shackle angle. The factory spring had the shackle sitting vertical
Thanks,
#64
10-26-2012, 11:58 PM
Join Date: May 2011
Posts: 139
Likes: 0
Received 0 Likes
on
0 Posts
The spring should move around too much if you're holding the nut and bolt. You could park something on the spring or the pipe (another vehicle?) or have a friend help do it.

#66
12-18-2012, 12:39 AM
Join Date: May 2011
Posts: 139
Likes: 0
Received 0 Likes
on
0 Posts
Next on the list was to get rid of the pulsing brakes. Thought I'd start with the fronts (assuming this is where the warped rotors are).
As soon as you take the wheels off you can see that the front rotors are warped (I'll show pics how, after)
Simple changeout. I don't know why I didn't buy pads at the same time, but mine were almost worn to the metal. Replaced them 1000km after the rotors.

As soon as you take the wheels off you can see that the front rotors are warped (I'll show pics how, after)
Simple changeout. I don't know why I didn't buy pads at the same time, but mine were almost worn to the metal. Replaced them 1000km after the rotors.
#67
12-18-2012, 12:43 AM
Join Date: May 2011
Posts: 139
Likes: 0
Received 0 Likes
on
0 Posts
Ended up finishing the last 800km of my last trip with bad vibration over 95kph! Figured it had to be a bad u-joint, and sure enough, it was bad! I can't believe it didn't let go.
Here's the new one in the driveshaft. It was the rear one of the rear driveshaft (at the axle pinion)
Will complete a "how-to", for dummies, shortly.

Here's the new one in the driveshaft. It was the rear one of the rear driveshaft (at the axle pinion)
Will complete a "how-to", for dummies, shortly.
#68
11-12-2013, 02:04 PM
Join Date: May 2011
Posts: 139
Likes: 0
Received 0 Likes
on
0 Posts
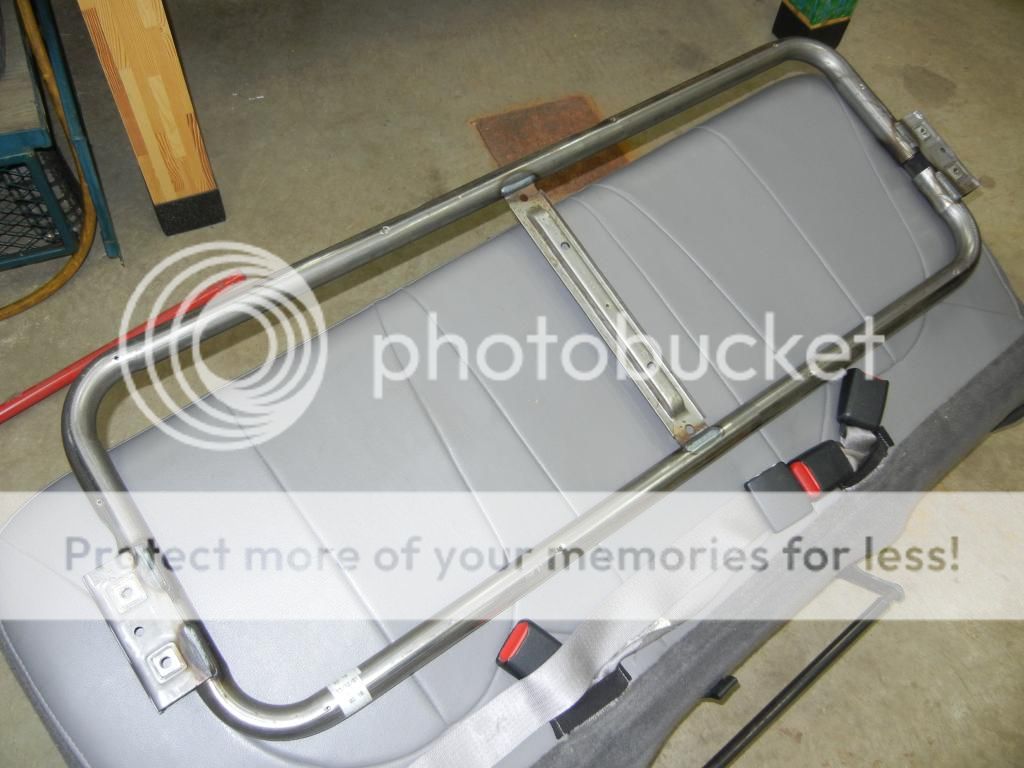
Picked up some gray leather 2nd and 3rd row seats to replace my cloth ones. What I didn't realize was that the 2nd row pull-out arm rest didn't have cup holders in it!!
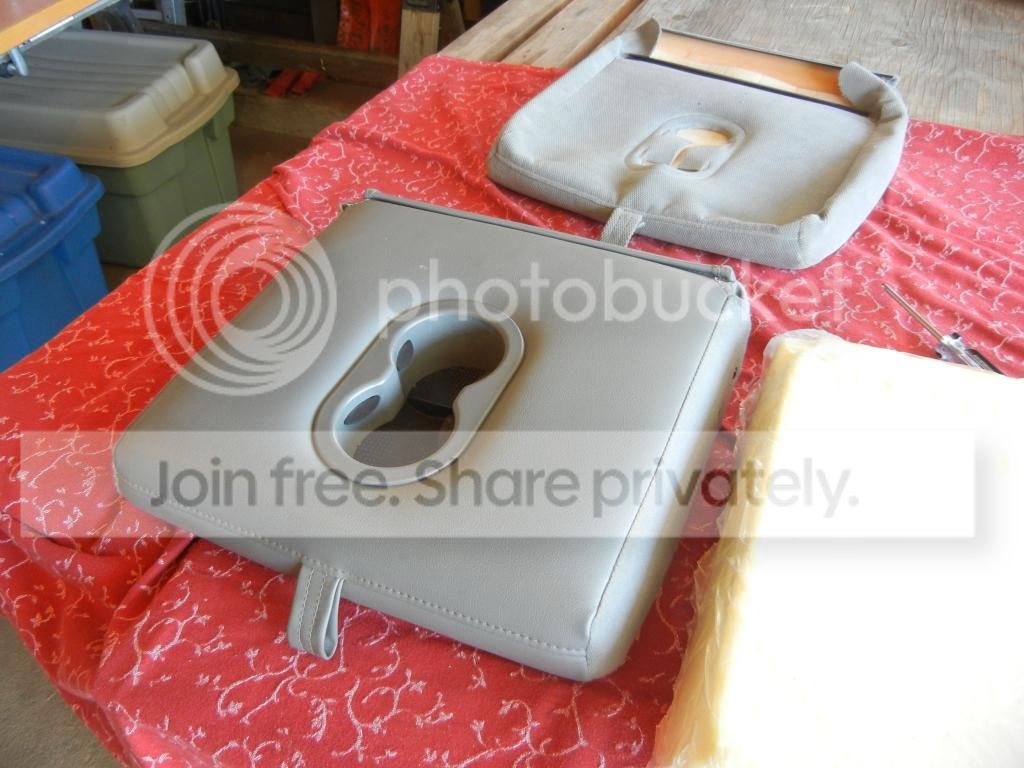
So here I took the two arm rests out (the old one and new one) and removed their covers. The covers are the same minus the hole cut for the cupholders and the foam pads are the same minus the hole cut as well.

Cut a similar hole in the leather cover (just like the one in the cloth cover)

Installed the leather cover over the old cloth seat foam pad. Perfect!
Next, planning to install 3rd row head rests.
So here I took the two arm rests out (the old one and new one) and removed their covers. The covers are the same minus the hole cut for the cupholders and the foam pads are the same minus the hole cut as well.
Cut a similar hole in the leather cover (just like the one in the cloth cover)
Installed the leather cover over the old cloth seat foam pad. Perfect!
Next, planning to install 3rd row head rests.
#70
11-12-2013, 04:15 PM

Senior User
Join Date: Oct 2013
Location: Durham
Posts: 153
Likes: 0
Received 0 Likes
on
0 Posts
#71
11-12-2013, 05:52 PM
Join Date: May 2011
Posts: 139
Likes: 0
Received 0 Likes
on
0 Posts
They were used replacement seats.... not just the covers, the entire seats. 3rd row I picked up from some dude that limo'd his truck, then I sold my cloth one.
2nd row I found from a guy that had planned to install it in his quad bucket ex but sold the truck.
So I kept the old second row to make mods to the other seats (like the headrests).
2nd row I found from a guy that had planned to install it in his quad bucket ex but sold the truck.
So I kept the old second row to make mods to the other seats (like the headrests).
#72
11-12-2013, 06:39 PM
Fleet Mechanic
#74
11-16-2013, 03:40 AM
Join Date: May 2011
Posts: 139
Likes: 0
Received 0 Likes
on
0 Posts