Q.jet swap
#106
 06-12-2011, 08:01 PM

Senior User
Join Date: Jan 2007
Location: Burlington, Ontario
Posts: 213
Likes: 0
Received 0 Likes
on
0 Posts
#107
06-12-2011, 09:55 PM
Thanks, guys. In retrospect, I should have known that any carb which requires you to read a book prior to rebuilding would not be an easy project.
What I find amazing is that Pony Carbs charges the same amount to rebuild an Autolite 4100 as Cliff Ruggles does to redo a QJ. There is a world of difference between the two carbs, different ends of the spectrum, w/o a doubt.
And now that I'm almost finished, I'm wondering do I even want to take the next challenge of trying to dial the stinking thing in and making it run correctly? I've about reached my limit just rebuilding the thing. I may just tip my king.
#108
06-13-2011, 06:12 PM
Senior User
Join Date: Jan 2007
Location: Burlington, Ontario
Posts: 213
Likes: 0
Received 0 Likes
on
0 Posts
#109
06-14-2011, 01:46 AM
Hey, I just spent two three hour sessions trying to figure out how to attach the fast idle linkage to the primary throttle shaft. Two days after work. Only to figure out that I had swapped t. shafts and the one I had was too short. And I thought it was my inexperience--which it was! Had to regrind off the butterfly screws, remove s. and pri. linkages, cut off the GM throttle attachment (again), and install the Holley ball (again), pull p. throttle shaft, swap out the longer one, re loctite new screws .... Oh yeah: broke one screw of course b/c I had already staked them, and had to drill it out too. Oh well. Sometimes you have to laugh, right. It is still fun.
I got brain bend. You could say the experience was an 'epissphany'.
I prob. will run it. I have to admit I'm dying to try it.
Today I learned that the APT screw/adjustment is really not that big of a deal. It is so simple, in fact, that I laughed. The Power piston has a tiny rod that sticks out of it perpendicular, and rests on the APT screw. So the APT screw simply determines how high/low the m.rods sit in their respective jets to start with. Compared to the Edelbrock m.rod springs, the QJ power piston feels very stiff, and I used the oem one to start with. Then I realized that the Edelbrock springs only see half the vacuum that the QJ p.piston does. It holds both p.rods.
If I decide to leave the air horn as 'well enough' and not rebuild it, I should be done with this Tuesday evening, 6-14-11.
Now I need to find a air filter rod/shaft.
#110
06-15-2011, 12:07 AM
I got quite a bit done today. I figured out the choke and the linkage, and installed the new seals on the shaft, and the vacuum spacer/alignment aid. The trickiest part of the rebuild was to figure out how to hold the choke flap linkage end horizontal while down inside the carb. I did it by inserting a piece of copper wire into the two holes. (I didn't have a long-nosed needle nosed pliers!)
All the 4X and hot rod guys who I have read say the fail safe float setting for a QJ is 1/4" from the top. But in my literature it showed the level for a 350 sbc in a truck as being 15/32", so that is where I set them. That took me about an hour, but not because of the design; just b/c I'm slow and try to be exact. I also installed the longer of the acc. pump pistons. I thought that if it gave ample squirt for a 350 sbc, then that should be good enough for my 300!
I also set the depth of the APT screw, and made a adjustment tool for it, so I can adjust it w/o pulling the top of the top of the carb off. To make this possible, I had to tap out the oem APT lead plug from the underside. To make the adj. tool, I just clamped a 5/16" bolt, about 5" long, in a vise, and cut a slot into the threaded end, then ground the threads back at an angle there where the slot was, so it would not bind on the rod that comes off the p.pistol and controls its depth.
At this point I have to say something: Just putting on the air horn gasket takes a f... act of congress, and to have double jointed fingers!! Not only do you have to hold one finger on the acc. pump and keep it compressed, but you have to fold the gasket down at the pre make slits, and side it under the p. piston's fragile arms, around the m. rods too. Then, to set the air horn in place, there are four fragile tubes hanging from it that have to go into the proper holes, and the choke linkage binds and has to be inserted simultaneously into its proper hole, all while holding the acc.pump rod. Without exaggeration, it took me at least an hour to put on the gasket. And another hour to place the air horn. AND THE CHEVY GUYS LAUGH ABOUT THE FORD DESIGNS????
As I was putting on the top, I was thinking about having to change the p. jets or rods, and when I realized that may be a possibility, my first reaction was: man, I hope I NEVER have to take this thing off again.
Now that it is nearly done I am noticing the diff. in the throttle linkages--hookups, and wondering how much I'll have to change my existing set up.
#111
06-15-2011, 12:17 AM
Post Fiend
Something tells me you are starting to understand why most people just toss the q-jet in the trash, and start over with a more basic carb.
The q-jet is one of the most complex carbs ever made, and thanks to cheap materials, they tend to lead a rather short life before the throttle shafts start sucking air, thereby killing any chance of the engine running correctly.
When everything is right, it's a great carb. When *anything* is not right, it's the biggest pile of crap ever invented.......
#112
06-15-2011, 12:27 AM
When *anything* is not right, it's the biggest pile of crap ever invented.......
Don't be shy, RW, just come out and say what you mean, lol!
Yeah, If I can't get it running 'great', then I'll toss it on the bar-b-que, toast it with a big margarita, and happily put my Edelbrock back on!!
On the other hand, if it works well, and gets me 3mpg more around town, I'll be infinately happy, and still toast it with a big margarita.
#113
06-15-2011, 03:42 PM
Post Fiend
Oddly enough, it's quite possible that a +3MPG can be attained, if everything is right on the Q-Jet. For a 2 letter word, "if" is mighty big........
I had a Q-Jet on a 283 HP under the hood of a 63 Impala 2 dr sport coupe, and it worked quite well, and ran so much better than the original 4 bbl that was under the hood when it left the factory. The odd part was, I bought the carb used for $10, and just bolted down to the vette 327 intake, made a couple minor tweaks to the idle speed and mix screws, and it worked great. Well, aside from the kickdown rod for the powerglide not able to be used, due to no holes that would allow the correct travel.
One of the few chevies I have ever owned, and the only one I wish I had kept.
Ya really gotta know chevies to know what the 2 dr sport coupe was. Had SS style trim in certain places, and standard trim in others, along with the checkered flag 283* emblem on the fender. Power steering and factory air made this one fairly rare.......
* checkered flag 283 emblem indicated the factory 4 bbl (evenbore) and "powerpack" heads, with a bit milder cam (hyd) than the full 283 powerpack engine.
#114
06-15-2011, 11:33 PM
I got everything buttoned up today, except for the choke. I tested it on 12v, and nothing, so I take it back to the bone yard tomorrow.
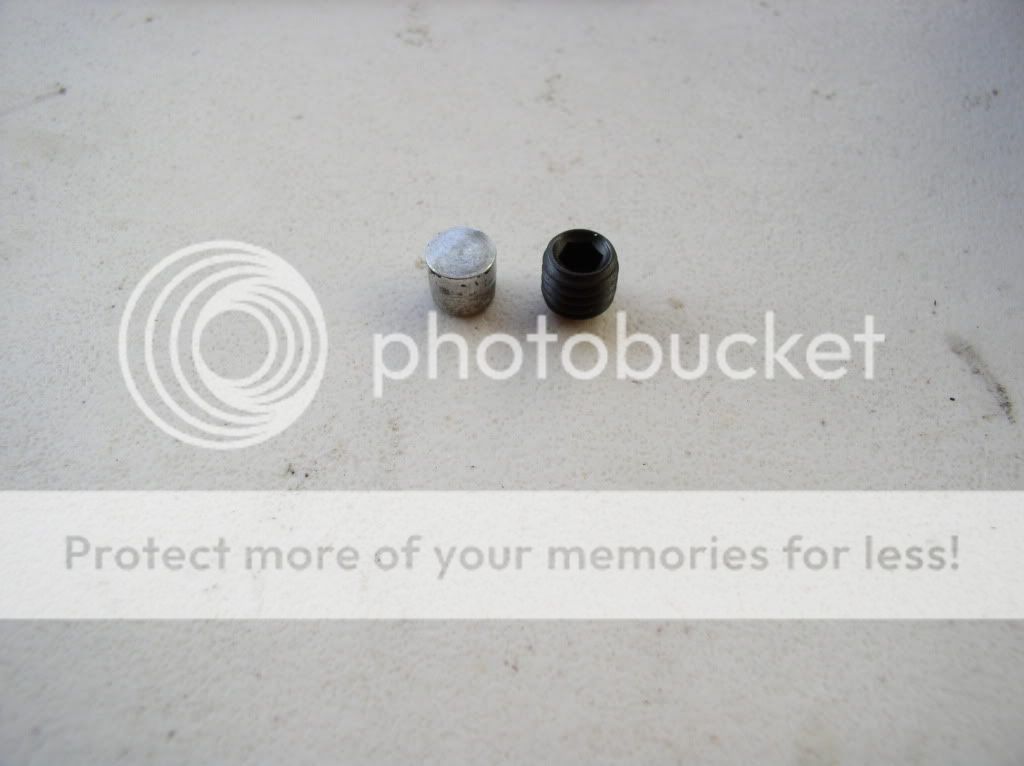
[SIZE=4]I'm a little perplexed about what to do with the APT plug. You can see the oem one I tapped out, and the hole it went in. The C. Ruggles kit I got came with an allen plug, but I had to tap out the hole, and I didn't want to spend $40 for a tap/die set. So, I'm wondering what to do. I may just use the oem plug and grind off the area that would interfere with the air filter gasket.
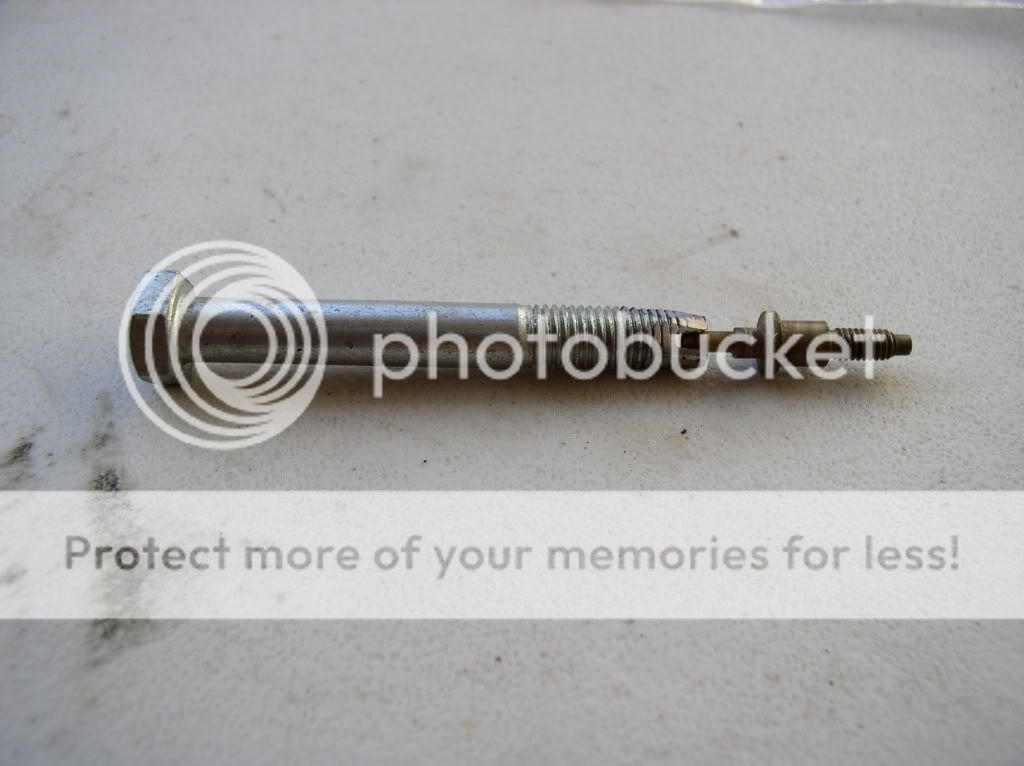
I also made a 'wrench' for the APT (adjustable part throttle), so I can adjust it w/o taking off the top of the carb.
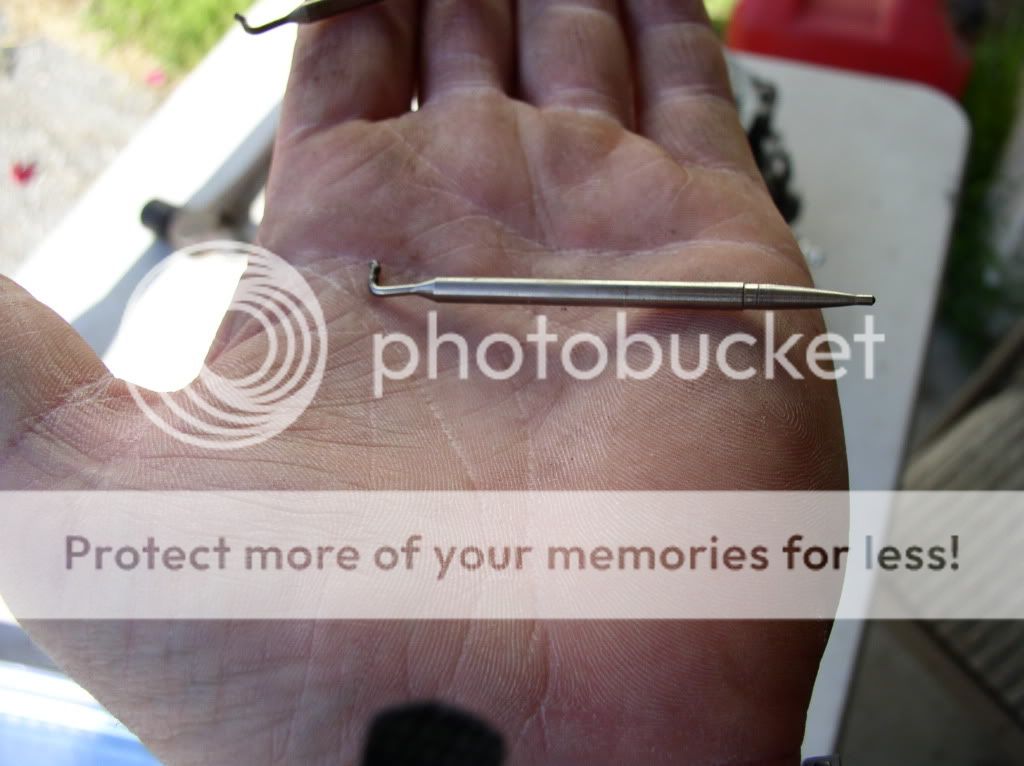
And I wanted to show the 'birthday candle size' secondary m.rods!! Every second they are open is like a taxi cab meter running ... in Scandinavia! and you can hear the dollars sucking out of your wallet.
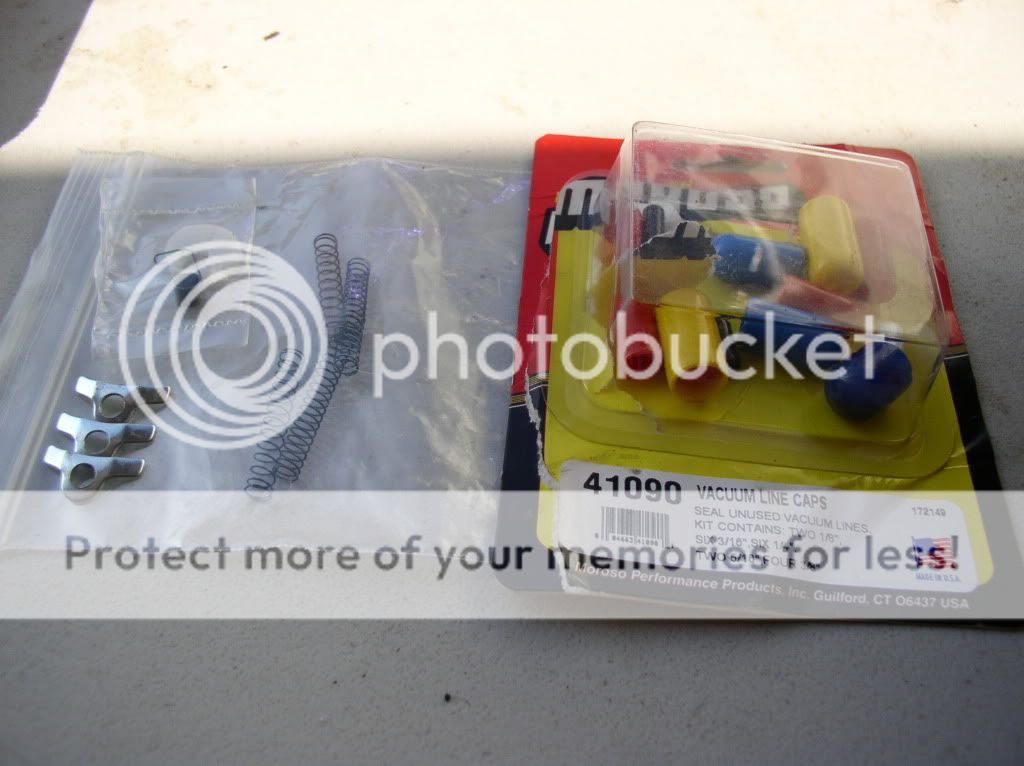
And here is shot of some useful things: some items in the Cliff Ruggles kit not found in others, like the choke torque down straps, the s. cam, the s. spring, hp acc. pump rod, and power piston seal (not in the photo). It also helps to have a selection of vacuum line plugs, like in the photo. Yes, all black would have been preferable to designer assortment, but that is what they had....
And the finished carb, minus the choke, air filter rod, and gas supply line.

[SIZE=4]I'm a little perplexed about what to do with the APT plug. You can see the oem one I tapped out, and the hole it went in. The C. Ruggles kit I got came with an allen plug, but I had to tap out the hole, and I didn't want to spend $40 for a tap/die set. So, I'm wondering what to do. I may just use the oem plug and grind off the area that would interfere with the air filter gasket.
I also made a 'wrench' for the APT (adjustable part throttle), so I can adjust it w/o taking off the top of the carb.
And I wanted to show the 'birthday candle size' secondary m.rods!! Every second they are open is like a taxi cab meter running ... in Scandinavia! and you can hear the dollars sucking out of your wallet.
And here is shot of some useful things: some items in the Cliff Ruggles kit not found in others, like the choke torque down straps, the s. cam, the s. spring, hp acc. pump rod, and power piston seal (not in the photo). It also helps to have a selection of vacuum line plugs, like in the photo. Yes, all black would have been preferable to designer assortment, but that is what they had....
And the finished carb, minus the choke, air filter rod, and gas supply line.
#115
06-16-2011, 12:30 AM
Post Fiend
#116
06-16-2011, 01:02 AM
#117
06-16-2011, 10:48 AM
Post Fiend
I'm no Q-J expert, But I seem to recall that port being routed to the charcoal canister on most later models (post 73/74 era). I've been told that when the port is present, the float bowl doesn't vent into the air cleaner assembly like it does when that port is not present, and that capping it can cause flooding issues under the right conditions....

#119
06-16-2011, 01:59 PM

#120
06-16-2011, 09:08 PM
Postmaster