1994 Ford F350 Project Build
#31
 06-12-2012, 01:38 PM

Join Date: May 2011
Posts: 339
Likes: 0
Received 0 Likes
on
0 Posts
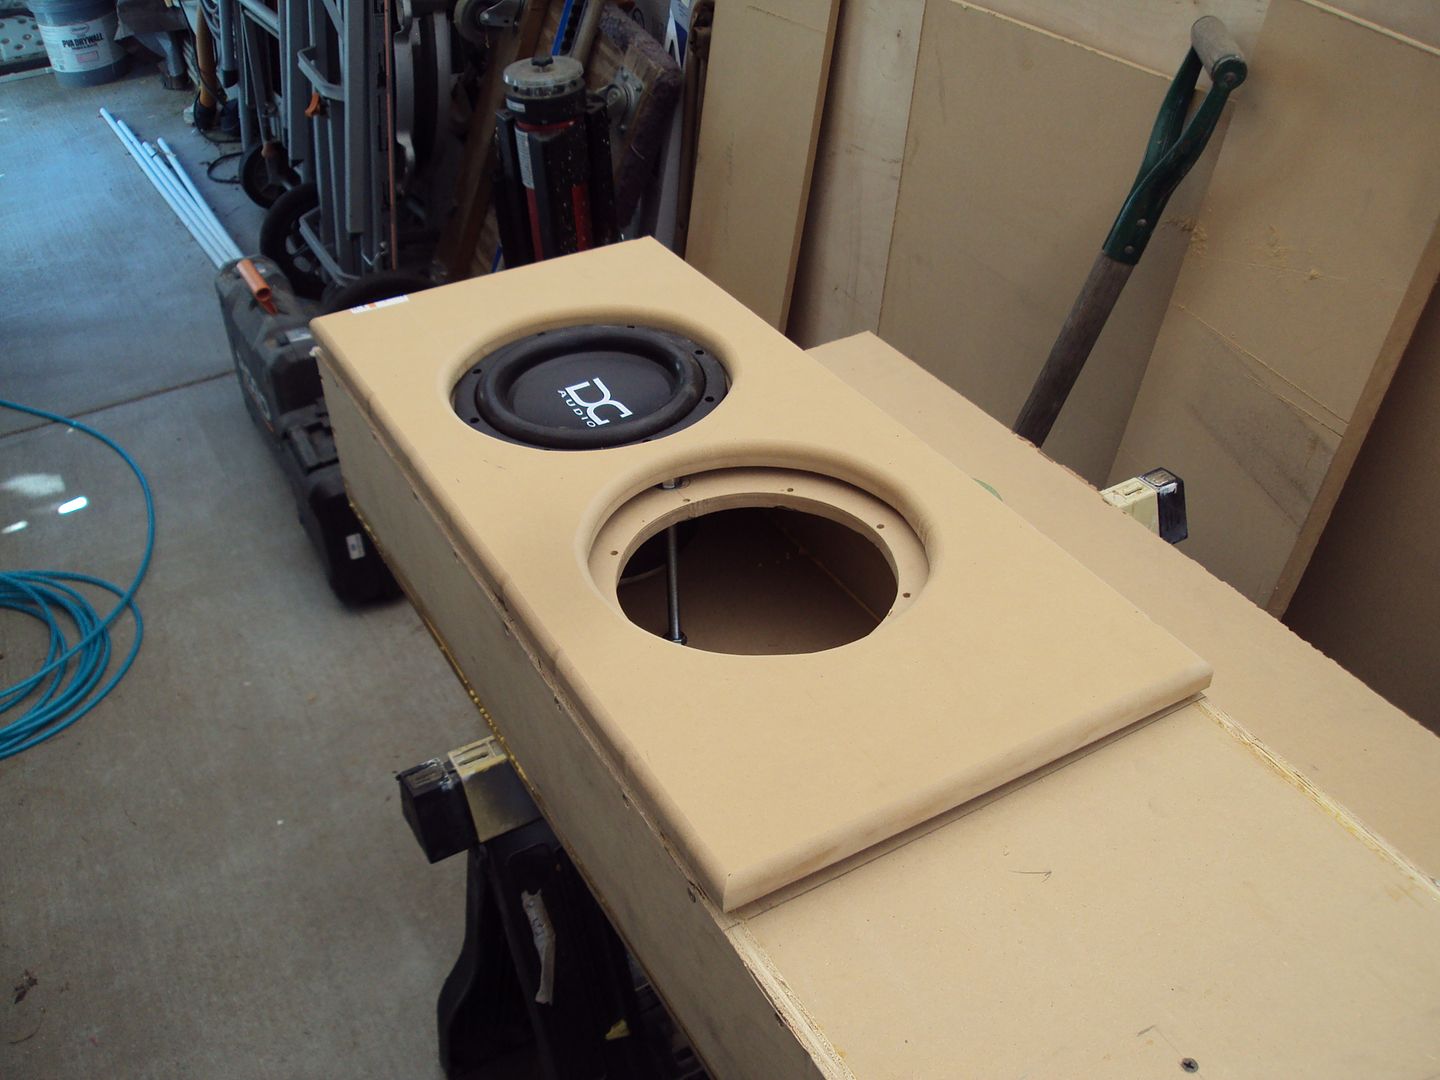
So in my haste to get things done, I did not pay attention and made a few mistakes. I routered out the edges around the box to the flush panel but didn't pay attention to the screw holes which made notched in my panel. DAMN IT! I'd redo it if it was a permanent panel, but it's not. It transferred to the round over too.
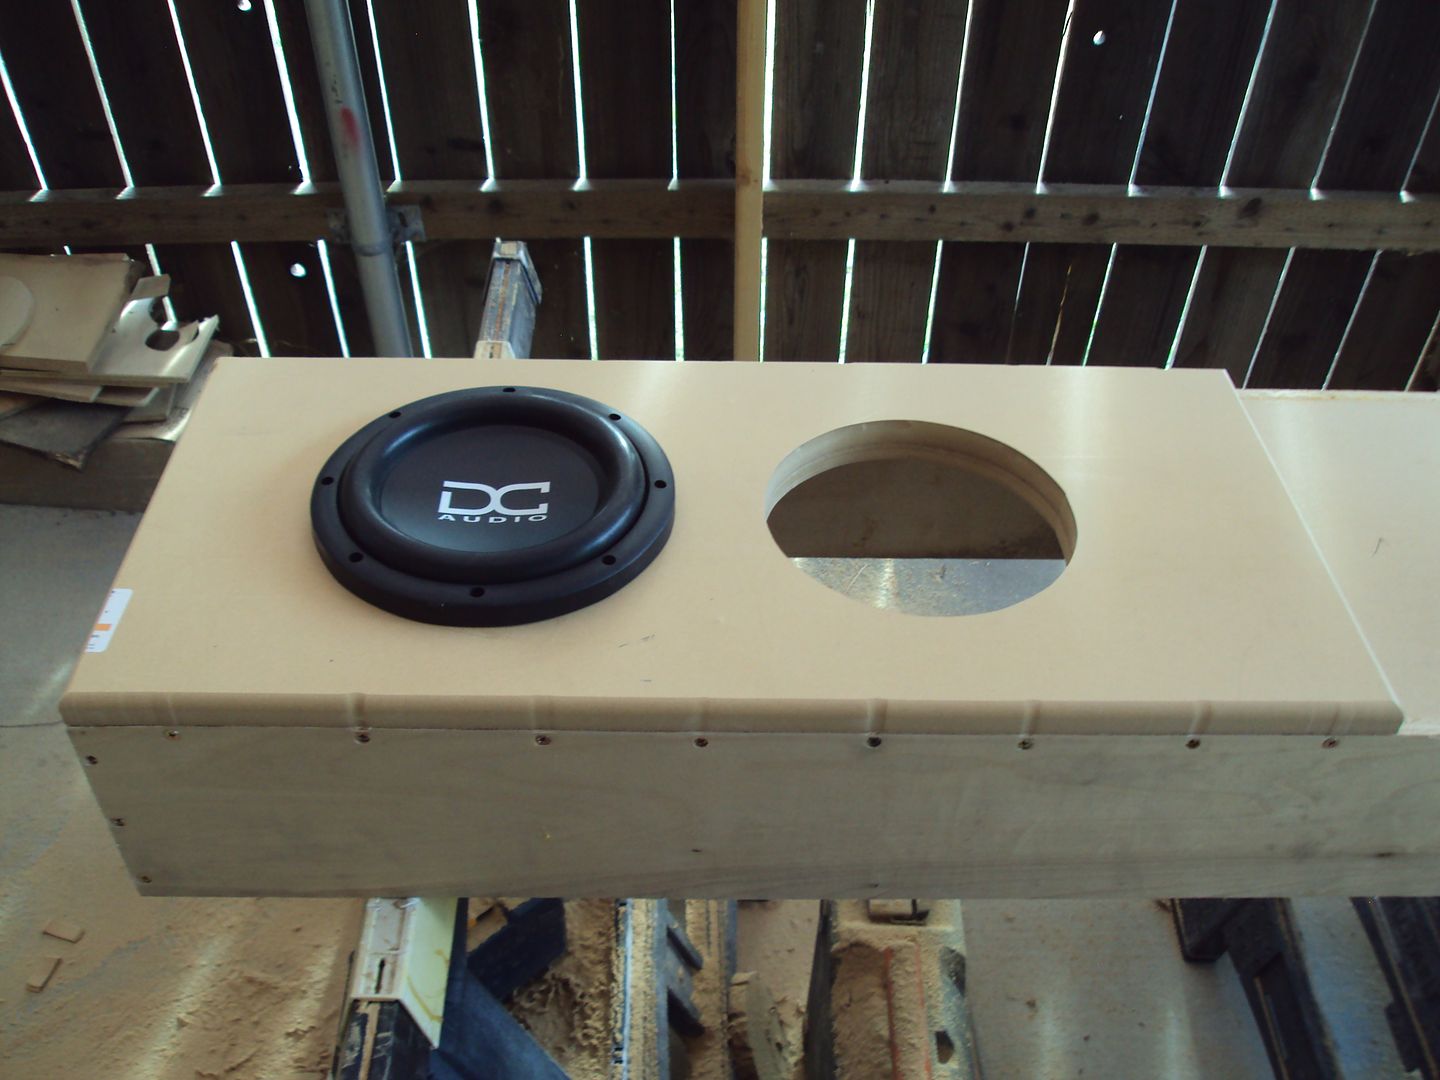
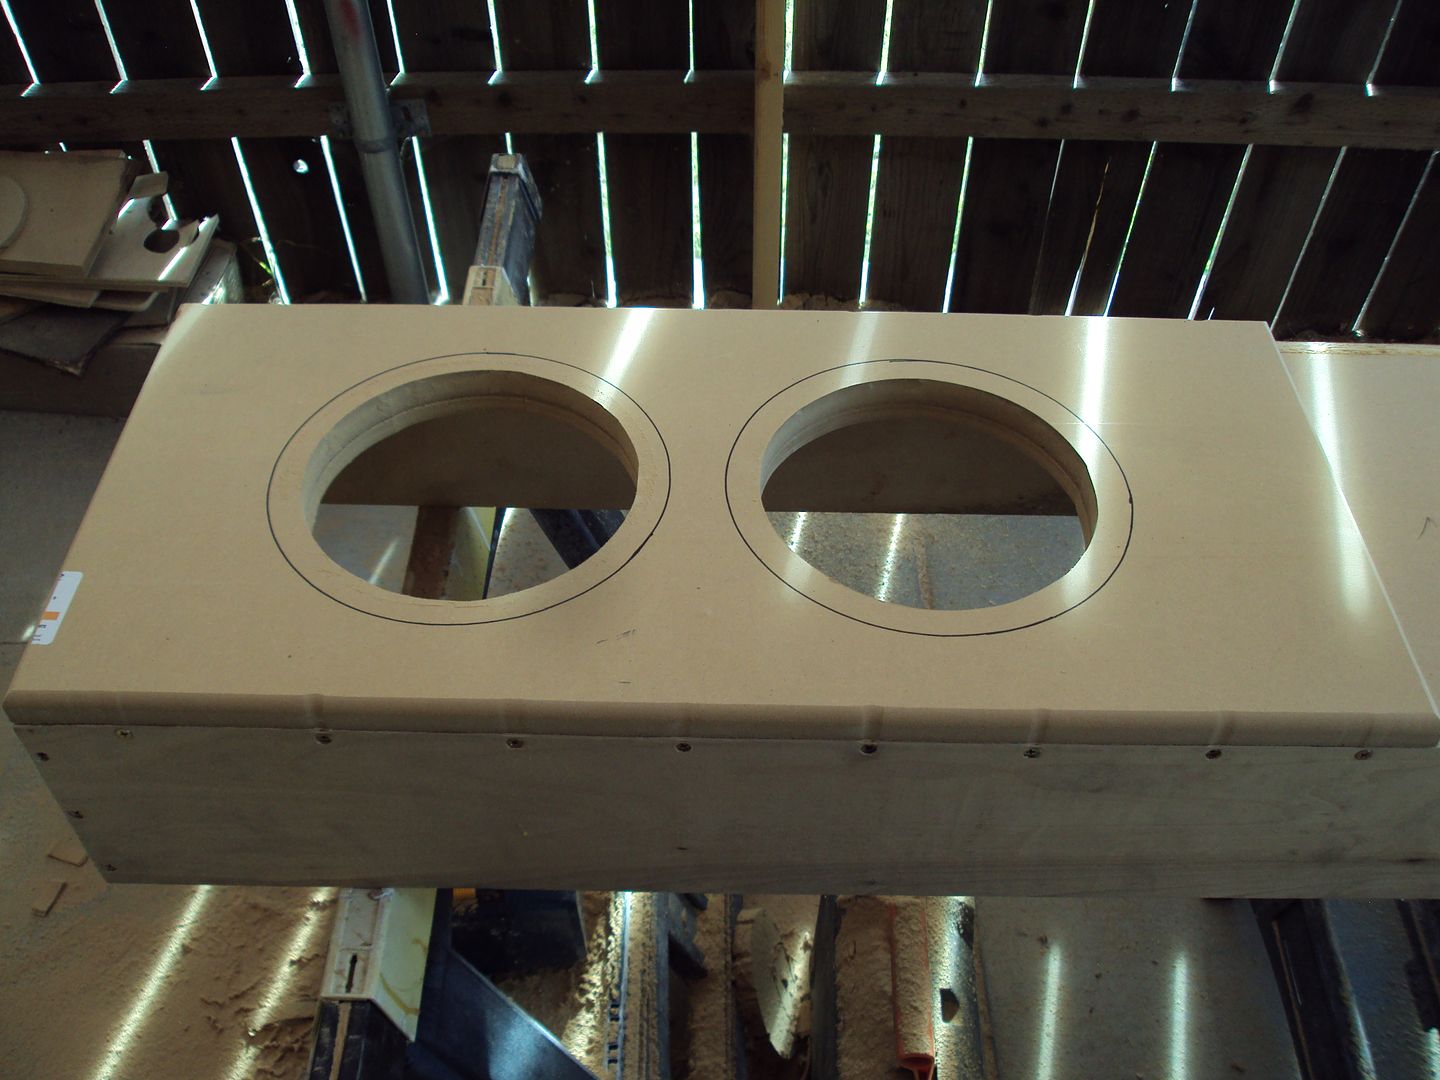
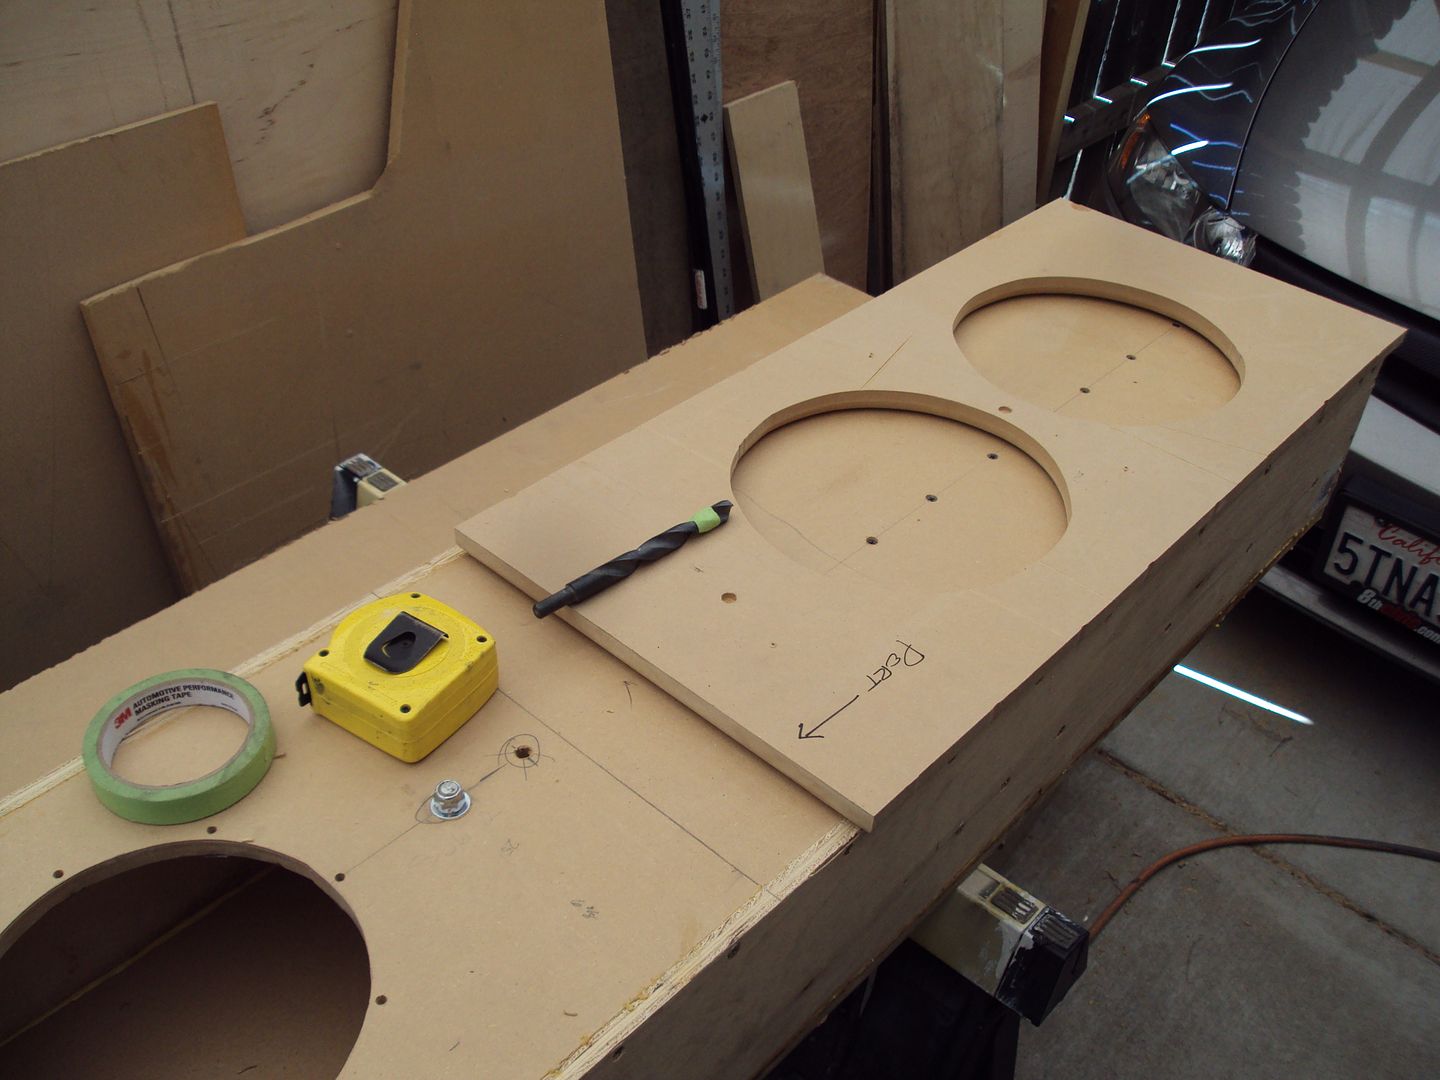
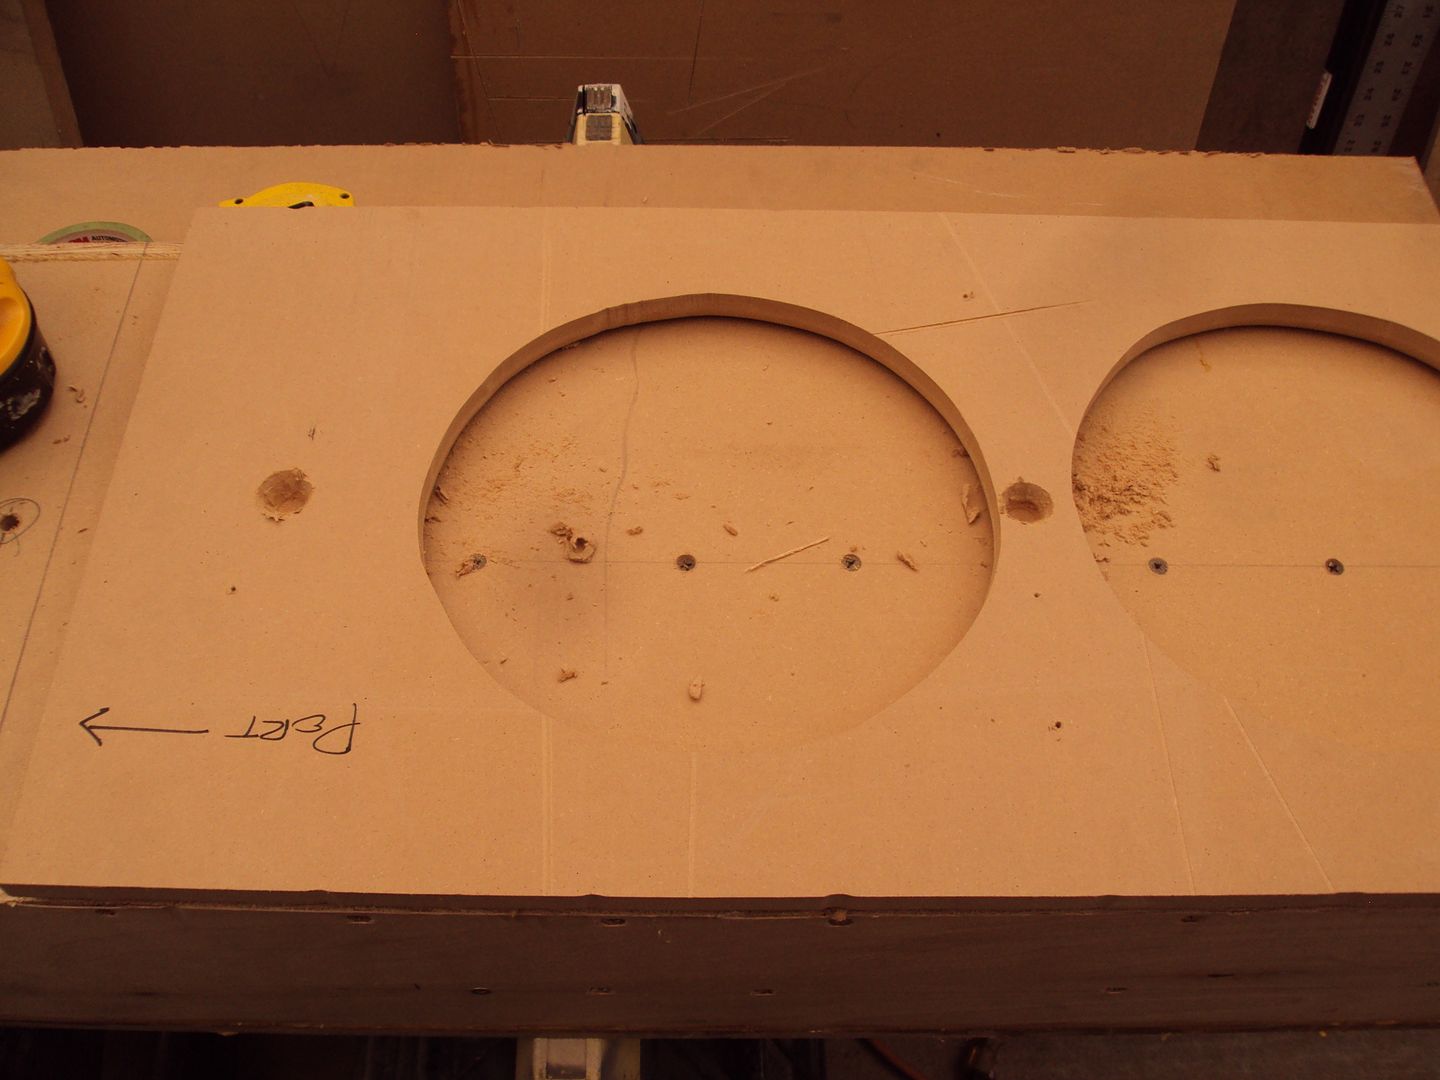
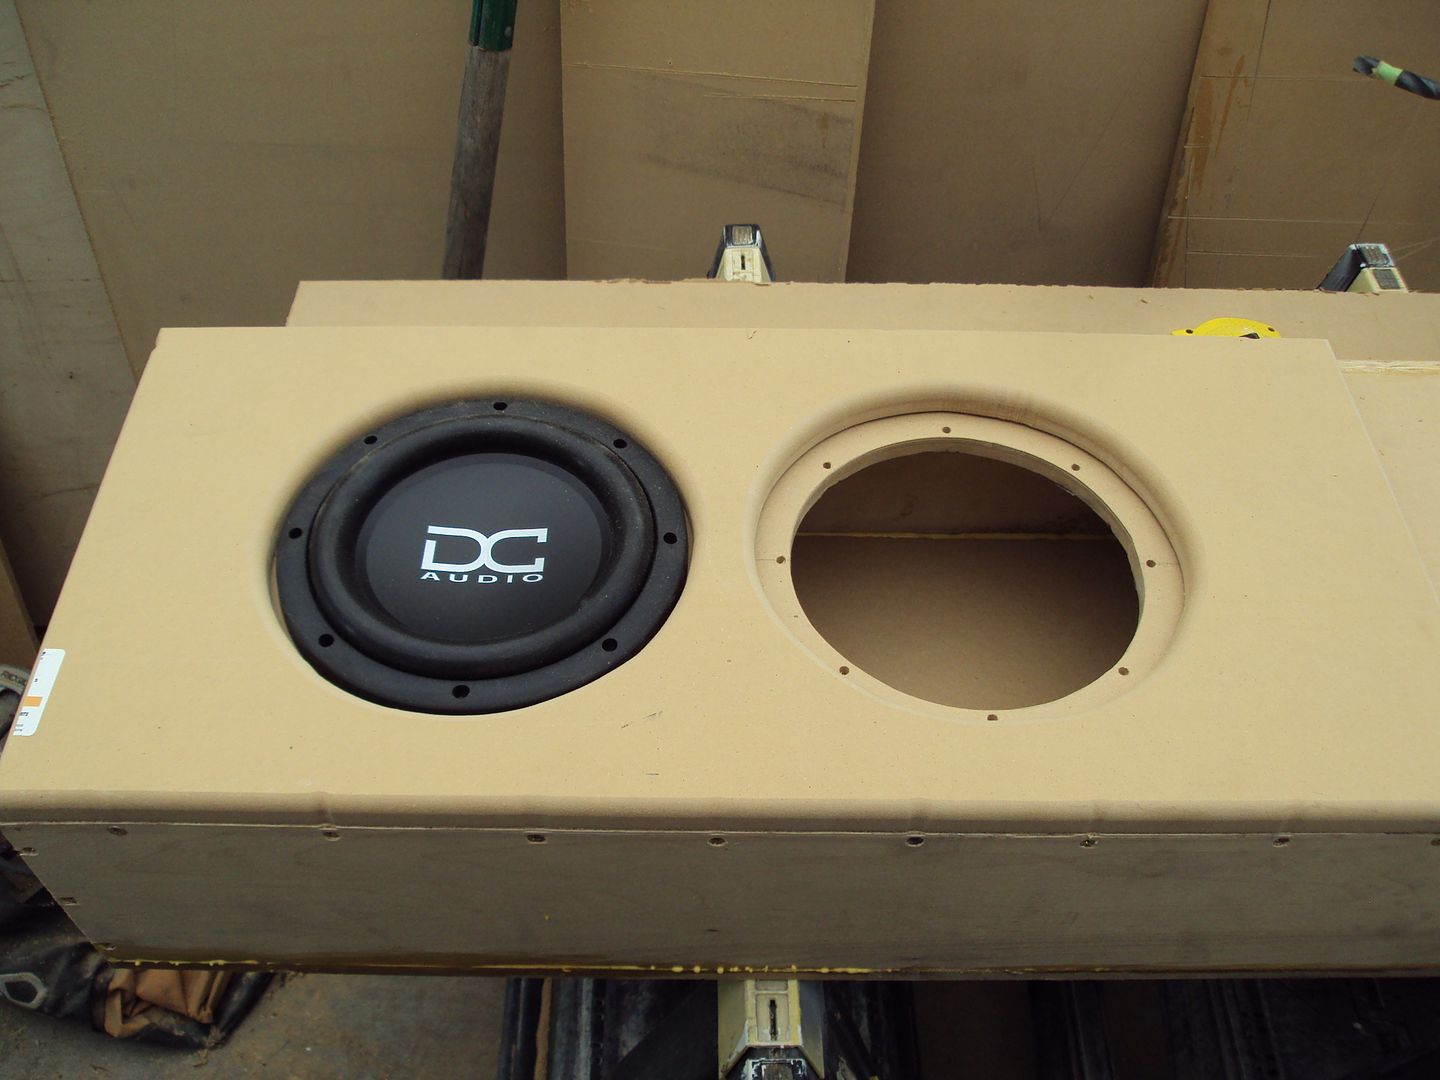
Put the sub in to get my outer cutout. I had a bit for the router but it's way short for the cut out. So back to the jigsaw!

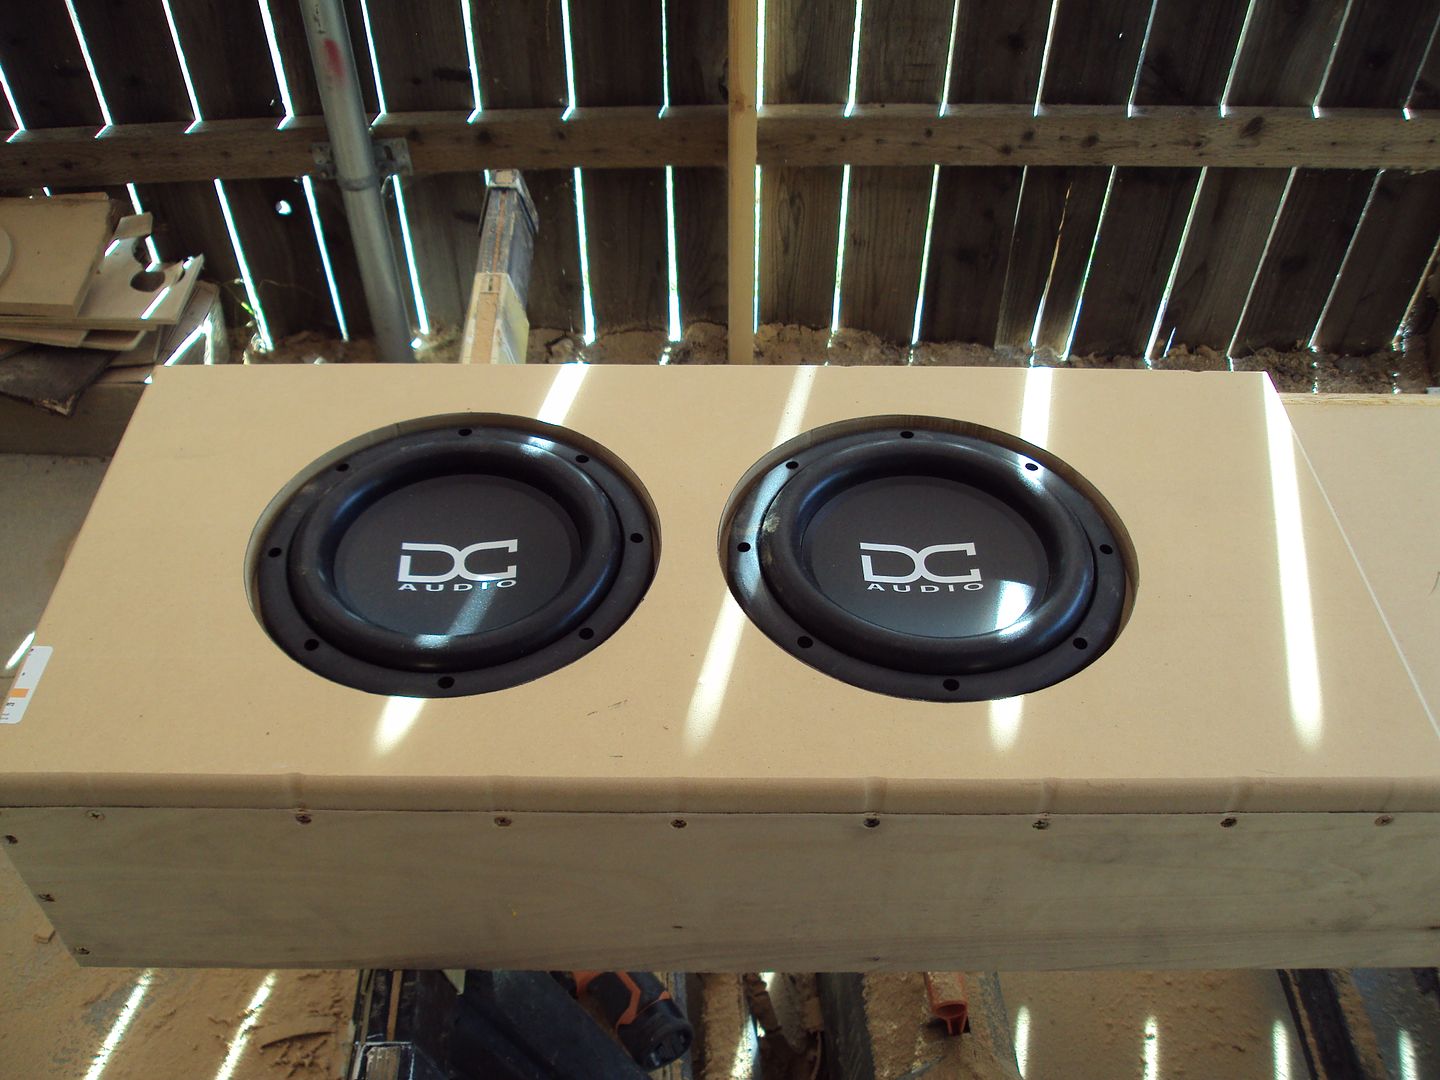
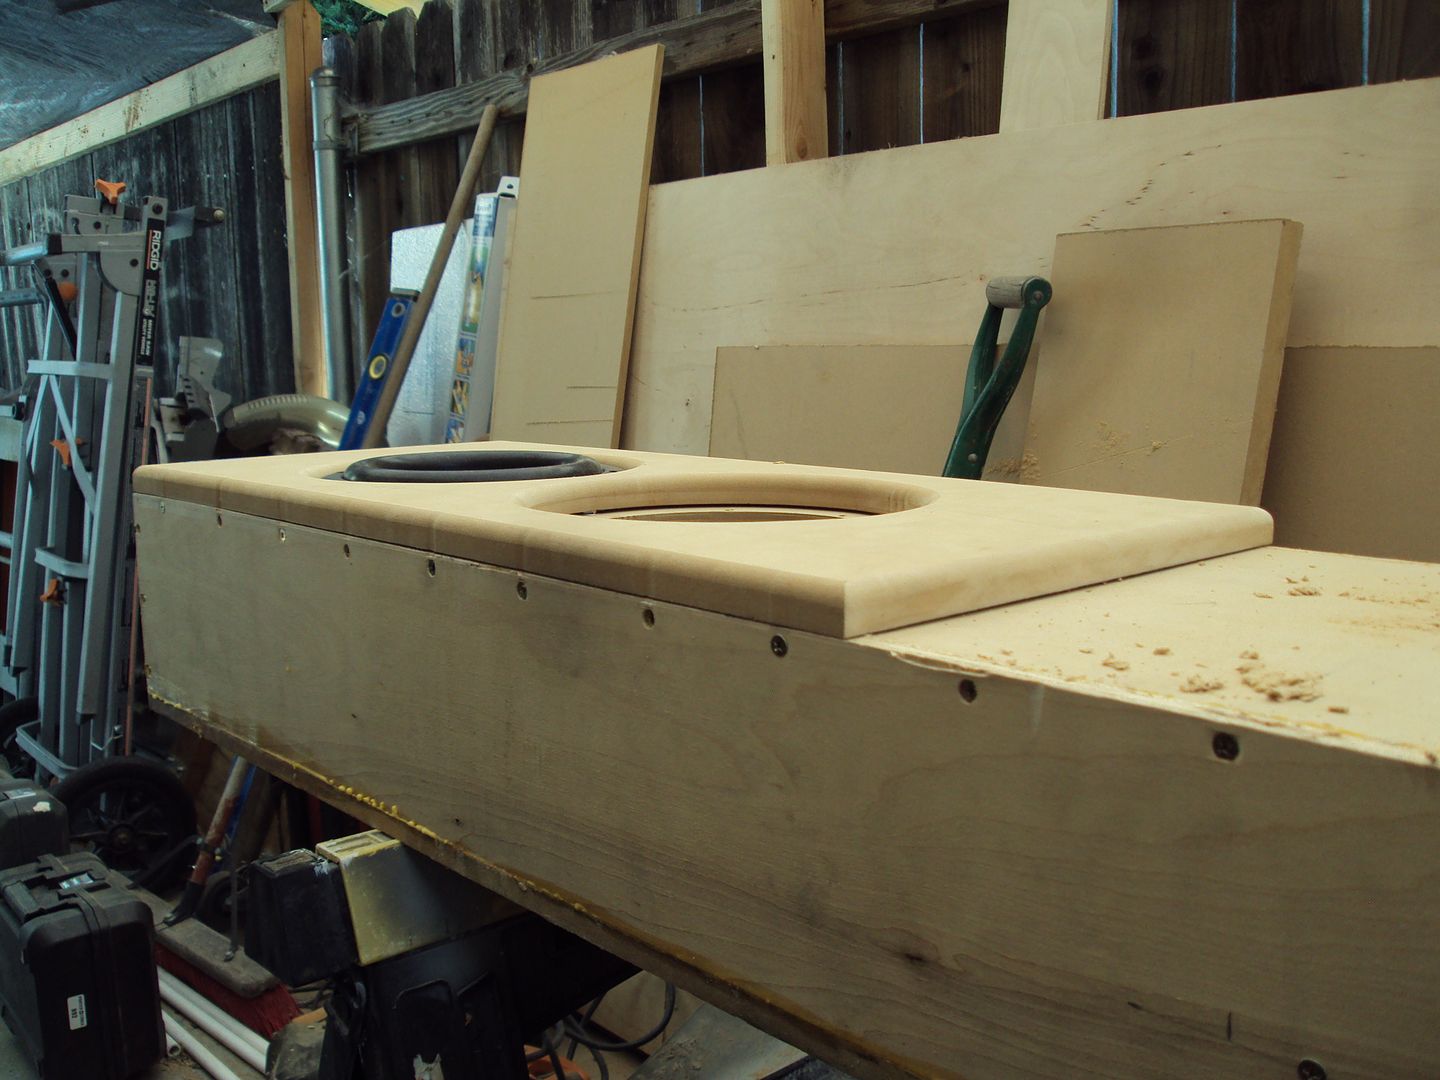
Then the test fit! I like it!
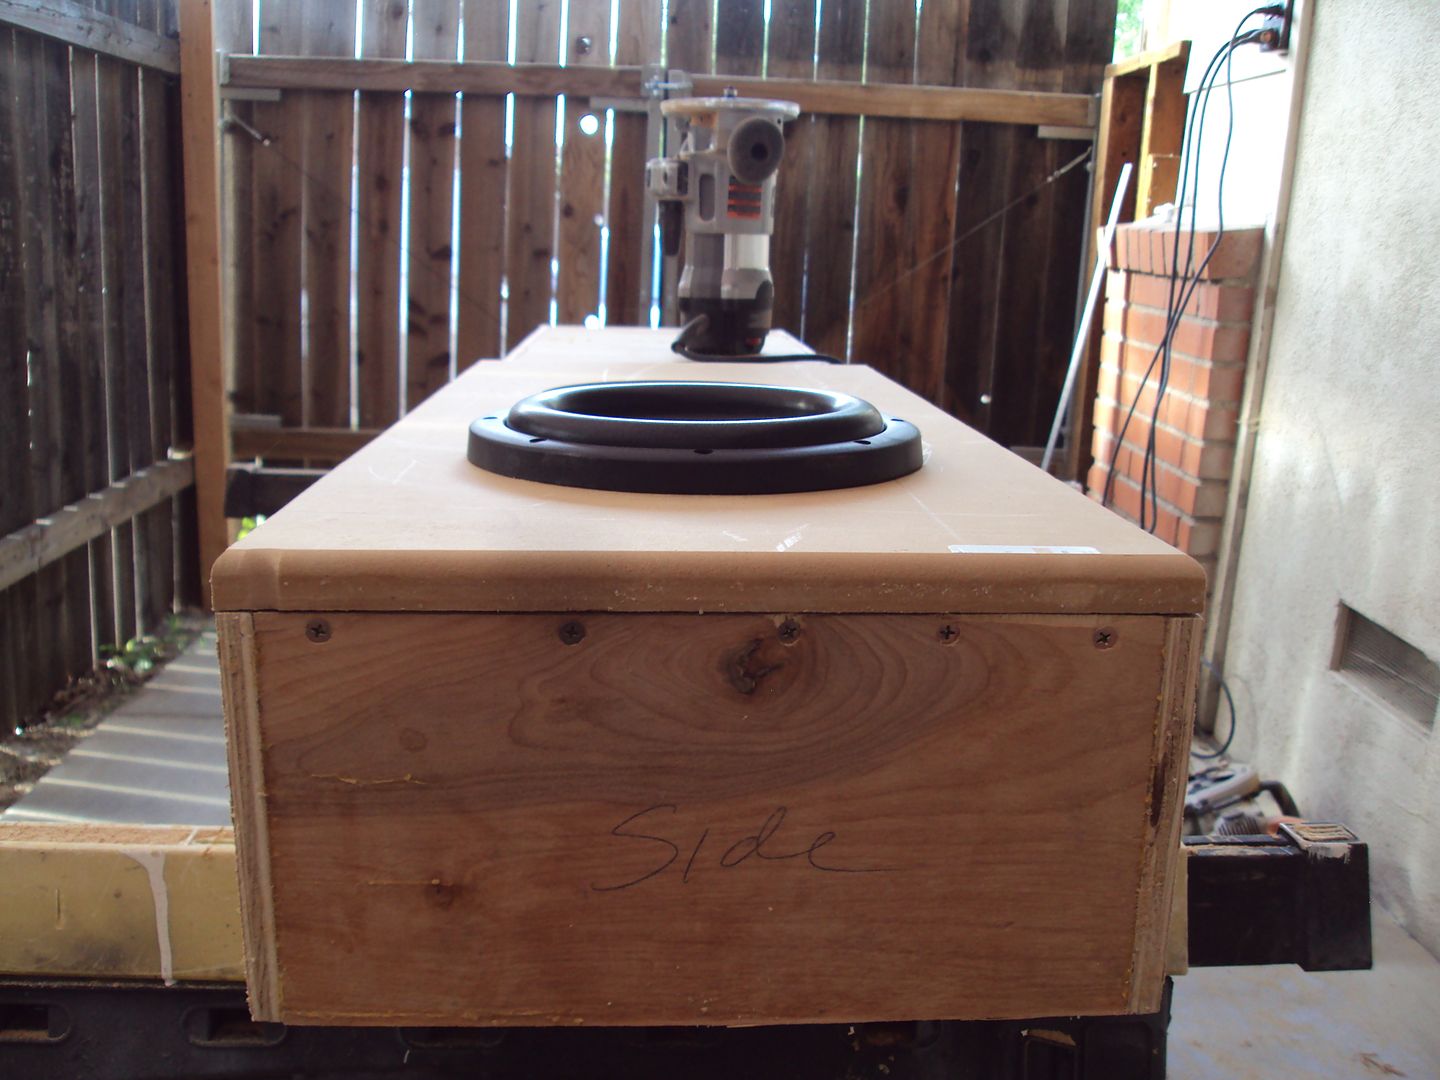
Then a little roundover to finish it off!
So that's pretty much where I left it off. I have a few things left to do still.
Attach Back Panel
Install Bracing Rods
threaded inserts for subs
Sanding
Amp Layout
Paint
Wire the subs
Install the amps.
I have to decide how I want to finish it. I may actually put a little carpet on the front of the flush panel. I have some of that Home Depot heavy outdoor carpet left over from a different box. I may paint the front of the box itself grey and do a two tone theme. Not sure yet.
Put the sub in to get my outer cutout. I had a bit for the router but it's way short for the cut out. So back to the jigsaw!
Then the test fit! I like it!
Then a little roundover to finish it off!
So that's pretty much where I left it off. I have a few things left to do still.
Attach Back Panel
Install Bracing Rods
threaded inserts for subs
Sanding
Amp Layout
Paint
Wire the subs
Install the amps.
I have to decide how I want to finish it. I may actually put a little carpet on the front of the flush panel. I have some of that Home Depot heavy outdoor carpet left over from a different box. I may paint the front of the box itself grey and do a two tone theme. Not sure yet.
#32
06-12-2012, 01:40 PM
Join Date: May 2011
Posts: 339
Likes: 0
Received 0 Likes
on
0 Posts
When I left off, I did a test fit of the subs, and a test fit of the flush panel. I'm still not happy with the flush panel and I'm not sure if I'm going to do anything about it or not, but for now I'm just going to hold on to what I've done!
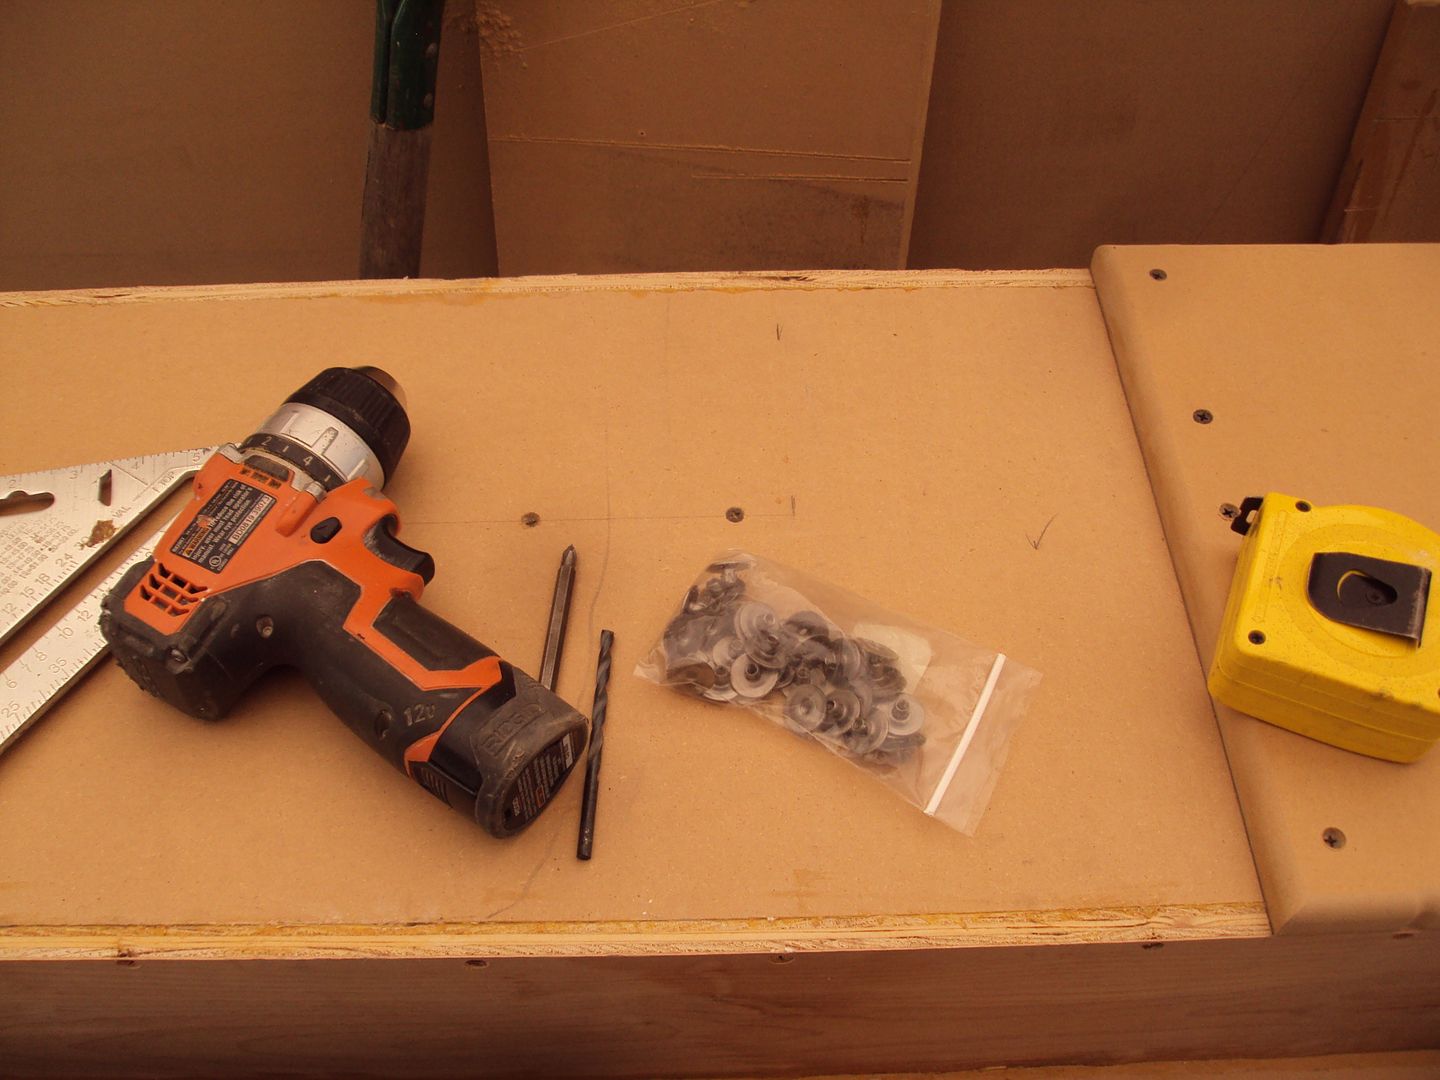
Today I started by drilling the holes for the threaded inserts.
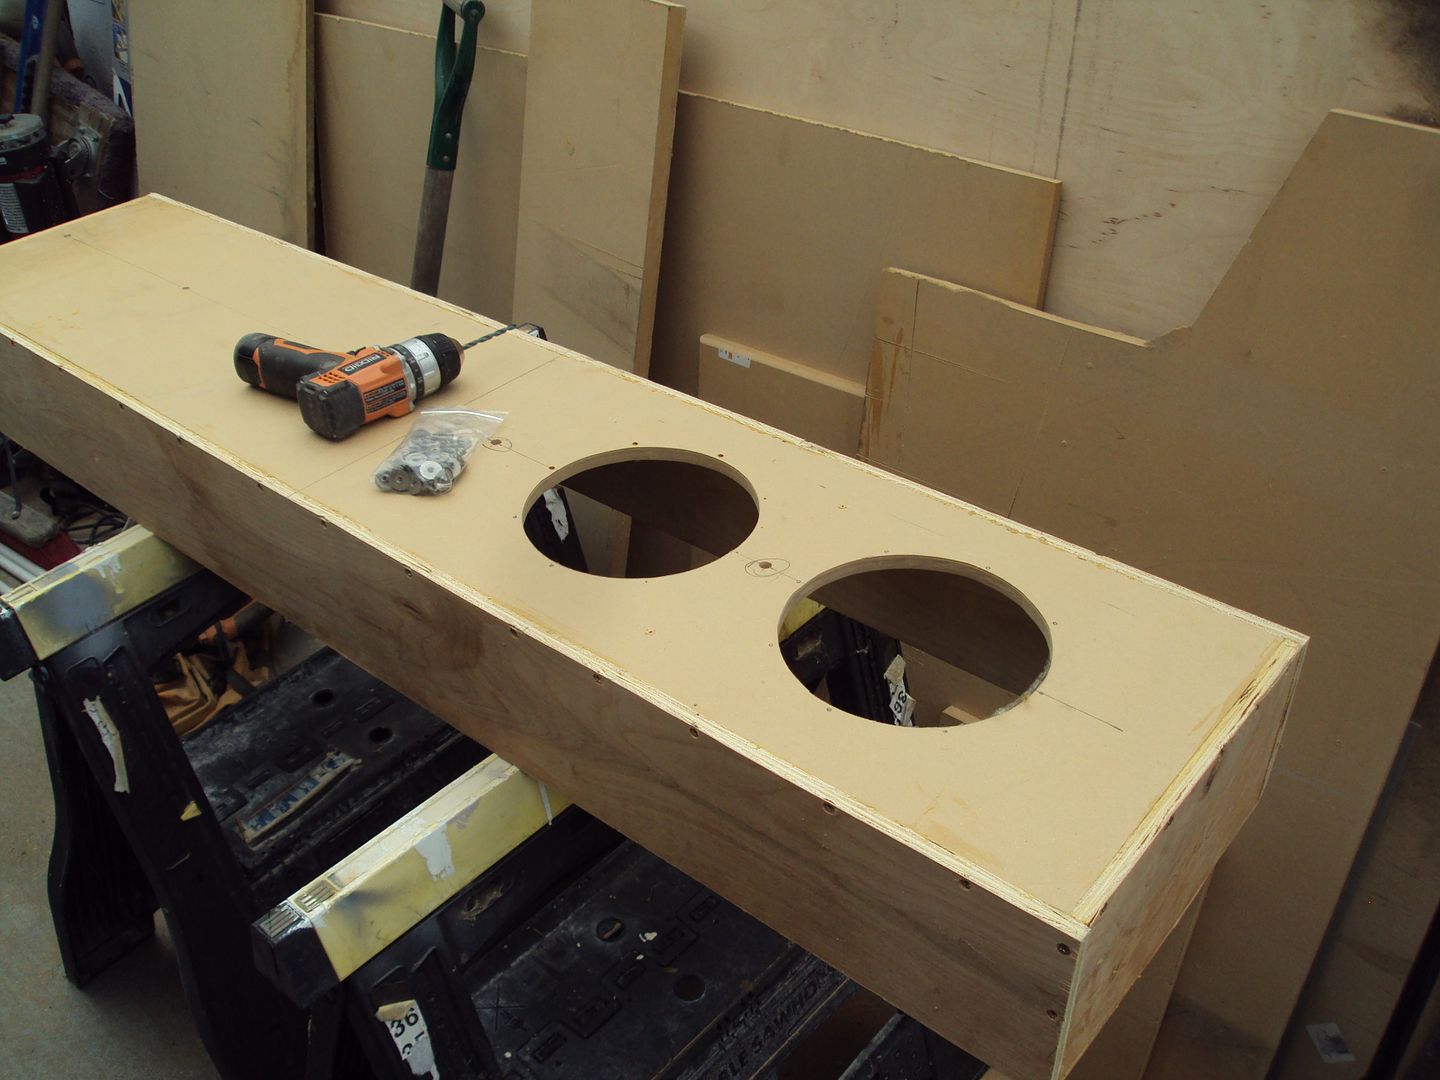
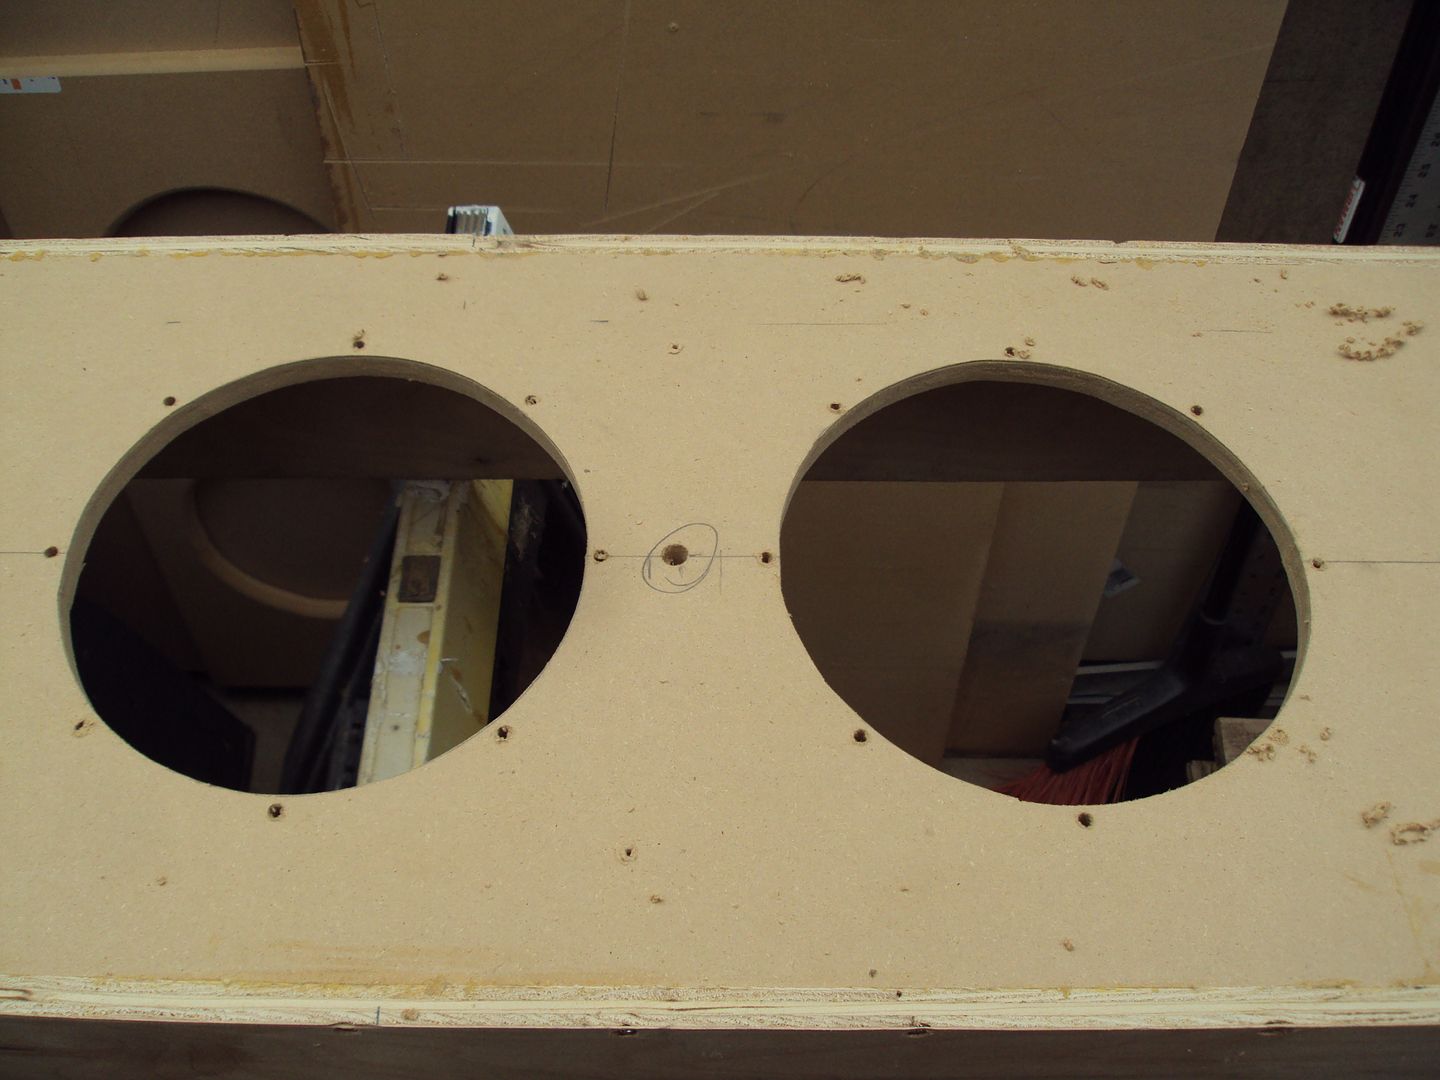
Then got to installing them.
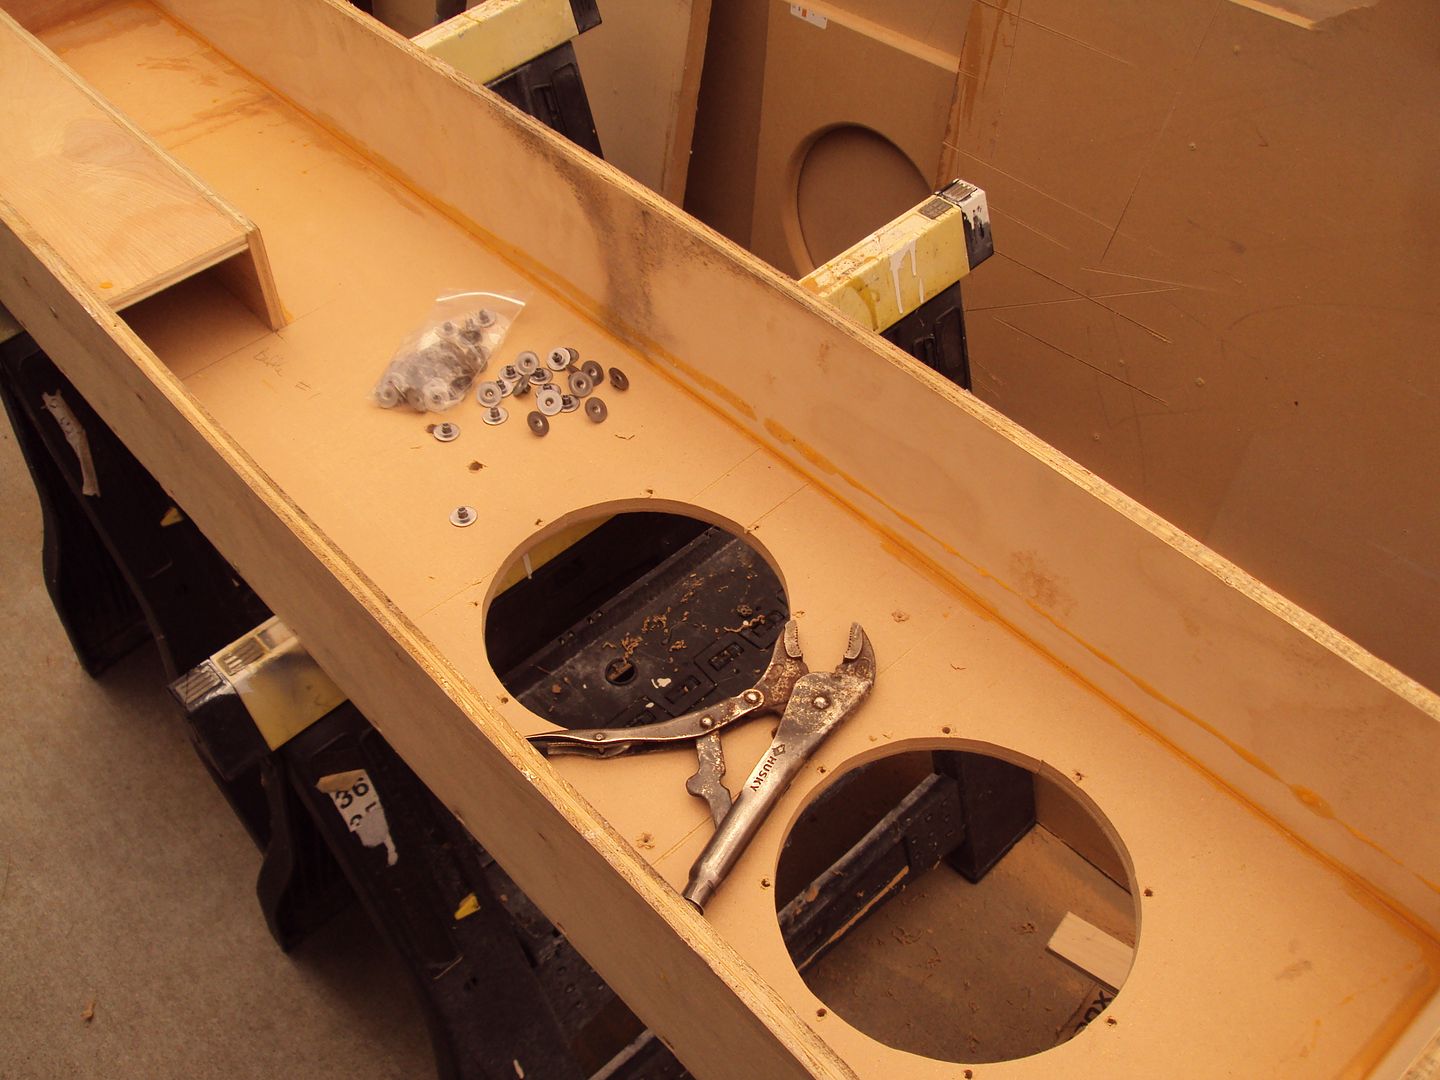
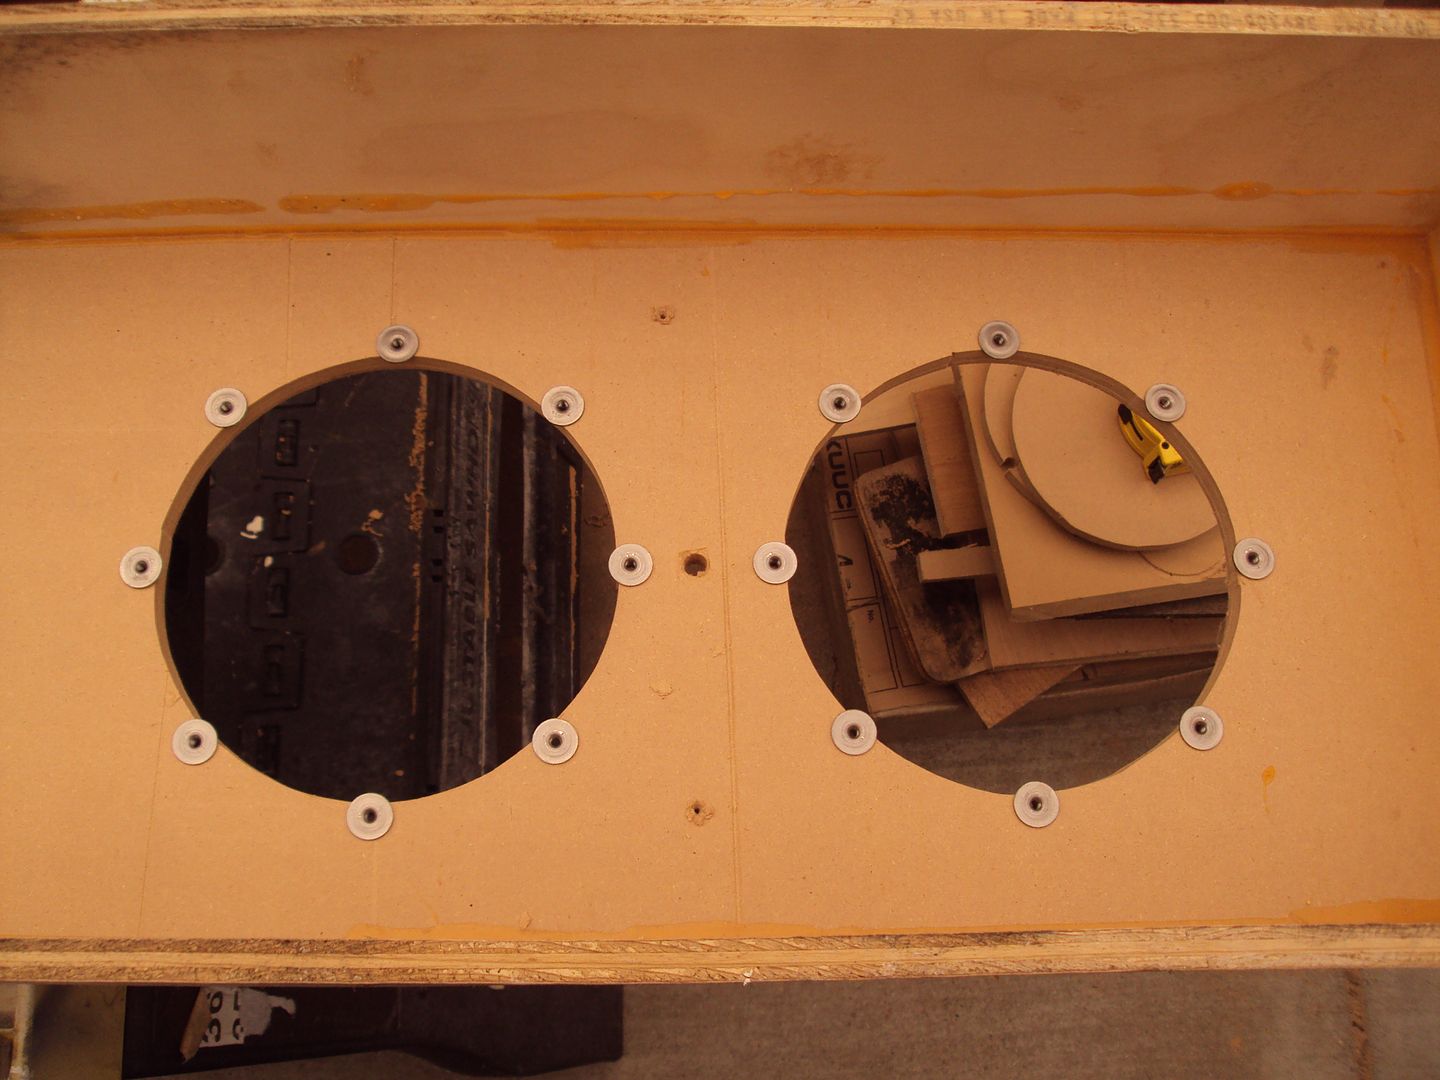
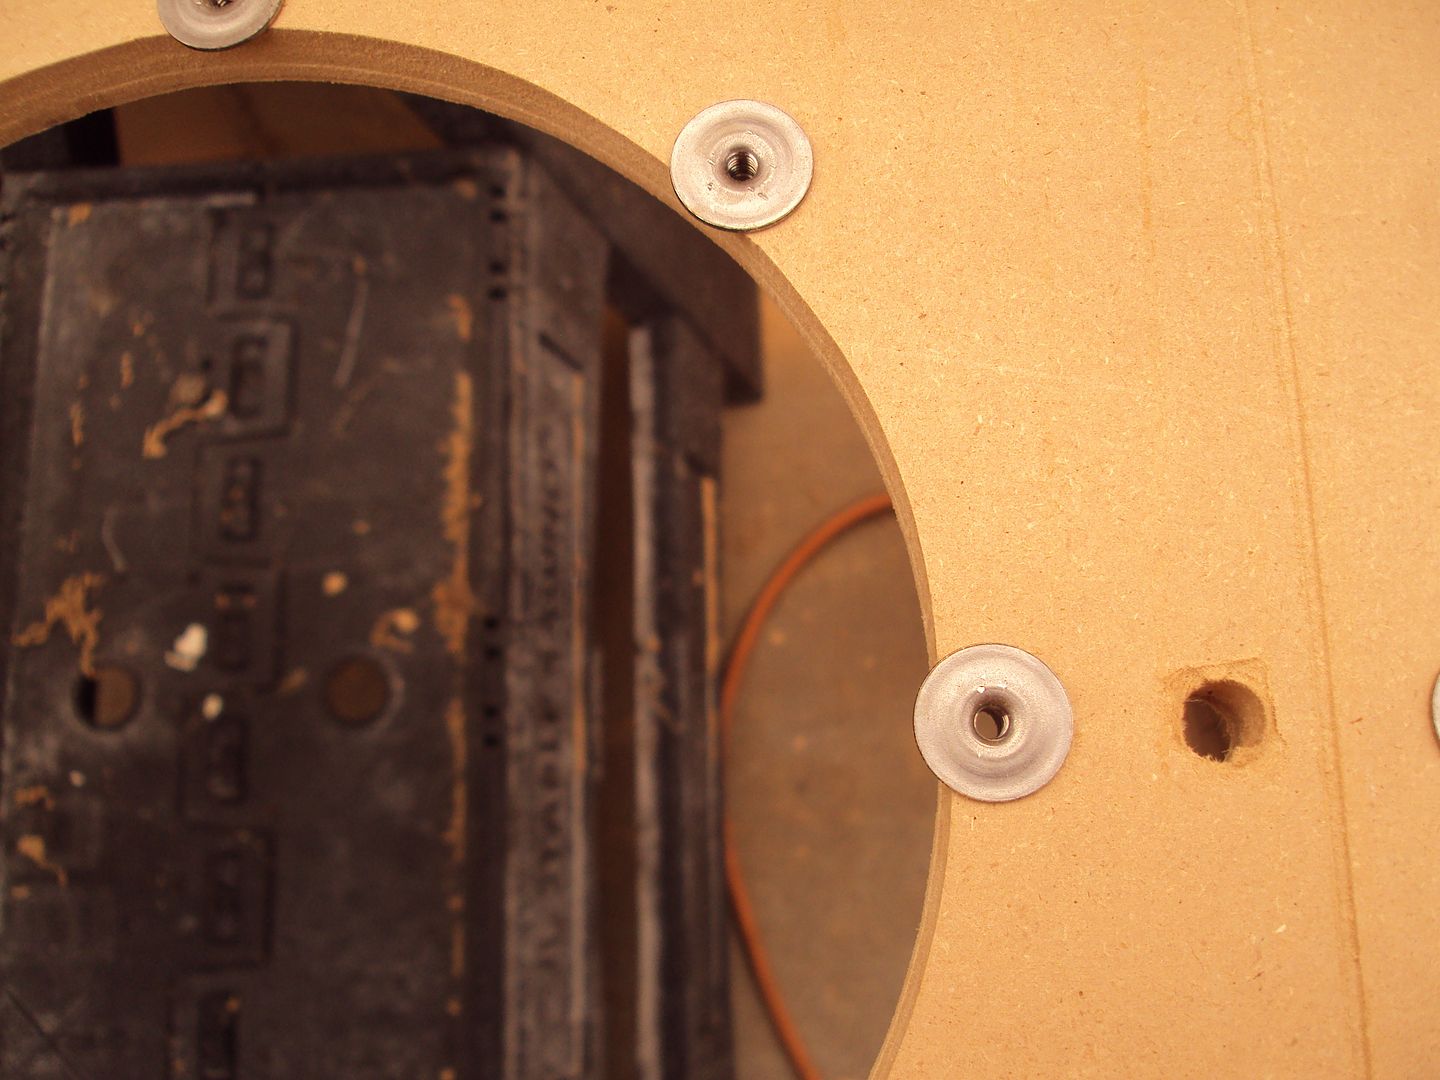
Once I got them all installed, I realized that I had a problem, which was confirmed by a test fit of the subs. The edges of the inserts stick out farther than the hole is. So the subs hit them and the holes don't line up. Bummer! You can see that here.
So I decided to get out my trusty friend and take care of the problem!
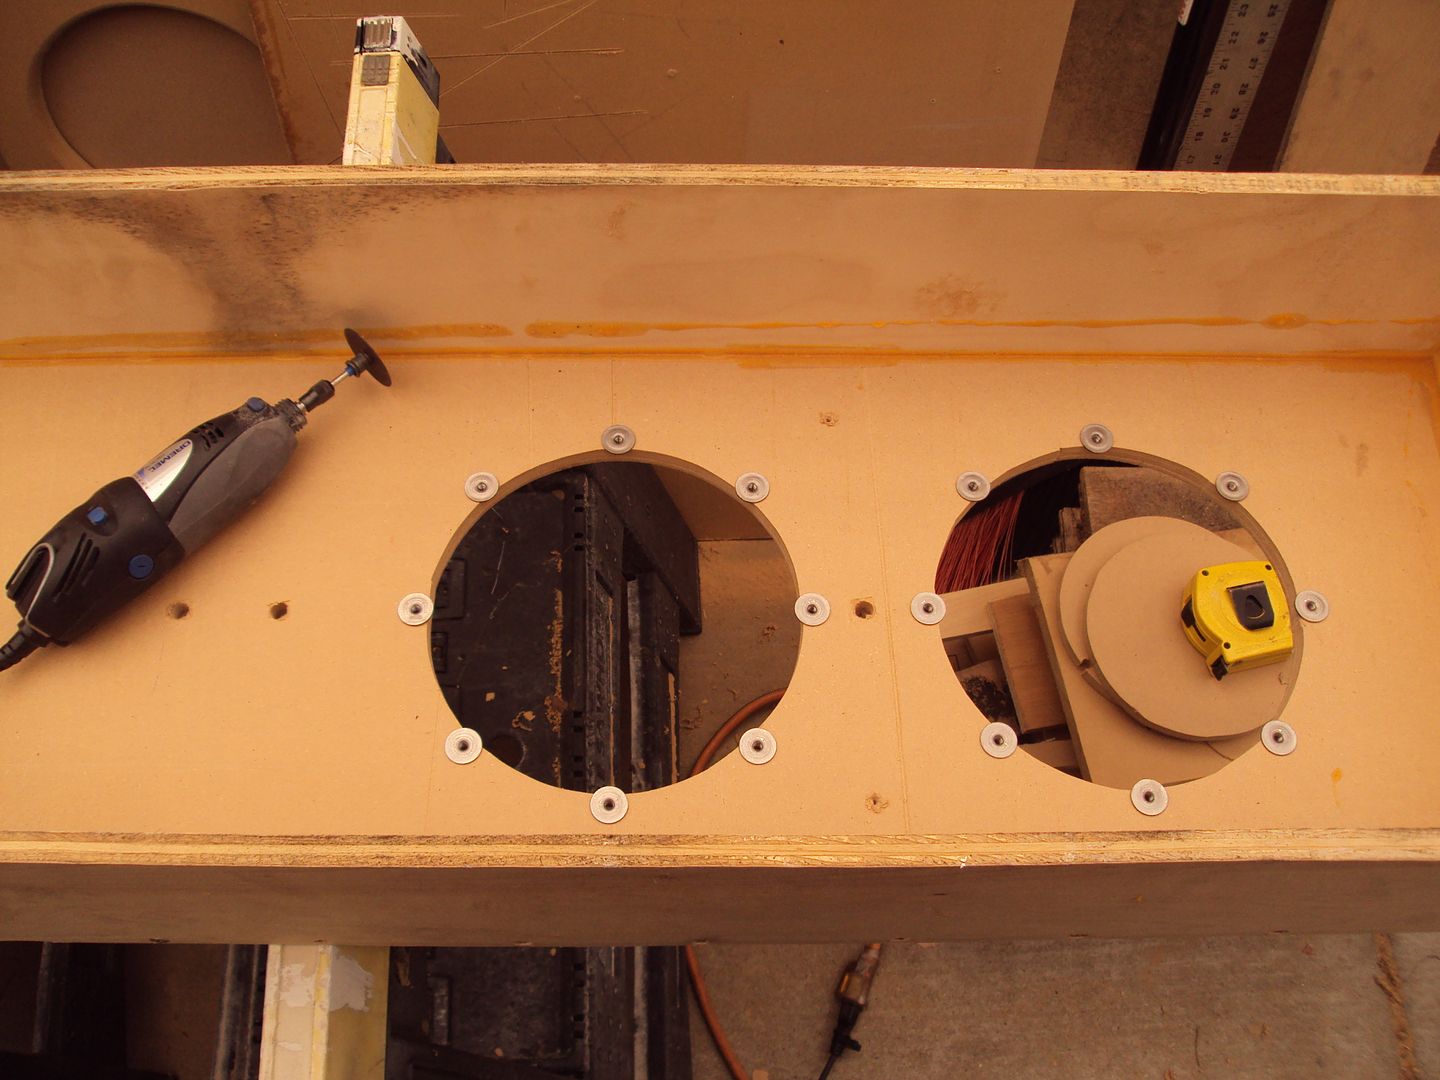
Did another test fit and we're golden.
Today I started by drilling the holes for the threaded inserts.
Then got to installing them.
Once I got them all installed, I realized that I had a problem, which was confirmed by a test fit of the subs. The edges of the inserts stick out farther than the hole is. So the subs hit them and the holes don't line up. Bummer! You can see that here.
So I decided to get out my trusty friend and take care of the problem!
Did another test fit and we're golden.
#33
06-12-2012, 01:40 PM
Join Date: May 2011
Posts: 339
Likes: 0
Received 0 Likes
on
0 Posts
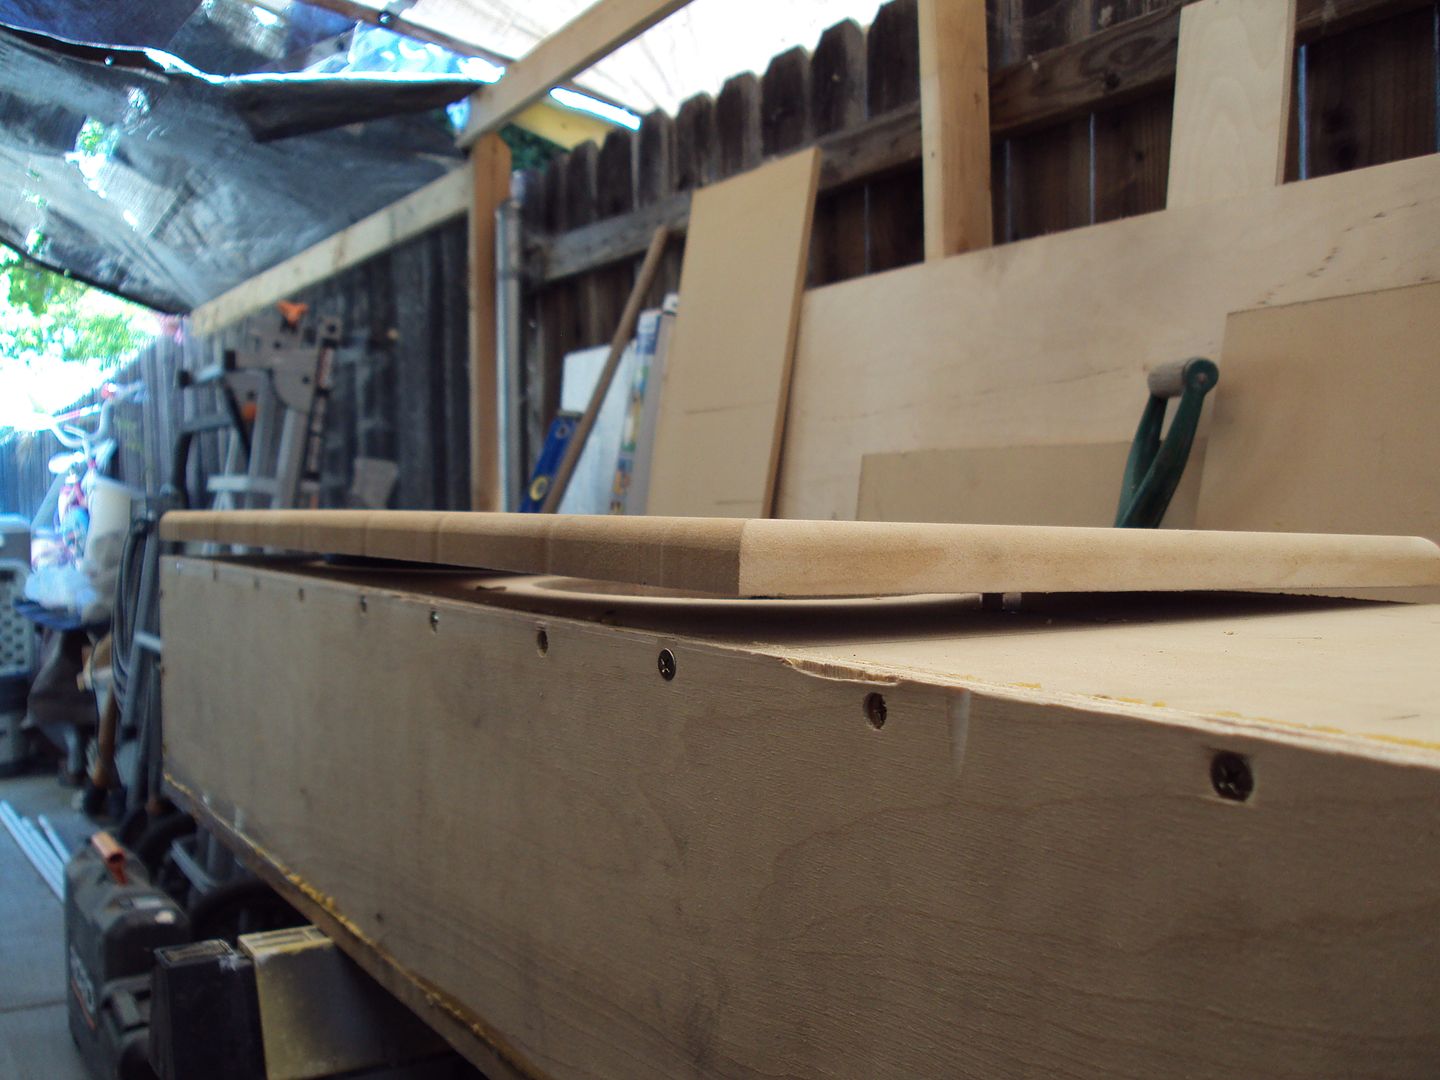
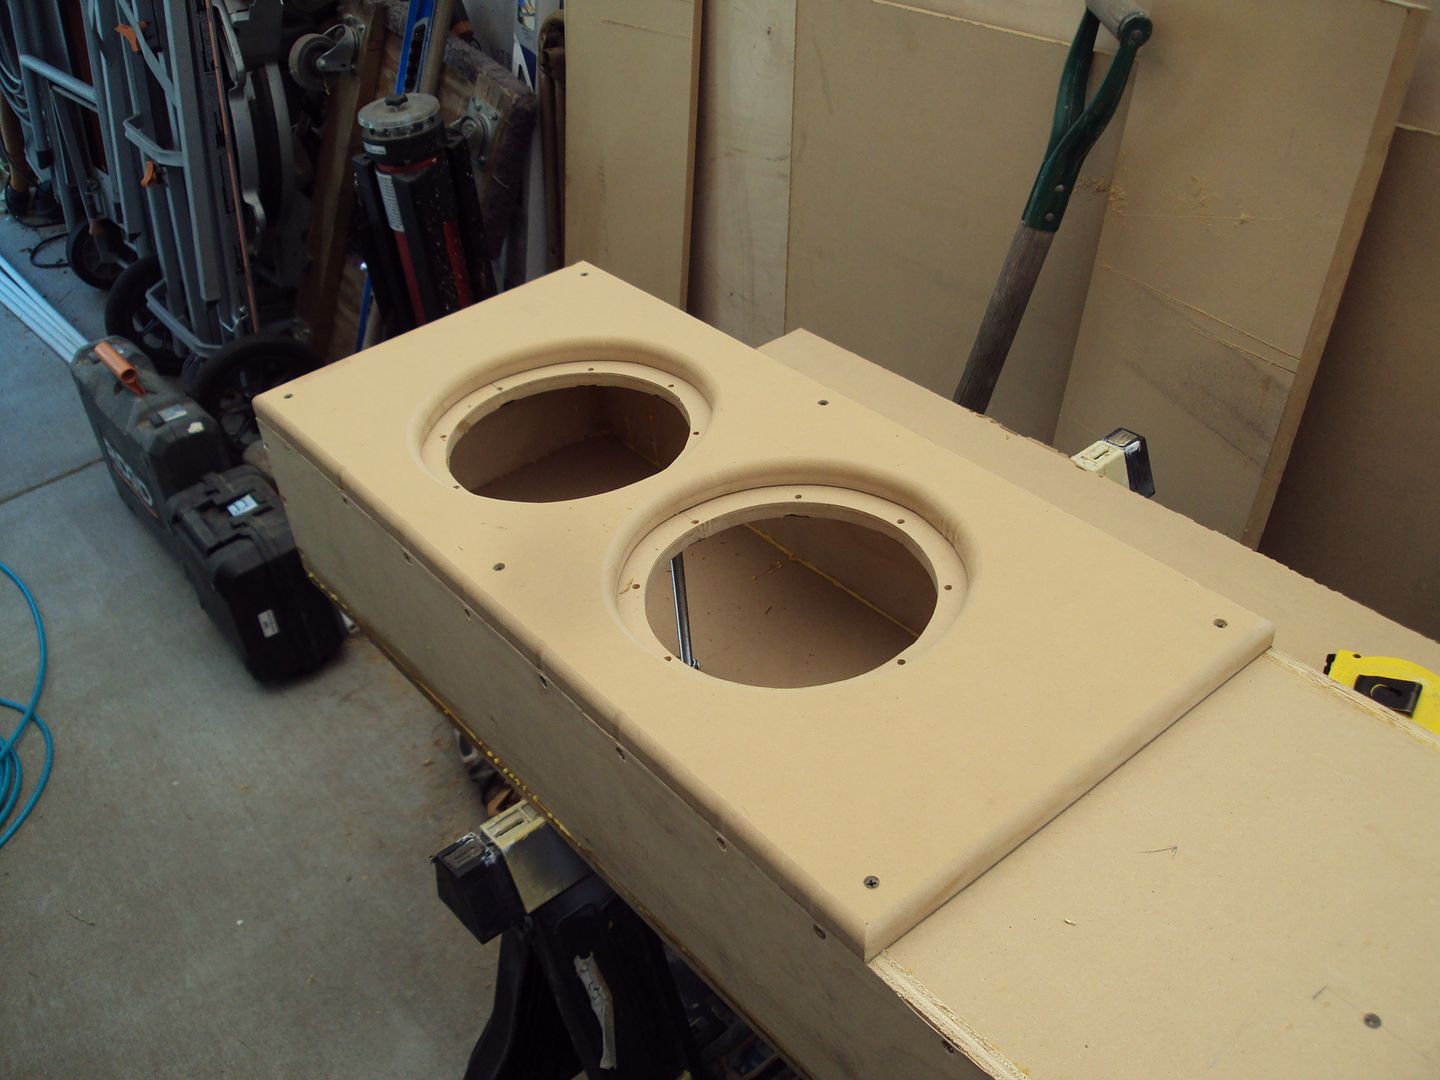
The next order of business was to address the square edges on this port. Not much I can do about it, but sand it. So I used my good friend again, with a sanding wheel this time, and did the best number I could on it. Probably should've done a little better job, but it's not square anymore and that's the point.
Next up was the bracing. Remember this is only half inch ply and mdf. So I need some kind of bracing in this thing at least. The top, bottom, and sides are probably ok, cause they're all birch and only about 6" wide so they're pretty stiff. However, the front and back panels are MDF and there's gonna be some flexin going on there!
So instead of cutting a bunch of wood and nailing or screwing them, I decided threaded rods, washers, nuts, and nuts with nylon inserts will be the best thing to use here.
The hardware!
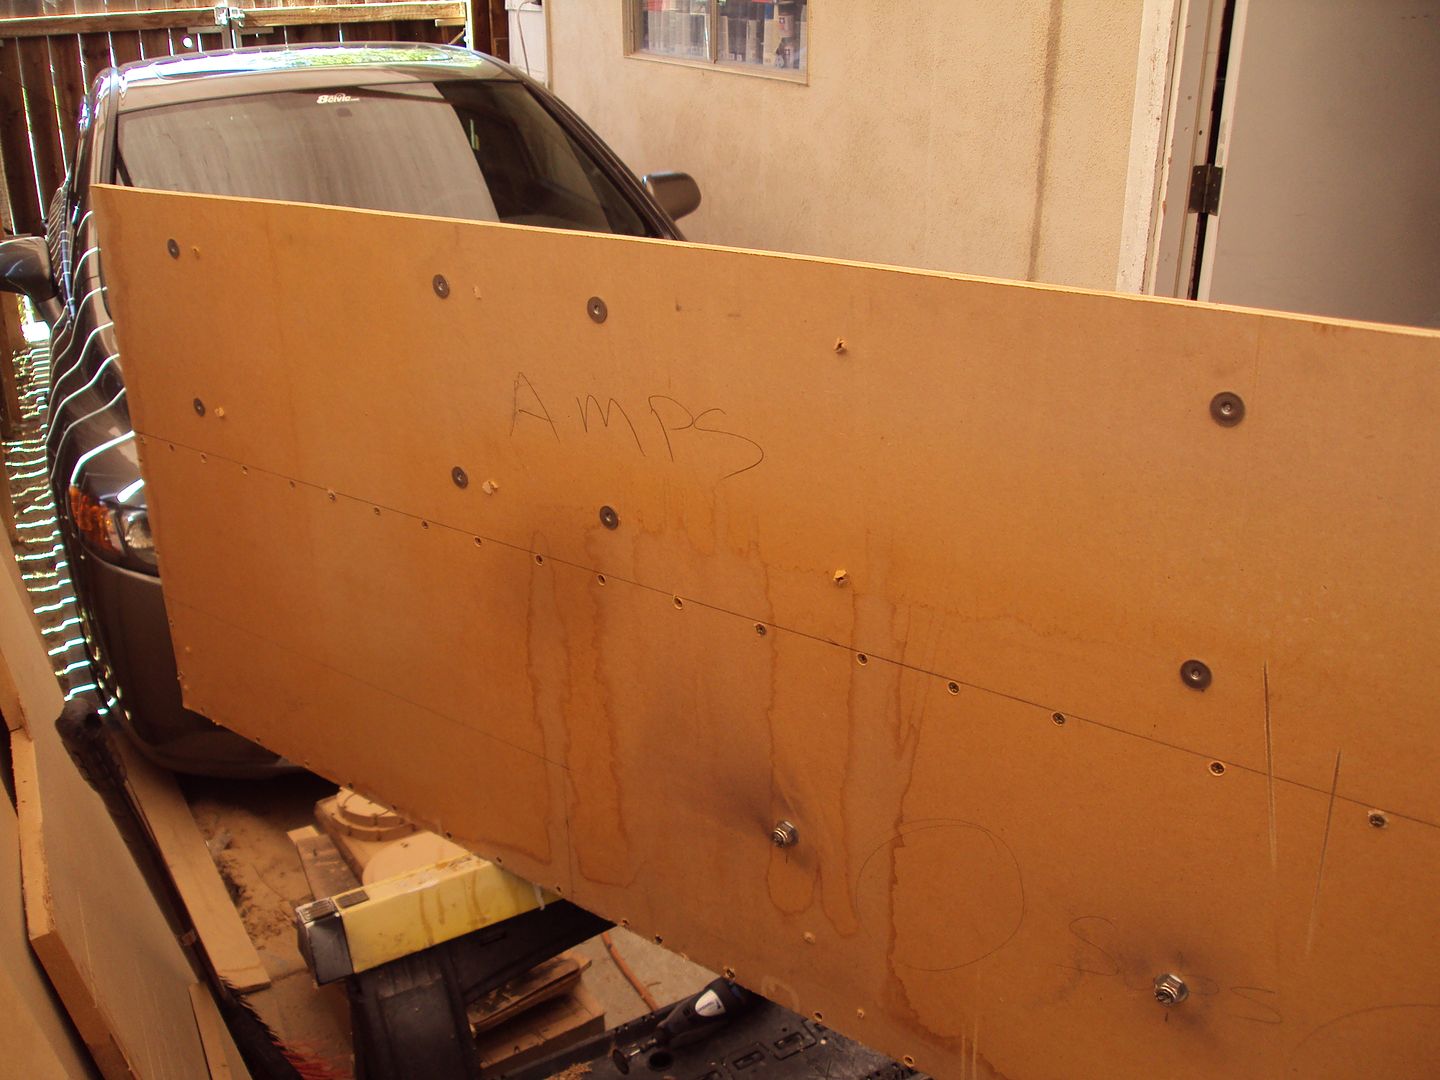
Now that I've got the rods in, tightened on the bottom, and the second nut and washer on, it's time for the last part in completing the actual box. The back side including the amp rack.
Got the holes drilled to fit the rods through
Then it was time to glue it. NICE thick bead so it oozes out everywhere!
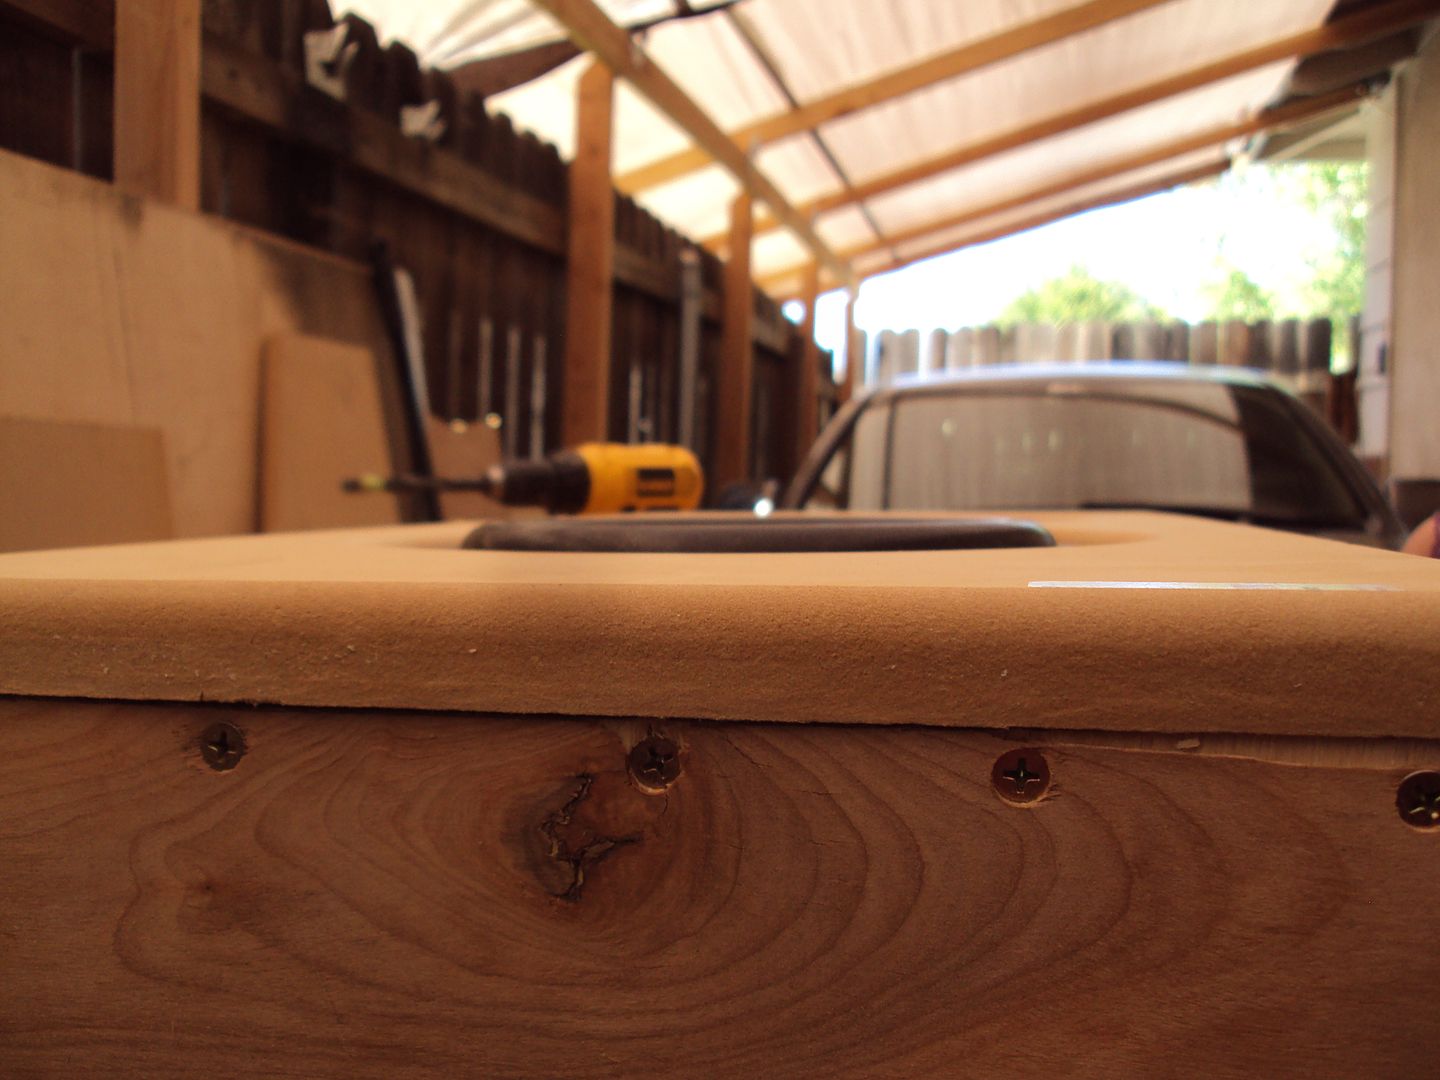
Then get it on there! Obviously here I had to get it on, put a couple screws in it and flip it over. That's why it's back side up now. Did some counter sinking and then screwing! She's tight!!!!
Now as you can see the rods are too tall. So I had to cut them off. Well in order to not mess up the threads and be able to get the nuts on, I put on a couple extra nuts first, then cut them off. This way I can run the nuts off, salvage the threads and put the nuts with the nylon inserts on with no problems!
Next up was the bracing. Remember this is only half inch ply and mdf. So I need some kind of bracing in this thing at least. The top, bottom, and sides are probably ok, cause they're all birch and only about 6" wide so they're pretty stiff. However, the front and back panels are MDF and there's gonna be some flexin going on there!
So instead of cutting a bunch of wood and nailing or screwing them, I decided threaded rods, washers, nuts, and nuts with nylon inserts will be the best thing to use here.
The hardware!
Now that I've got the rods in, tightened on the bottom, and the second nut and washer on, it's time for the last part in completing the actual box. The back side including the amp rack.
Got the holes drilled to fit the rods through
Then it was time to glue it. NICE thick bead so it oozes out everywhere!
Then get it on there! Obviously here I had to get it on, put a couple screws in it and flip it over. That's why it's back side up now. Did some counter sinking and then screwing! She's tight!!!!
Now as you can see the rods are too tall. So I had to cut them off. Well in order to not mess up the threads and be able to get the nuts on, I put on a couple extra nuts first, then cut them off. This way I can run the nuts off, salvage the threads and put the nuts with the nylon inserts on with no problems!
#34
06-12-2012, 01:41 PM
Join Date: May 2011
Posts: 339
Likes: 0
Received 0 Likes
on
0 Posts
So after this was done, I was thinking to myself, I really need to get an air saw. I've been talking about getting one for a while now, and really it's just a good tool to have. So after seeing this, I was shaking my head saying I have to just go get one! So that's next on the list of tools to buy!
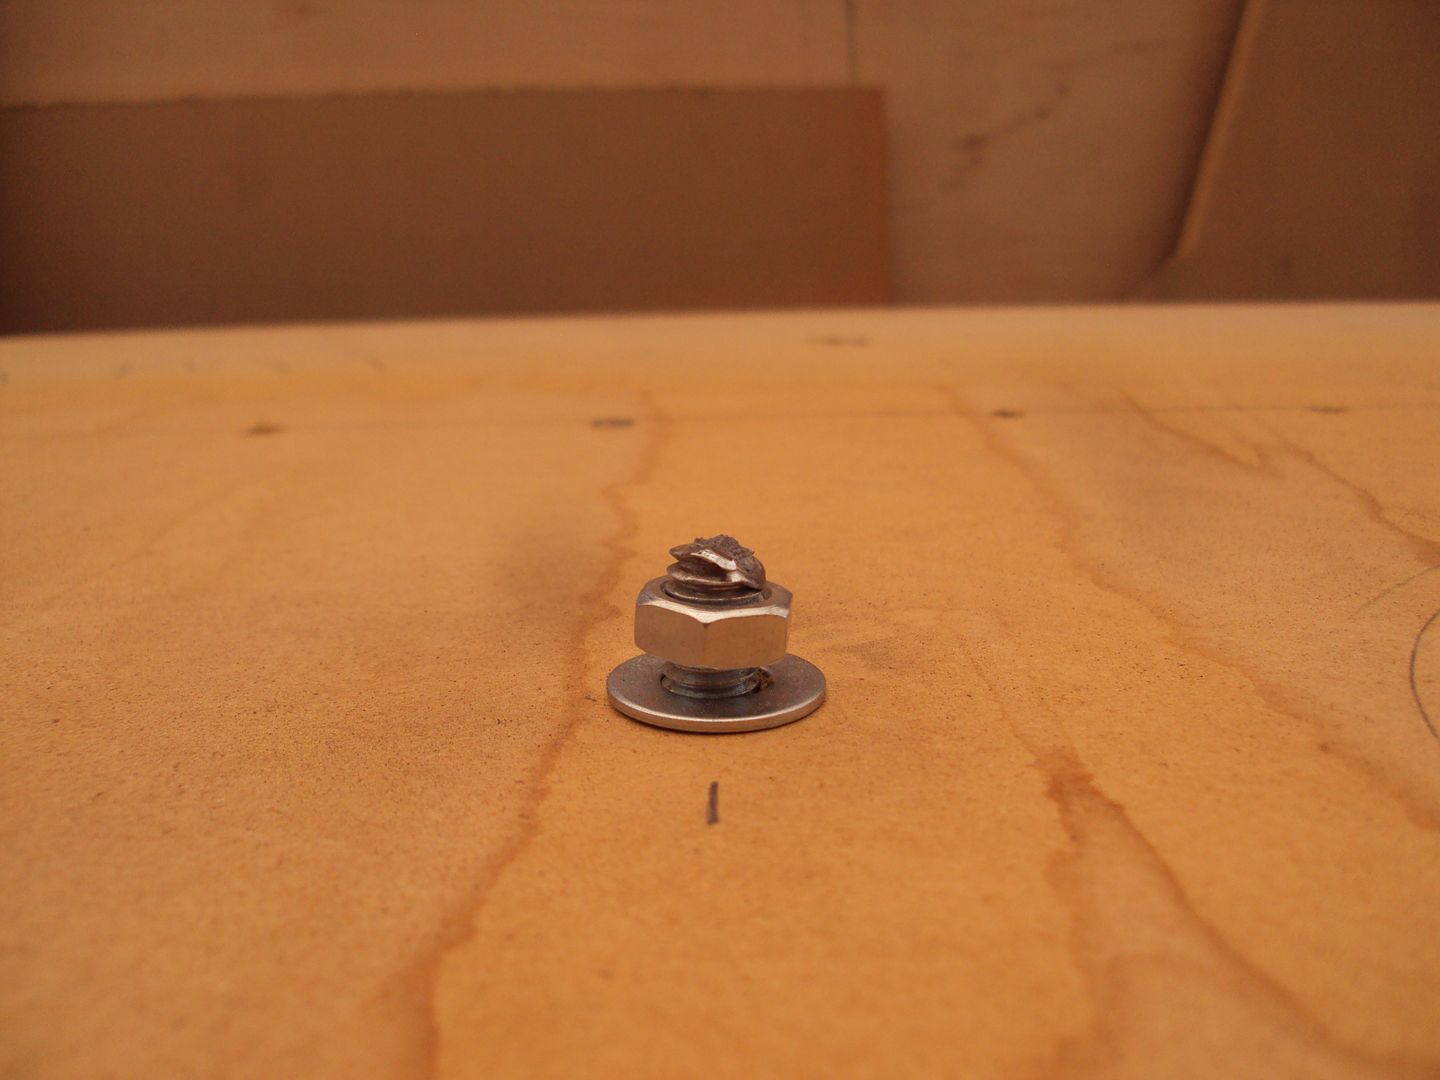
So I ran those nuts off and put the final ones on no problems and tightened it down! NO FLEX!!
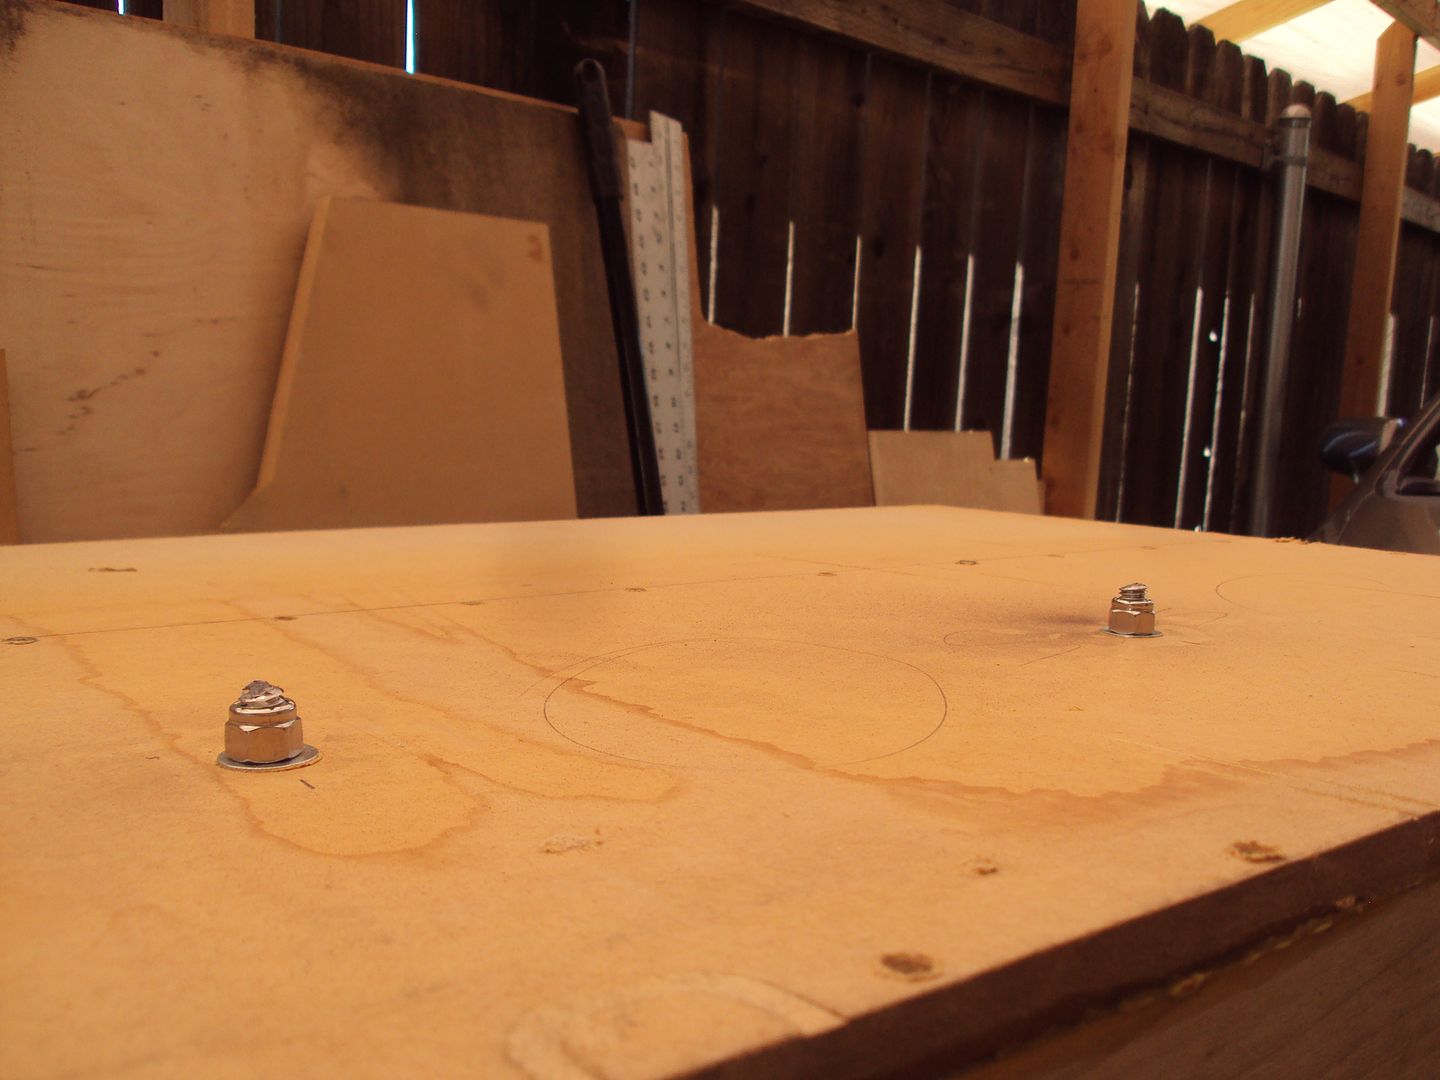
I also trimmed off the excess! Not pictured.
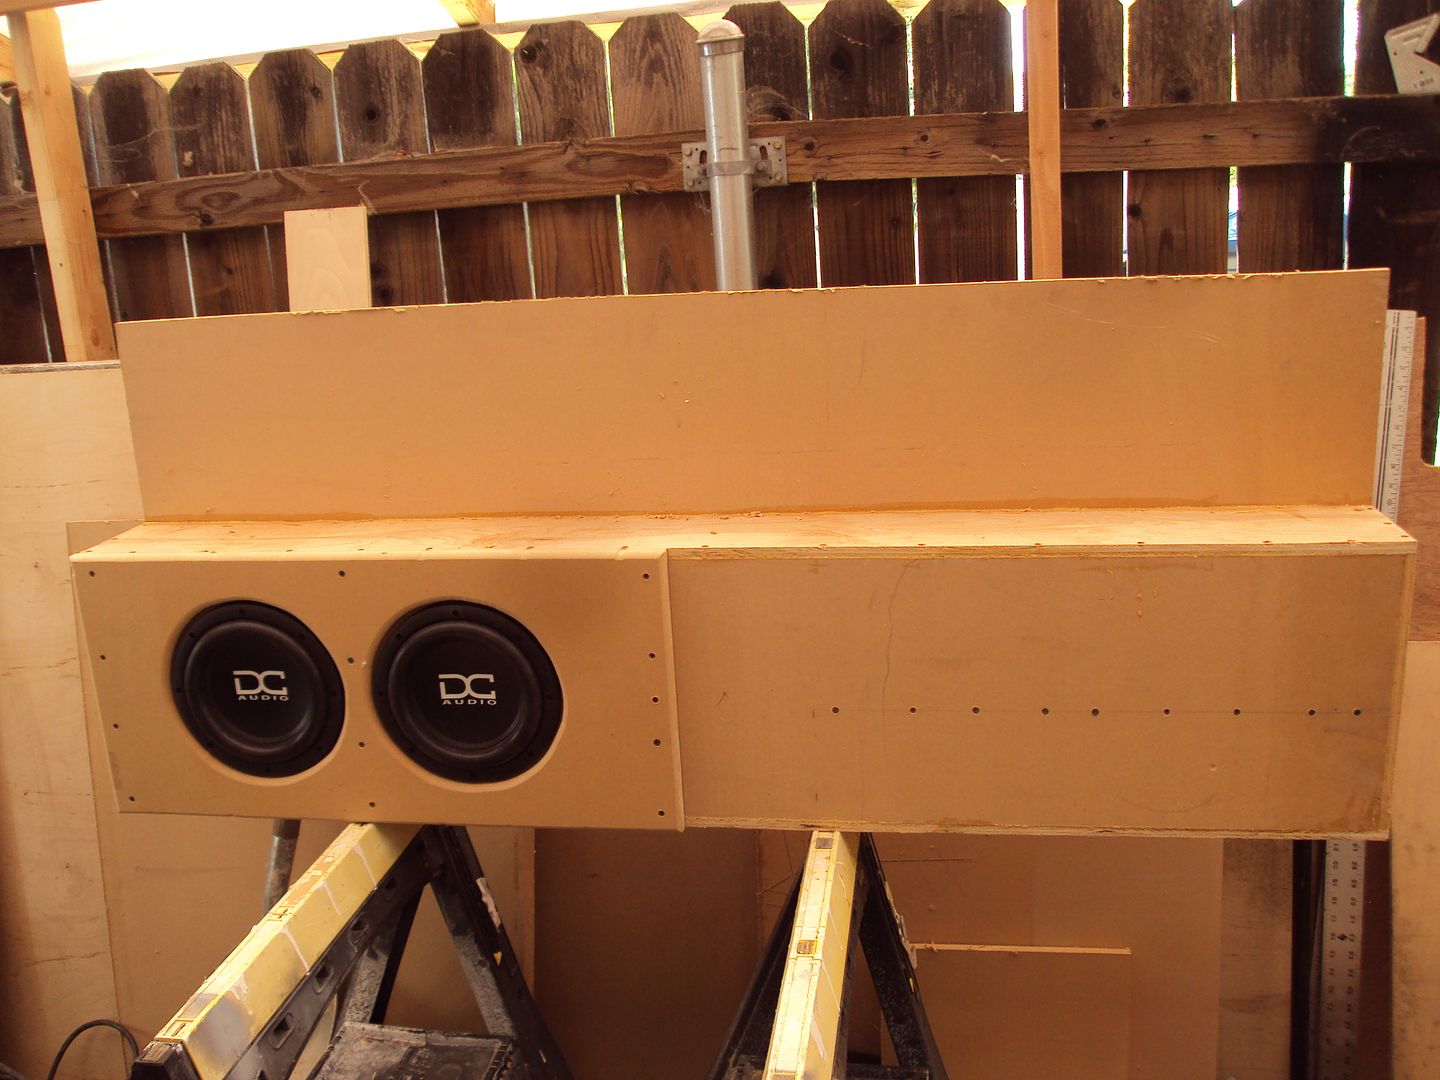
So here is what she looks like so far!
Now onto the flush panel. I need to hide the nuts from the rods, so I measured it out, drilled the holes and got it mounted.
Half inch bit with tape to mark the depth. 1/2" out of a 3/4" panel. Needed to stay within the extra quarter inch!
Then I just reamed them out a little bit to fit the nut!
Sits beautifully!
So I ran those nuts off and put the final ones on no problems and tightened it down! NO FLEX!!
I also trimmed off the excess! Not pictured.
So here is what she looks like so far!
Now onto the flush panel. I need to hide the nuts from the rods, so I measured it out, drilled the holes and got it mounted.
Half inch bit with tape to mark the depth. 1/2" out of a 3/4" panel. Needed to stay within the extra quarter inch!
Then I just reamed them out a little bit to fit the nut!
Sits beautifully!
#35
06-12-2012, 01:41 PM
Join Date: May 2011
Posts: 339
Likes: 0
Received 0 Likes
on
0 Posts
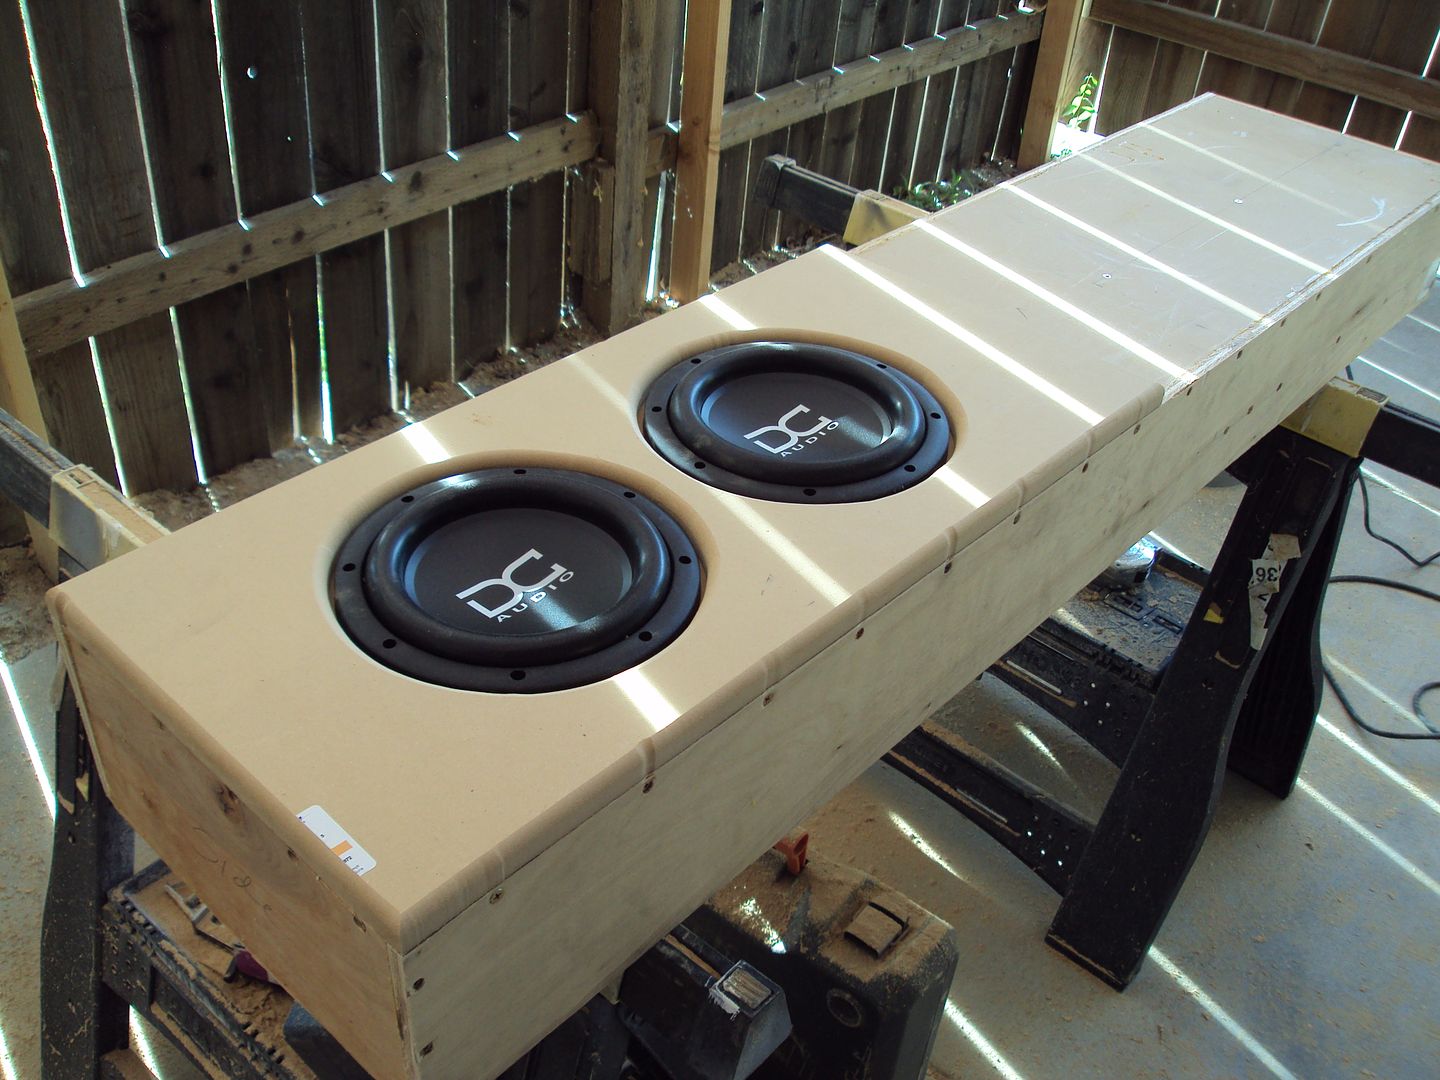
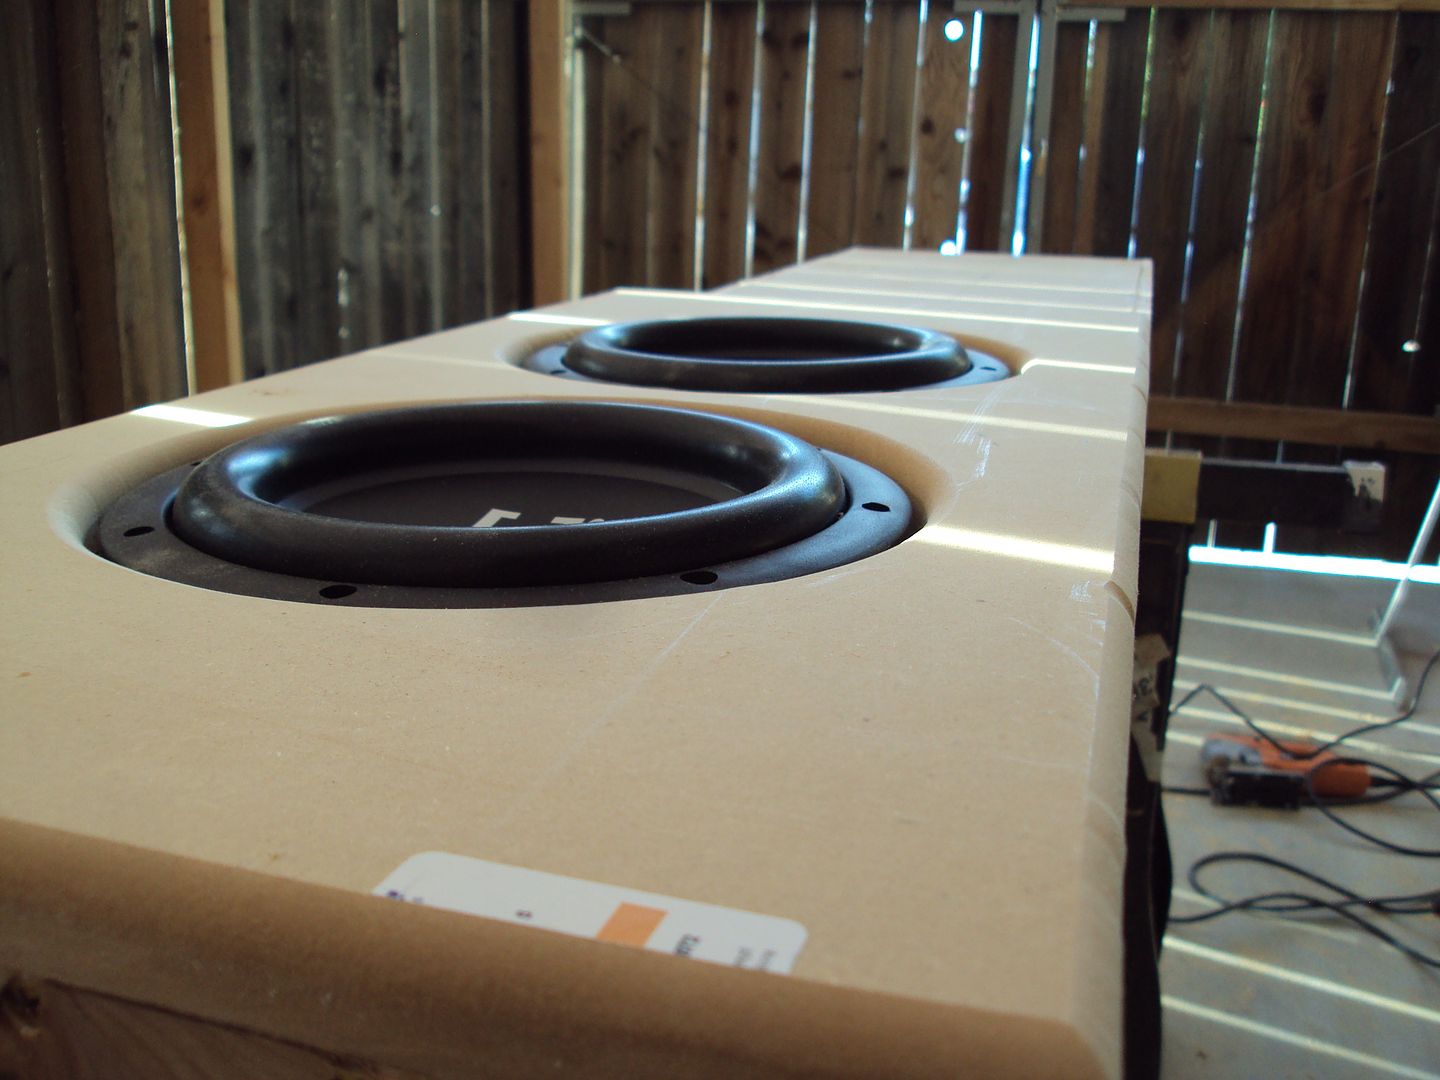
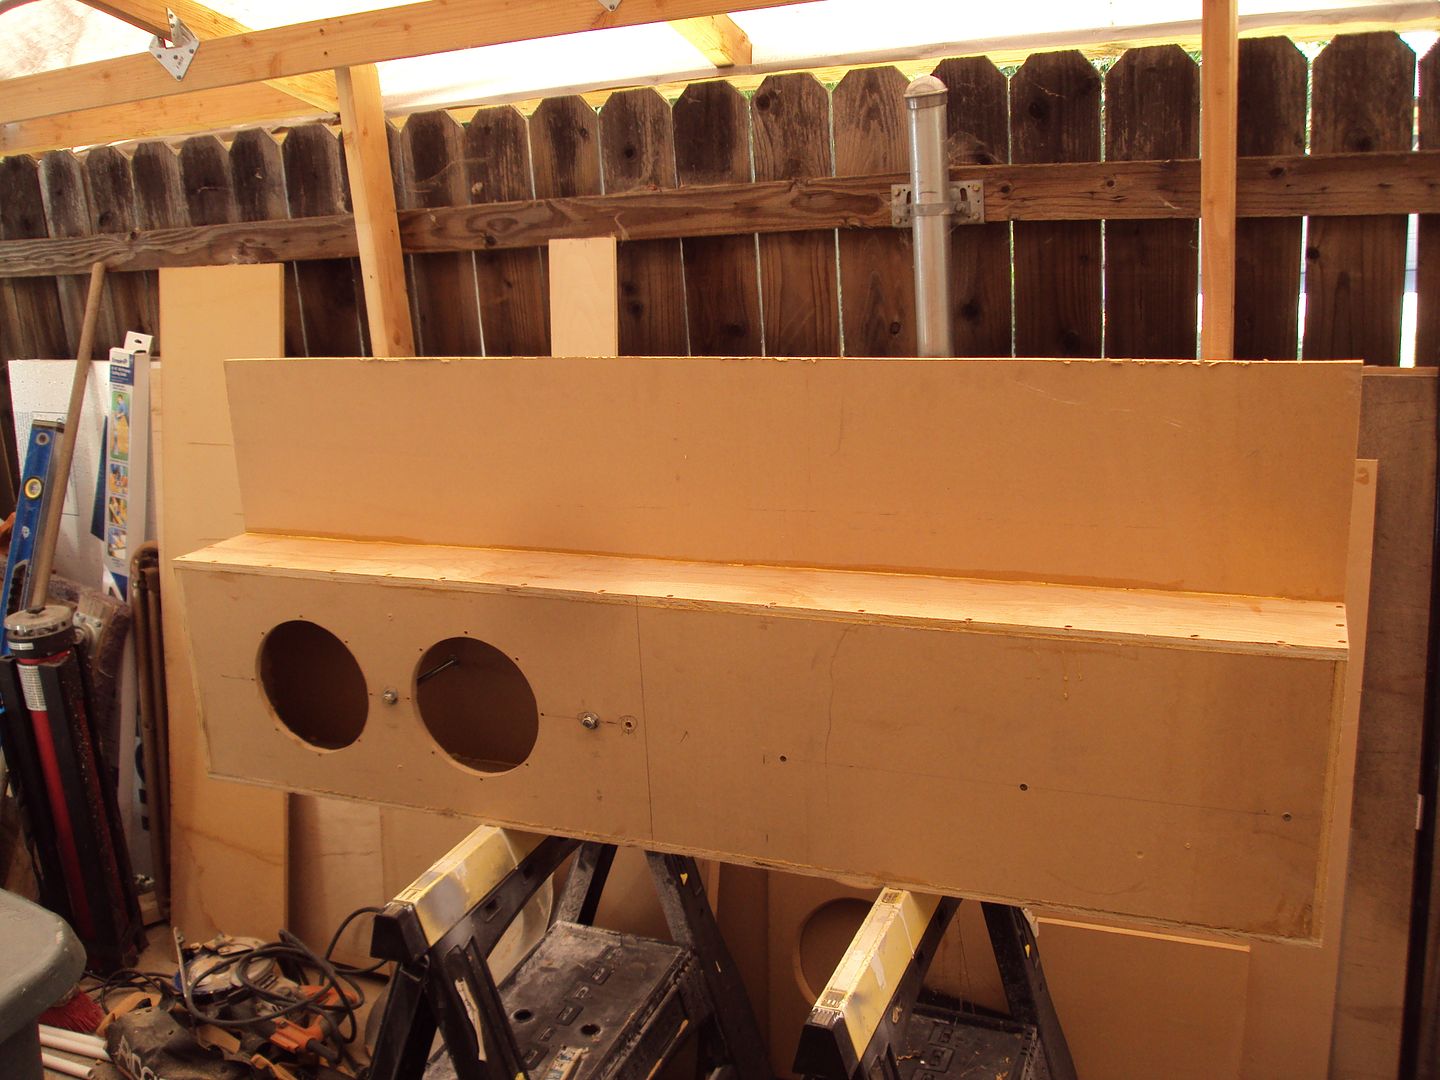
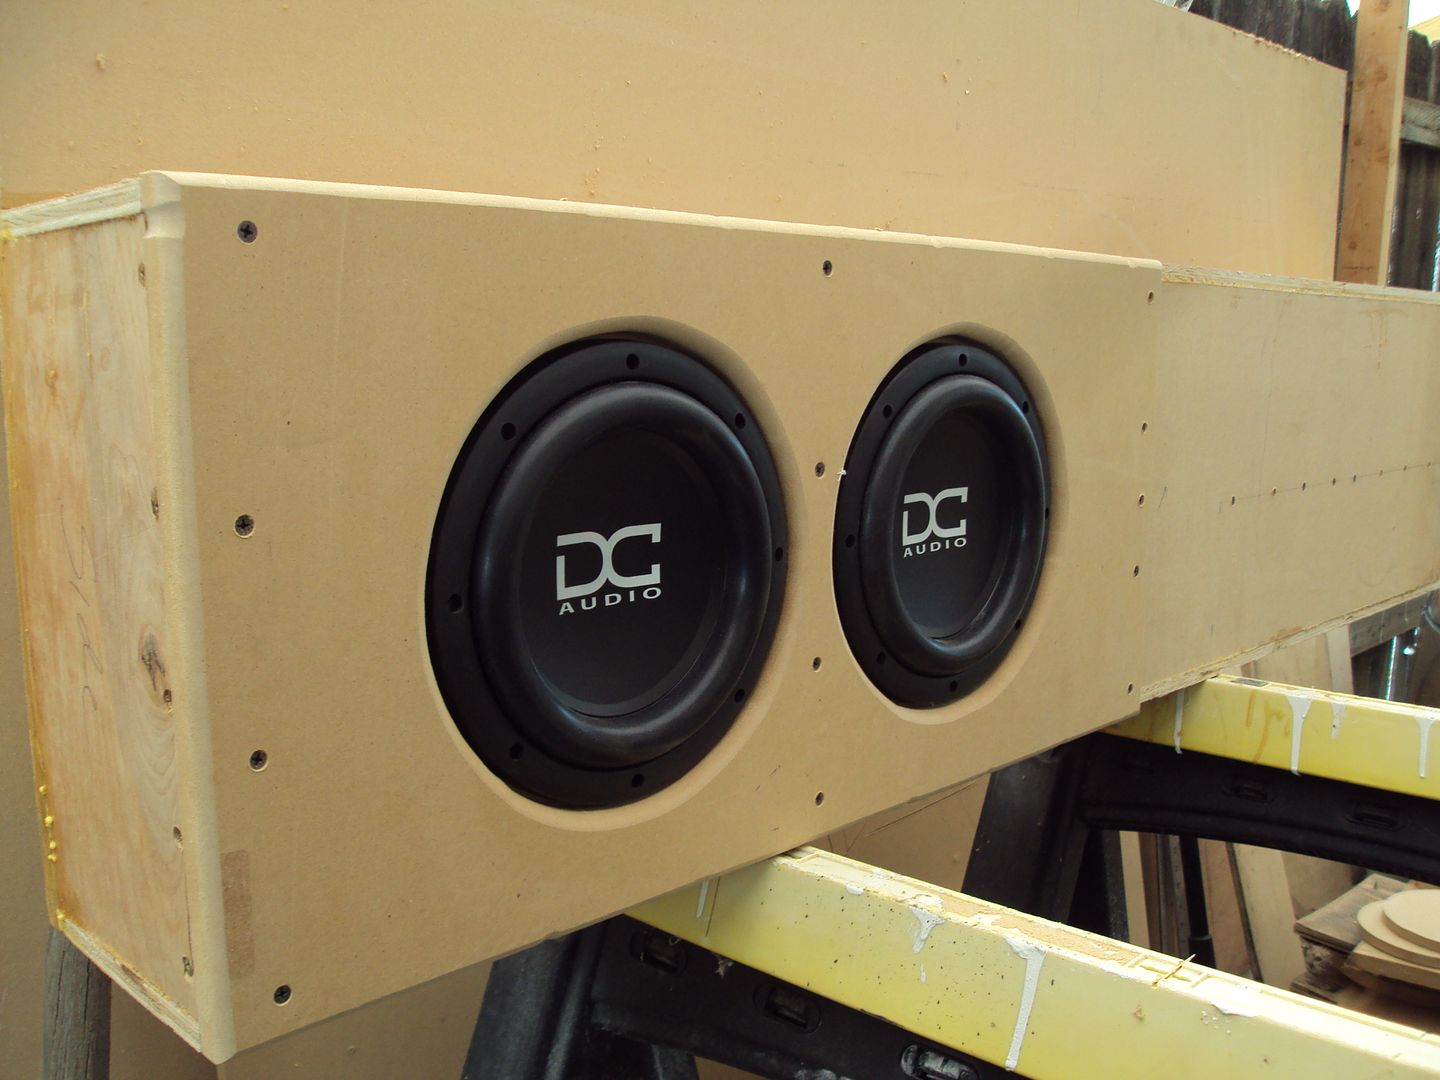
So the flush panel, I had said before, was going to be screwed in from the inside to not show screws. But that just wasn't going to work. These subs were kind of a pain to get out of there, and if I ever have to take them out, I'd rather not have to pry them out and risk puncturing one or something stupid. So I decided to just screw them on from the front. Then if I need to take it off, I can with no problems.
Test fitted the subs. I'm getting excited. It's still a temporary box, and there's some stuff that's driving me nuts, like the flush panel, and it being just one side of the box, and the router dips from the screw holes, and stuff like that. But overall I'm happy with it. It'll work out for a temp box.
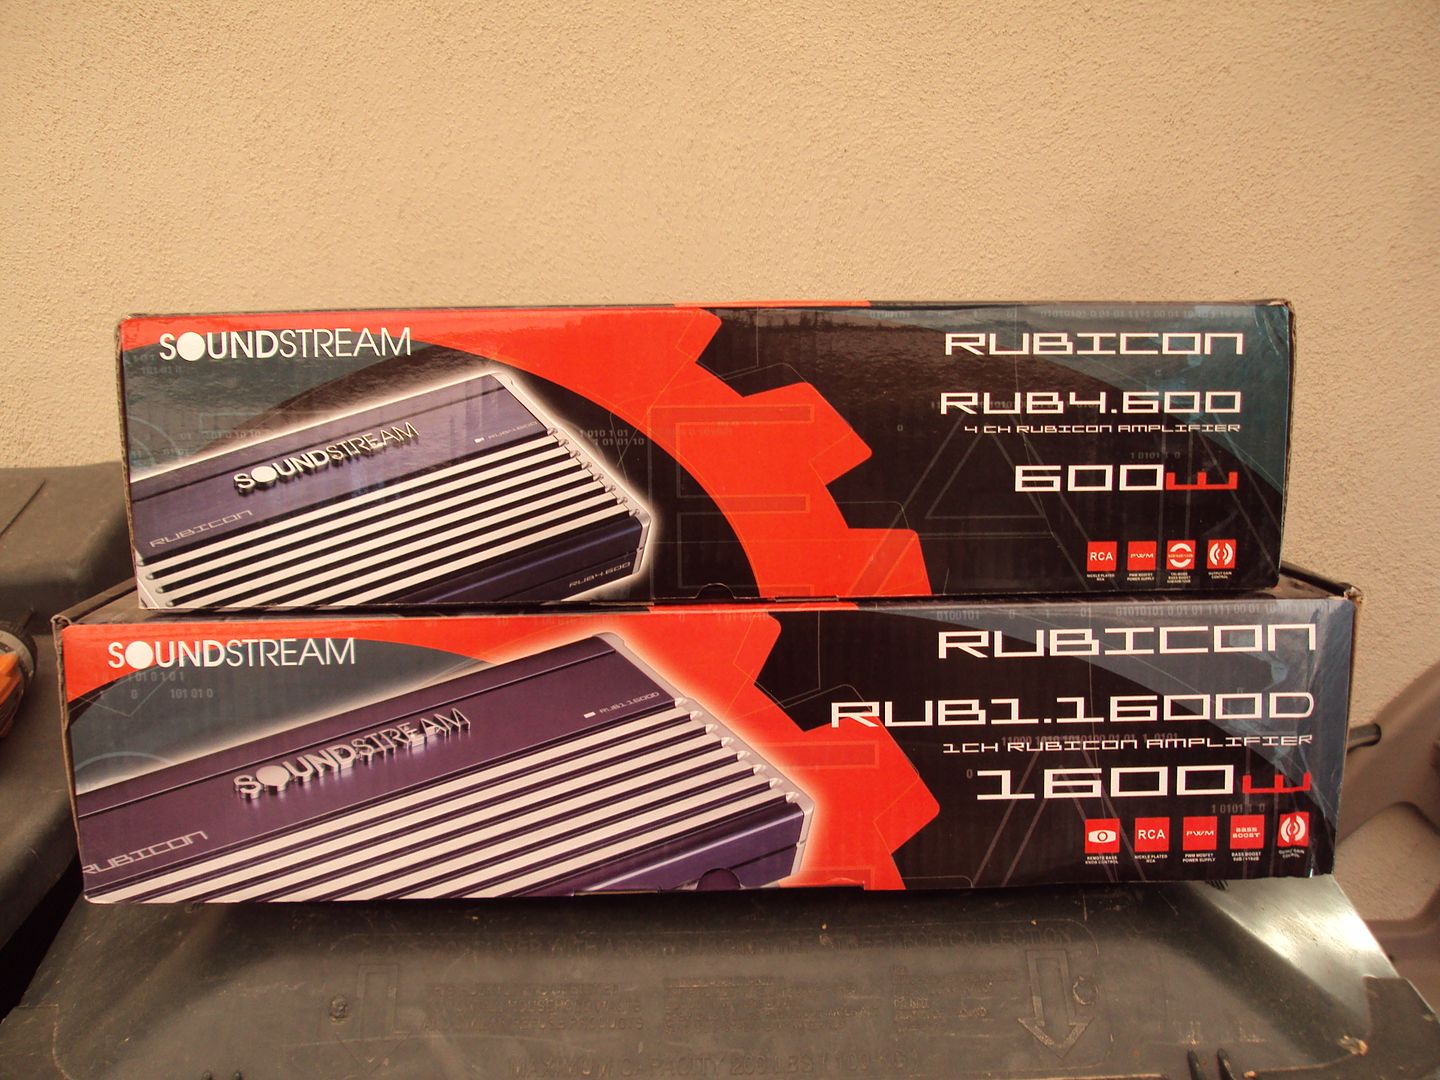
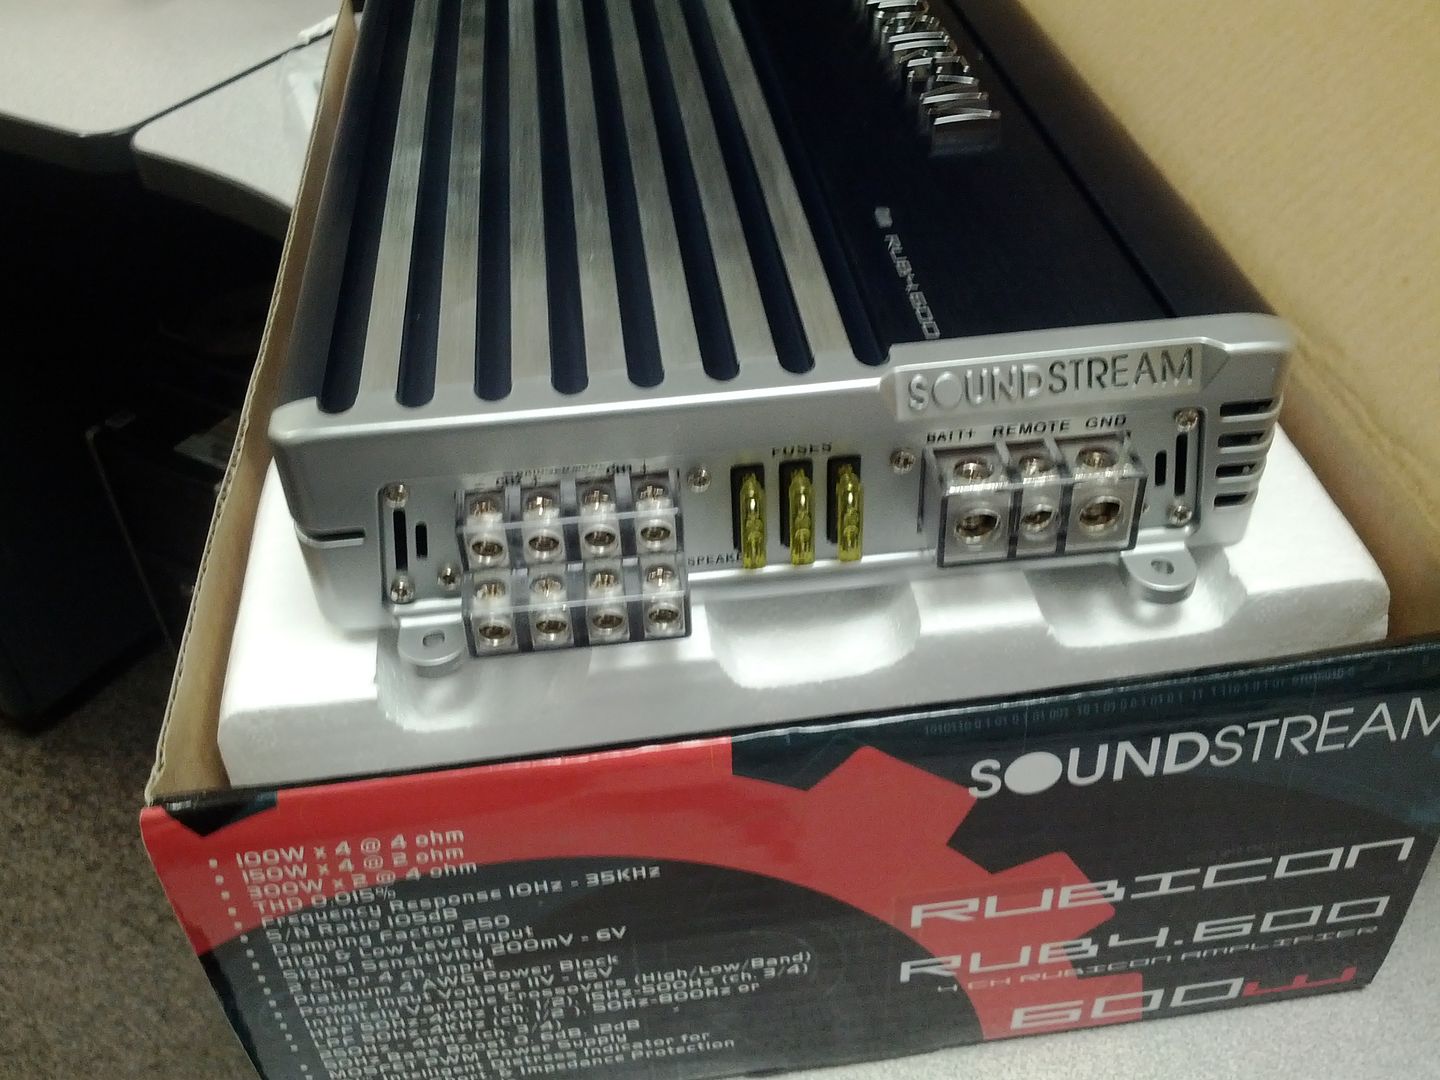
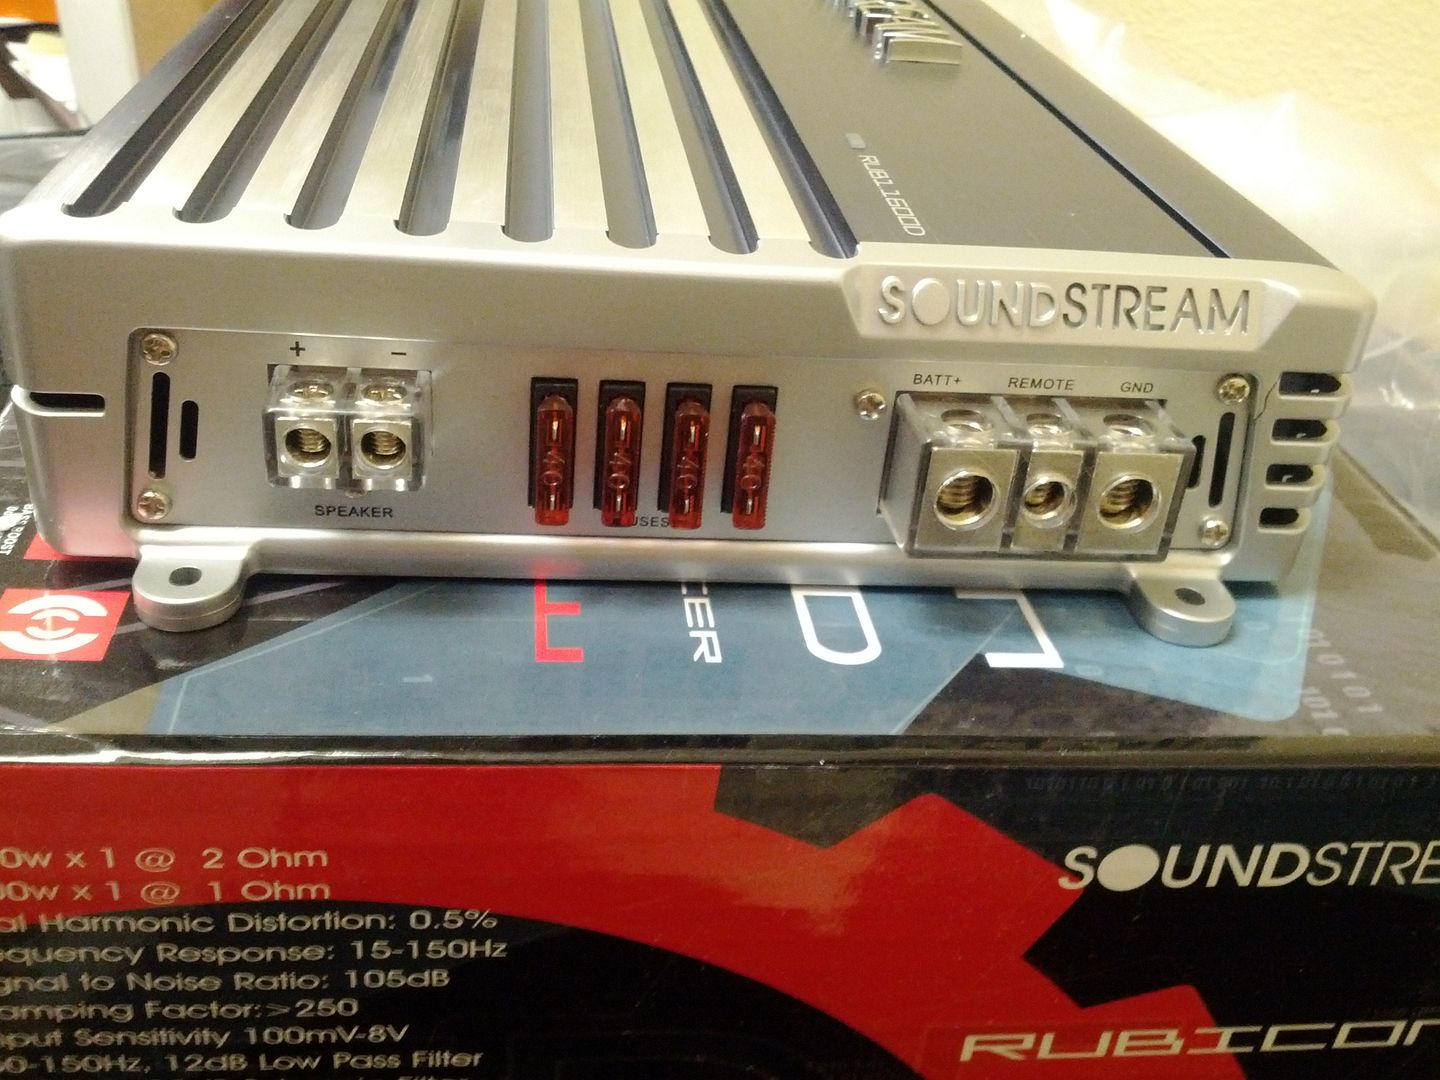
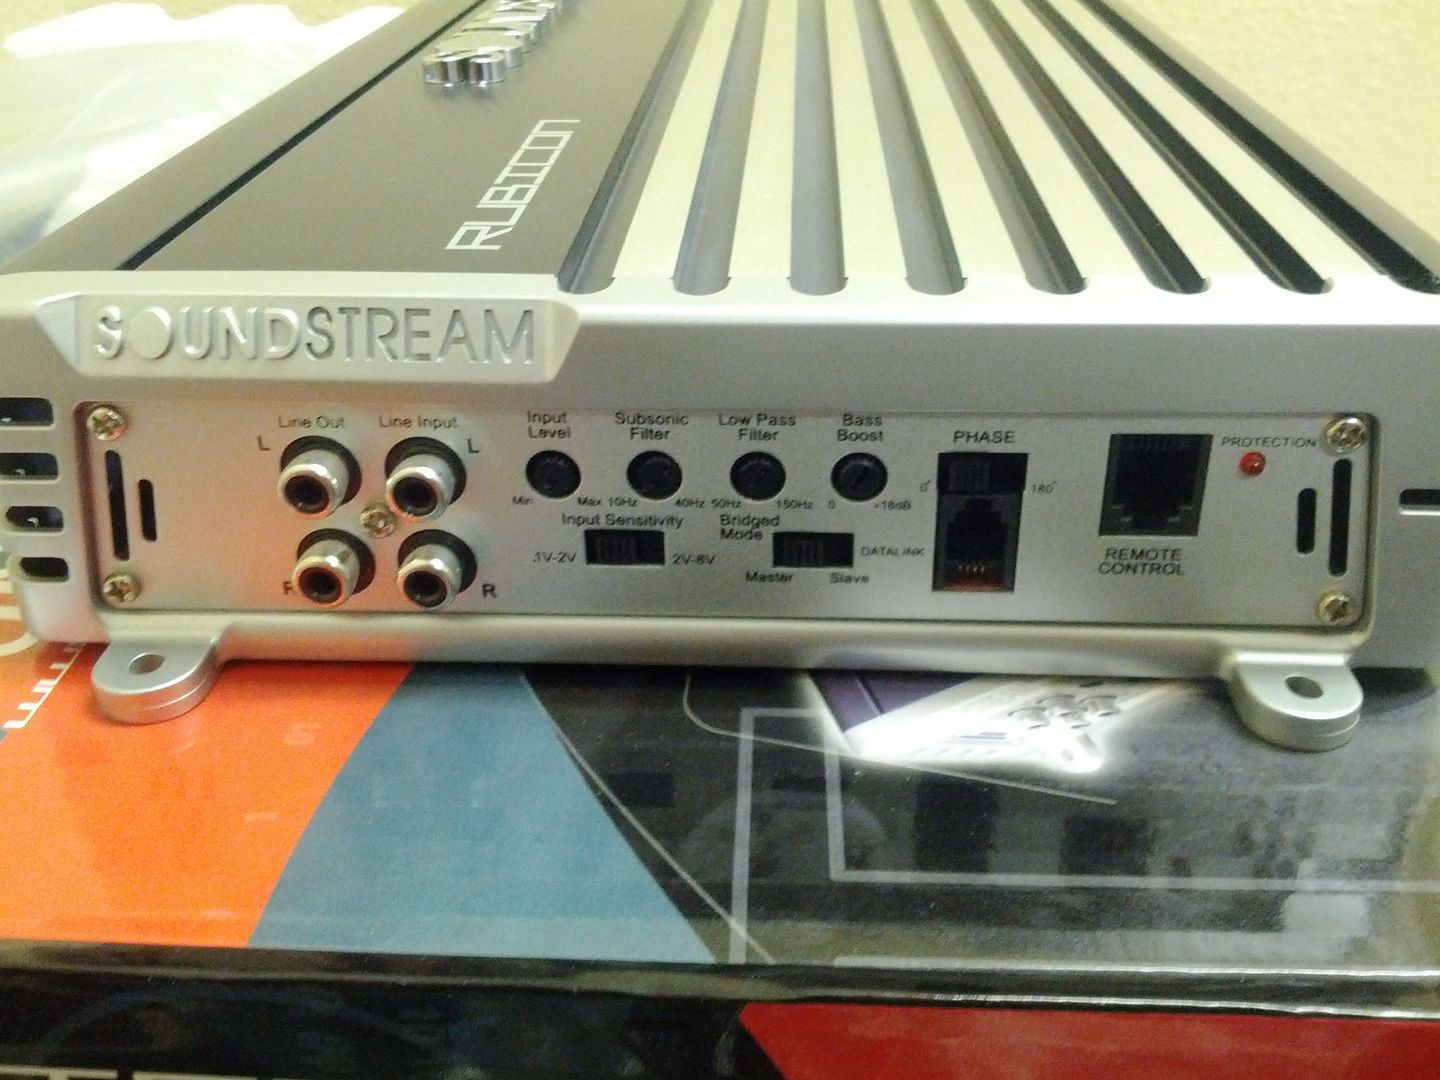
Now it's time for the sexy!!!!
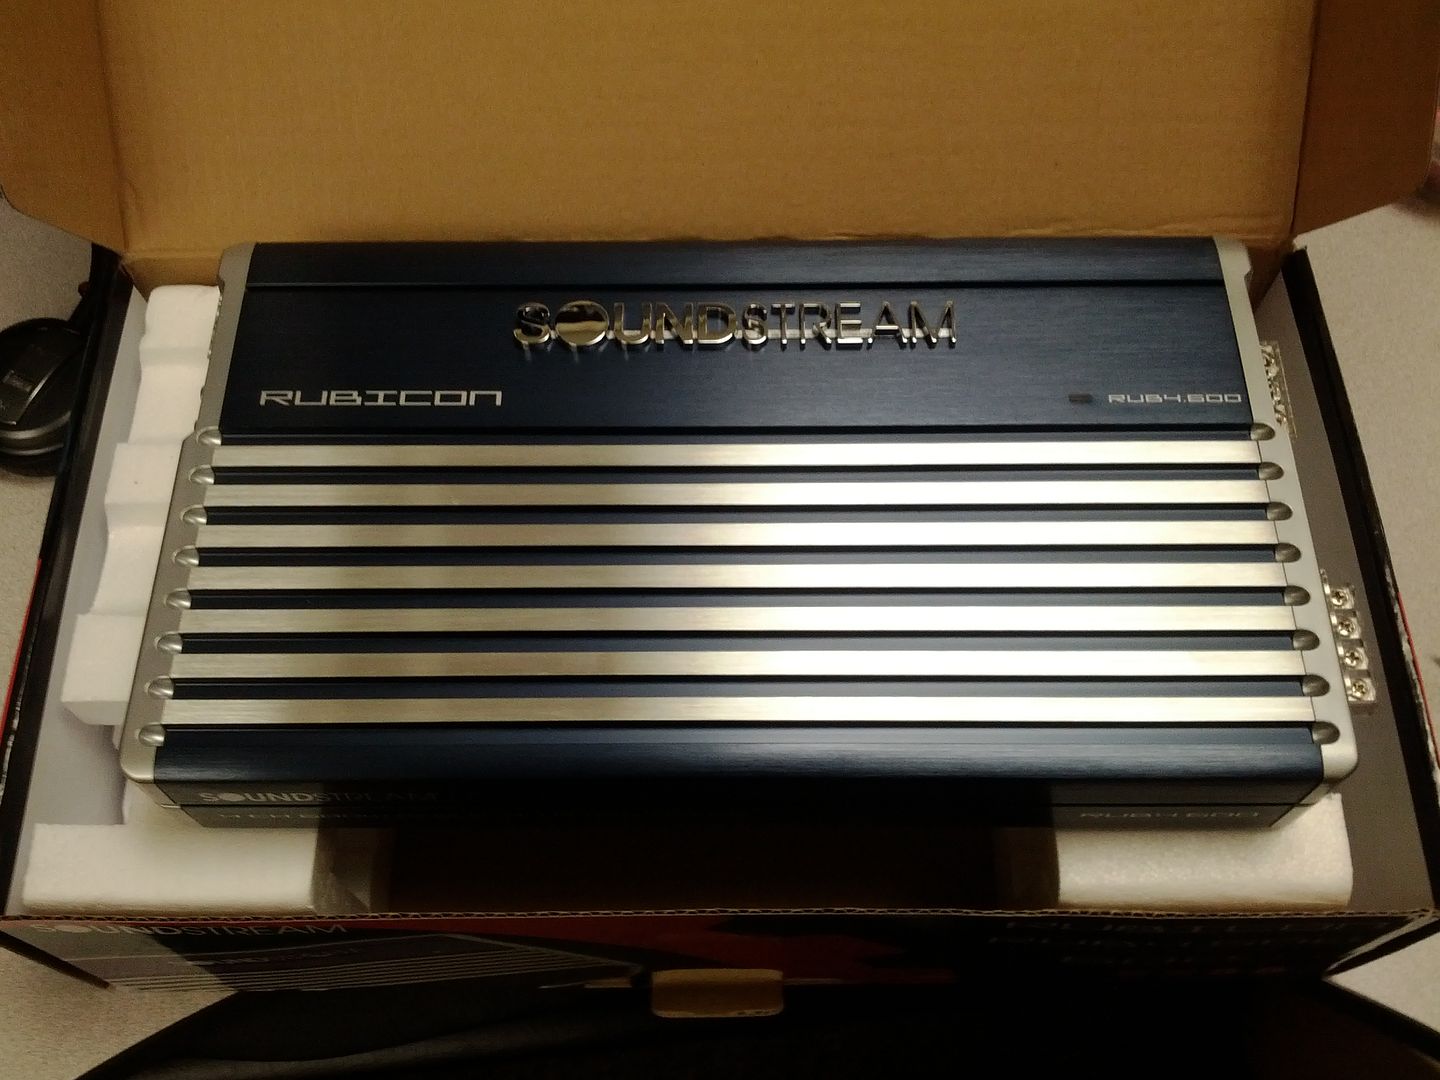
Soundstream Rubicon 1.1600D sub amp, and 4.600 mids and highs amp.
Time for the layout!
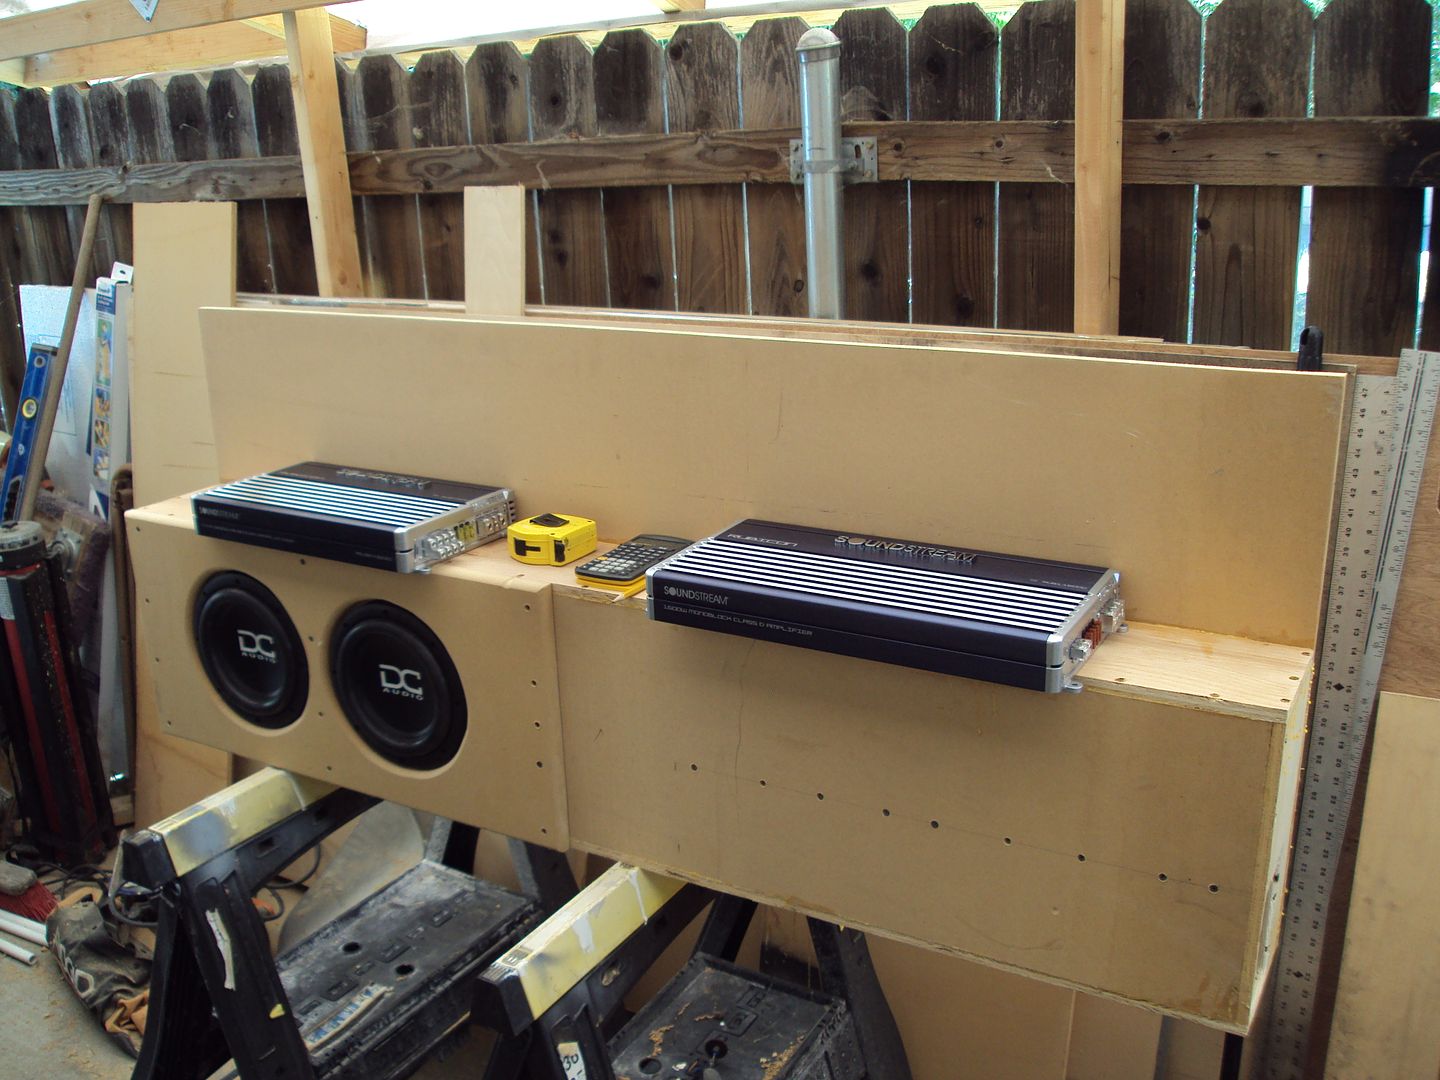
So this was the first layout, and then I even went ahead and drilled out holes for the inserts. But I had to change it.
Reason I had to change it was cause I left myself no room for a fuse block or ground block. Yes, there's only 2 amps, but I still need to have them. So I moved the amps down a bit, and left myself plenty of room for that. Those will get made a little later. I'll probably just go pick up some aluminum bar from home depot, drill and tap em, and call it good. I do have some aluminum block here though that I was going to make custom blocks with, so maybe I'll use those. We'll see!
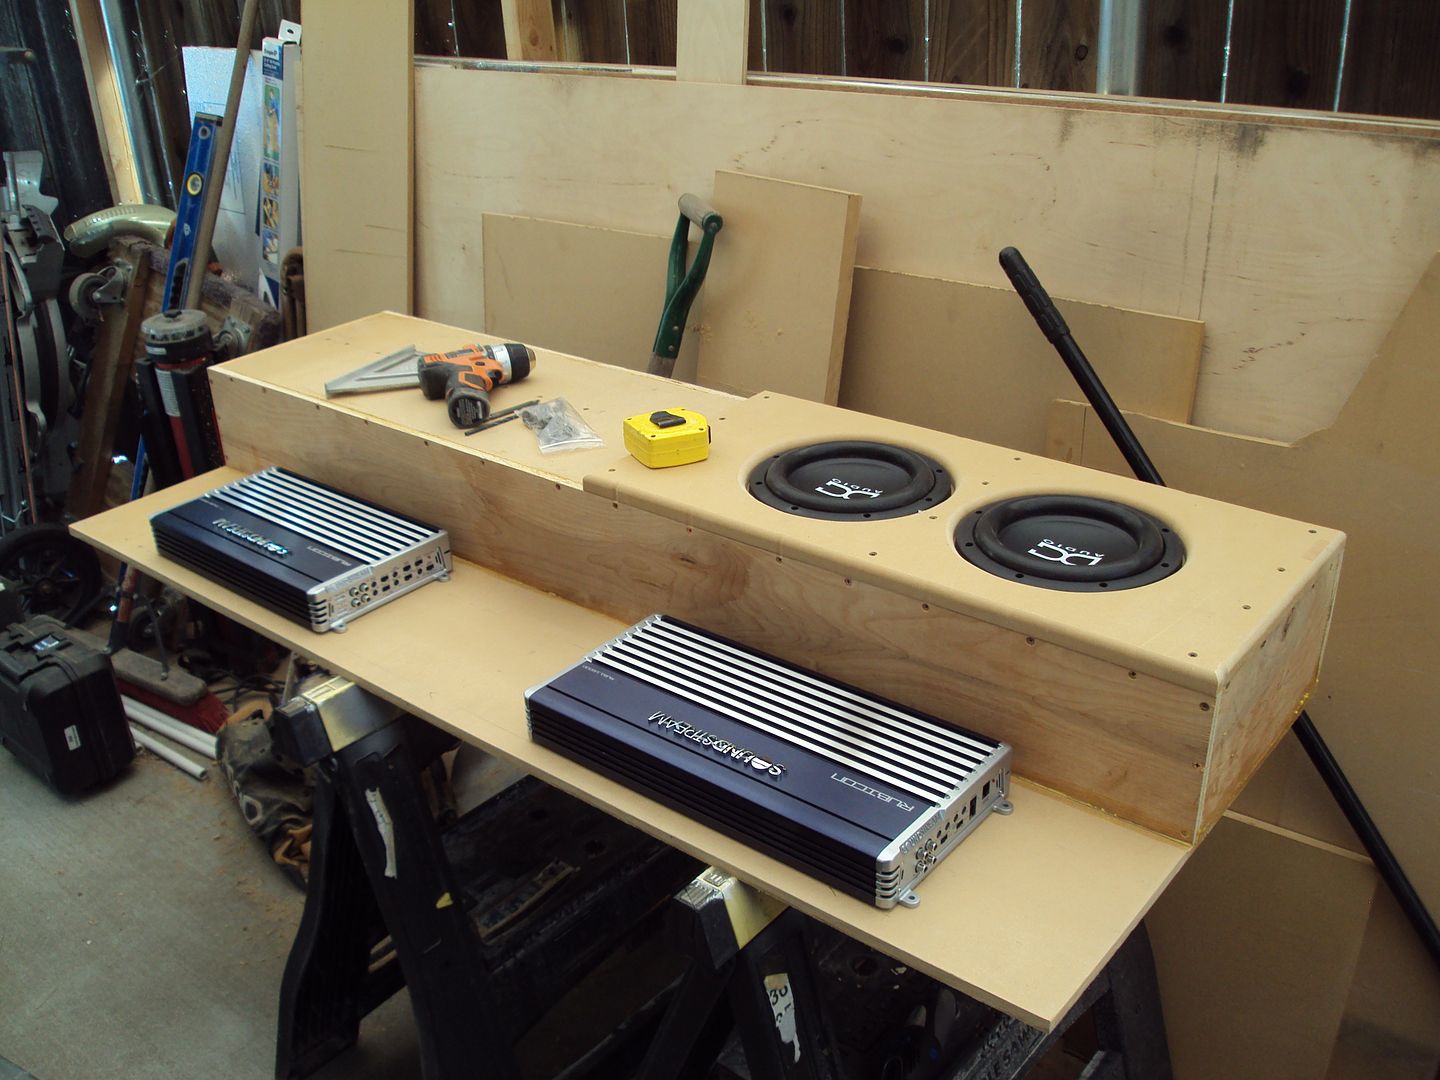
So here she is, rough and in the nude! Amps mounted in the correct spaces.
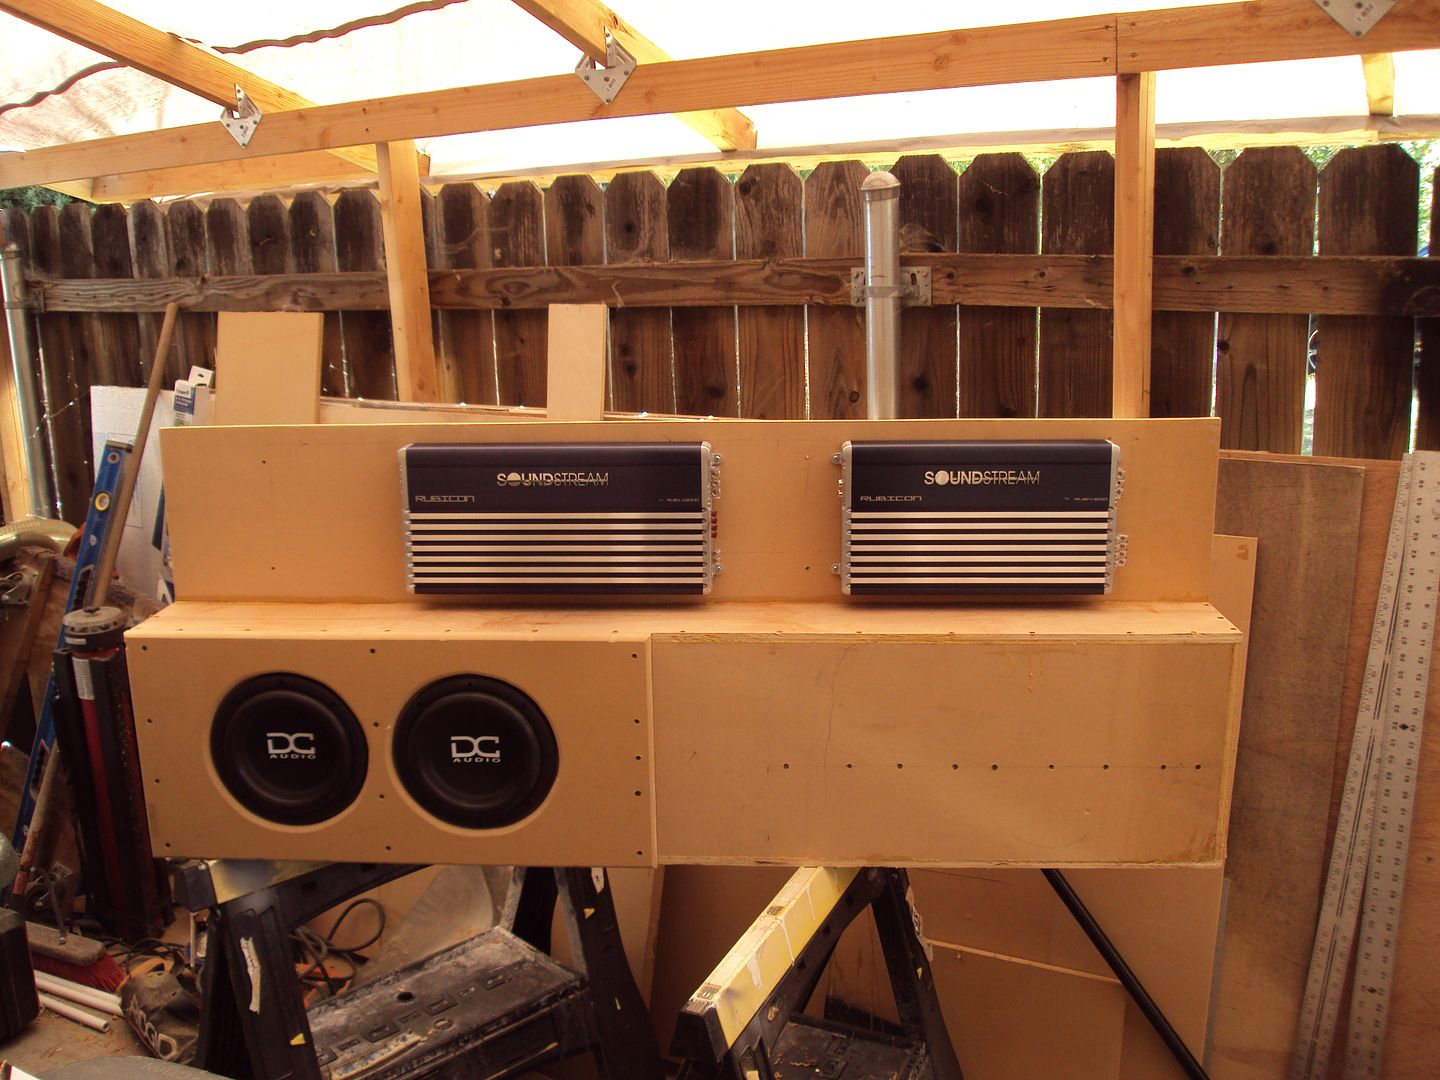
The top looks unbalanced, but that will balance out when I get the blocks in there for power and ground. It's the bottom right that's not sitting well with me. I may do something there to decorate it and dress it up. We'll see!
So that's it for now. We're getting closer, but still a ways to go!
Thanks for tuning in!
Test fitted the subs. I'm getting excited. It's still a temporary box, and there's some stuff that's driving me nuts, like the flush panel, and it being just one side of the box, and the router dips from the screw holes, and stuff like that. But overall I'm happy with it. It'll work out for a temp box.
Now it's time for the sexy!!!!
Soundstream Rubicon 1.1600D sub amp, and 4.600 mids and highs amp.
Time for the layout!
So this was the first layout, and then I even went ahead and drilled out holes for the inserts. But I had to change it.
Reason I had to change it was cause I left myself no room for a fuse block or ground block. Yes, there's only 2 amps, but I still need to have them. So I moved the amps down a bit, and left myself plenty of room for that. Those will get made a little later. I'll probably just go pick up some aluminum bar from home depot, drill and tap em, and call it good. I do have some aluminum block here though that I was going to make custom blocks with, so maybe I'll use those. We'll see!
So here she is, rough and in the nude! Amps mounted in the correct spaces.
The top looks unbalanced, but that will balance out when I get the blocks in there for power and ground. It's the bottom right that's not sitting well with me. I may do something there to decorate it and dress it up. We'll see!
So that's it for now. We're getting closer, but still a ways to go!
Thanks for tuning in!
#36
06-12-2012, 01:48 PM
Join Date: May 2011
Posts: 339
Likes: 0
Received 0 Likes
on
0 Posts


#37
06-12-2012, 01:52 PM
Join Date: May 2011
Posts: 339
Likes: 0
Received 0 Likes
on
0 Posts


#38
06-12-2012, 01:55 PM
Join Date: May 2011
Posts: 339
Likes: 0
Received 0 Likes
on
0 Posts
#39
06-12-2012, 02:00 PM
Join Date: May 2011
Posts: 339
Likes: 0
Received 0 Likes
on
0 Posts
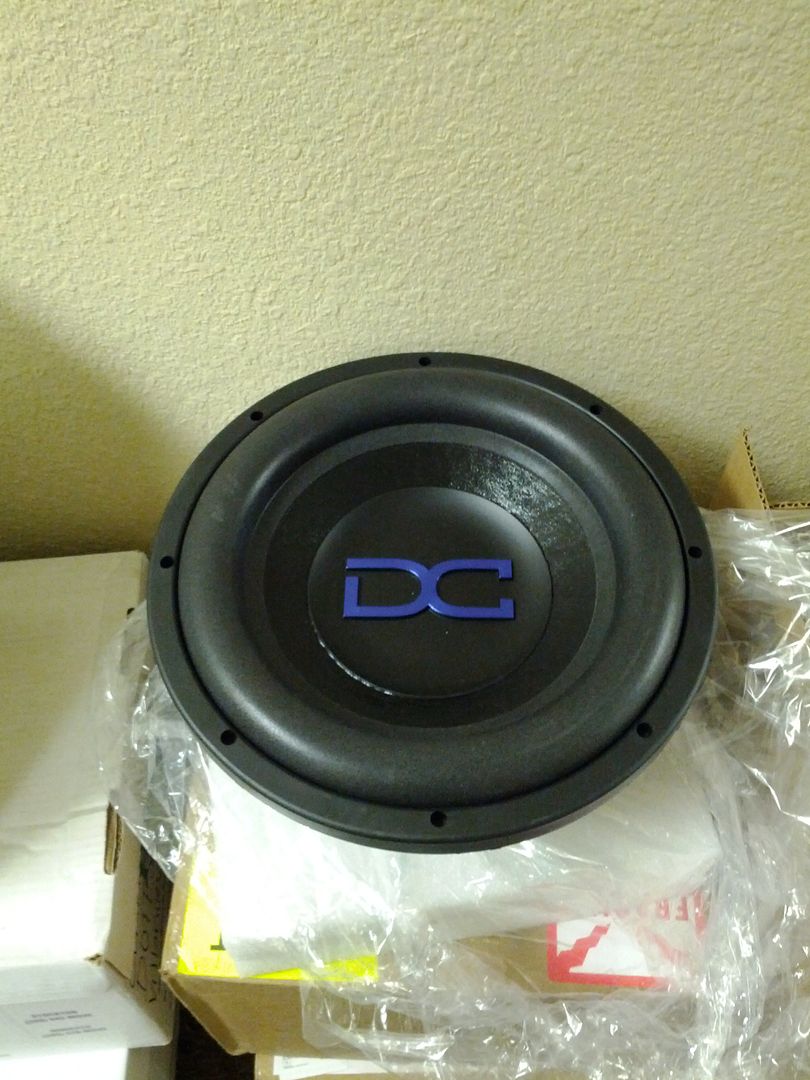
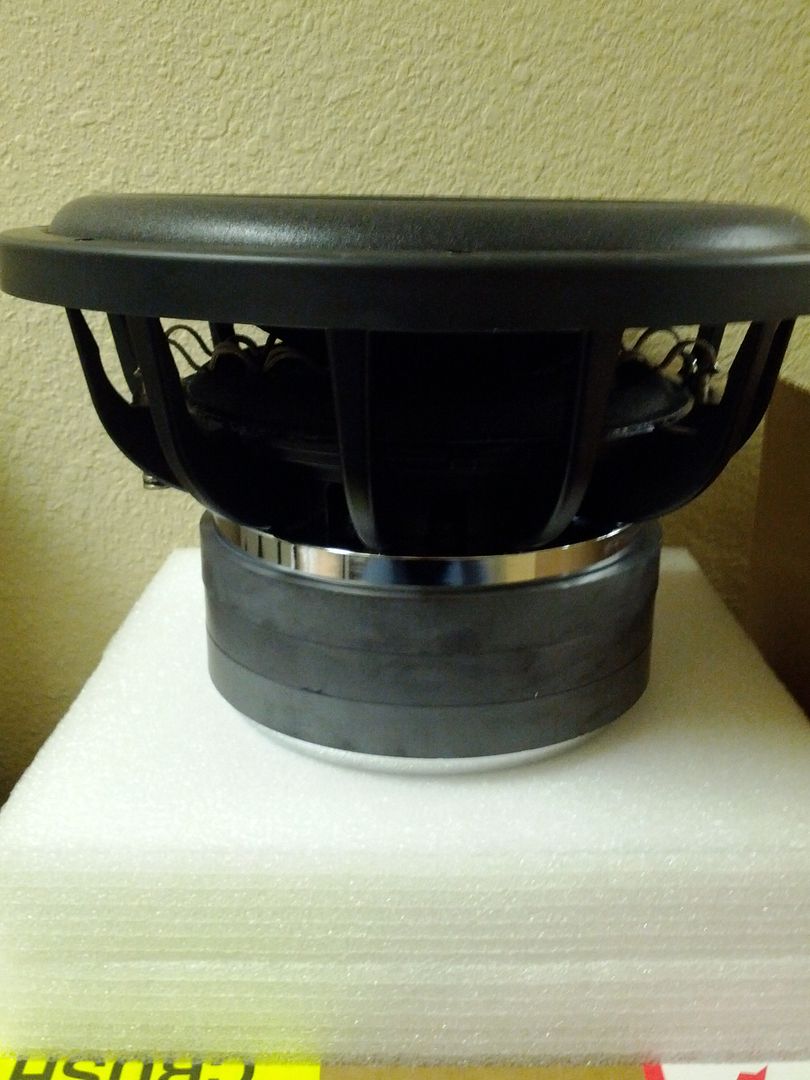
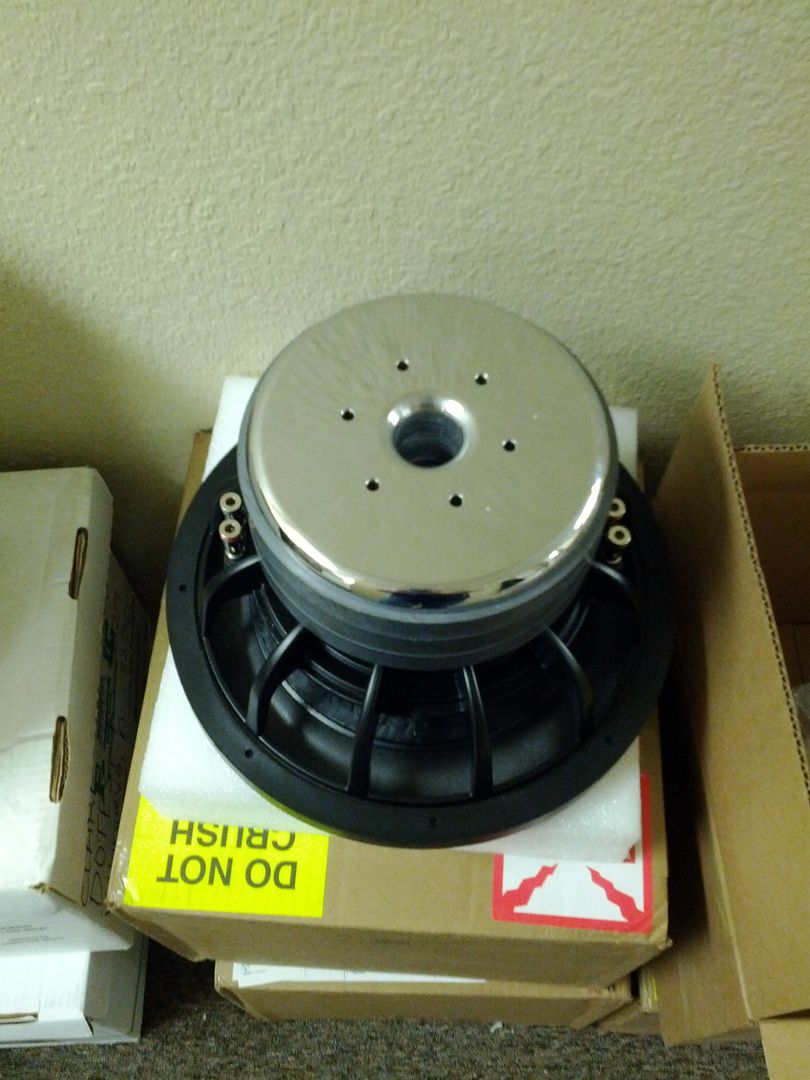
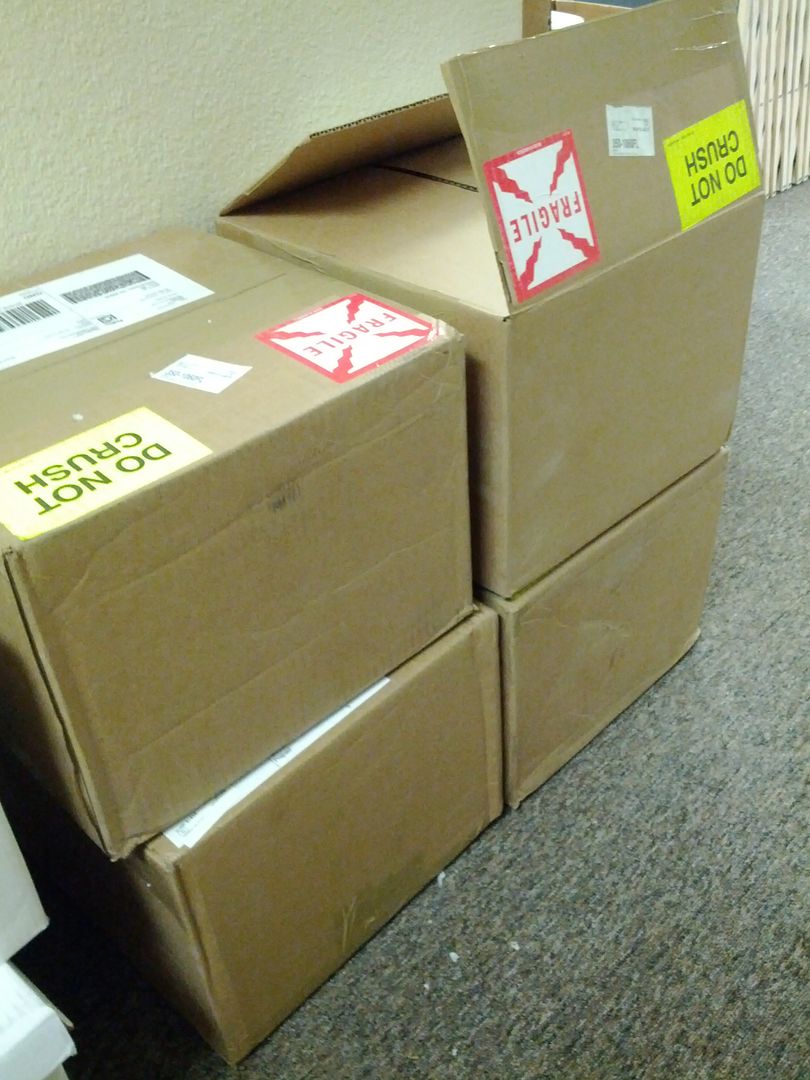
XS Power D6500 Batteries
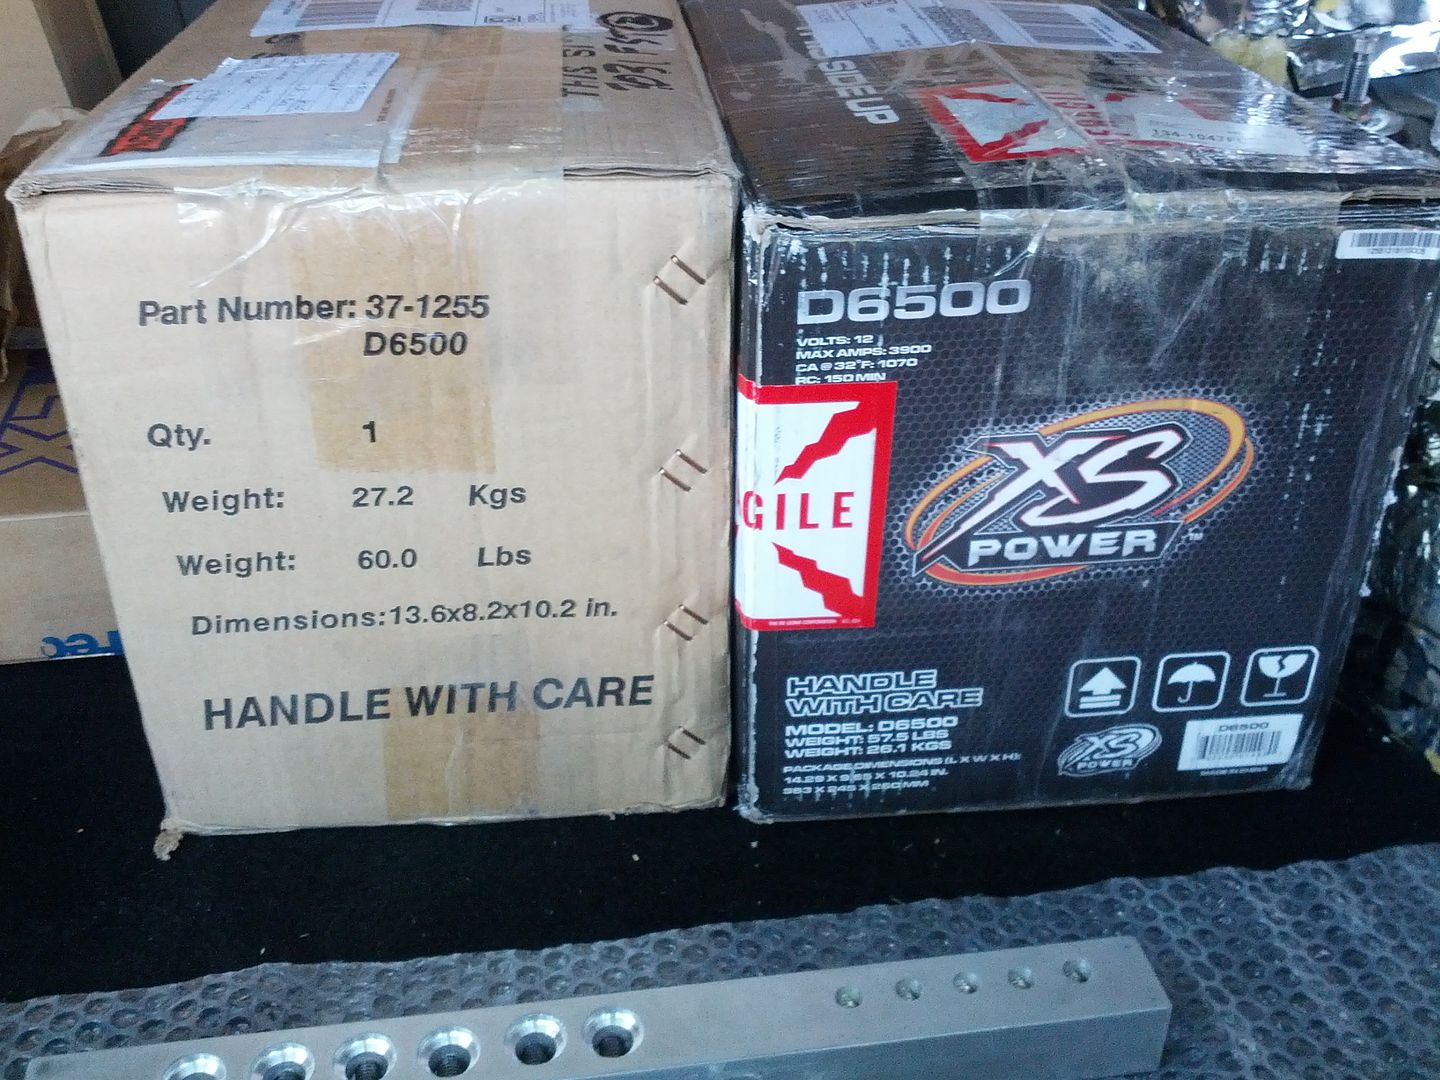


Buss Bars for them
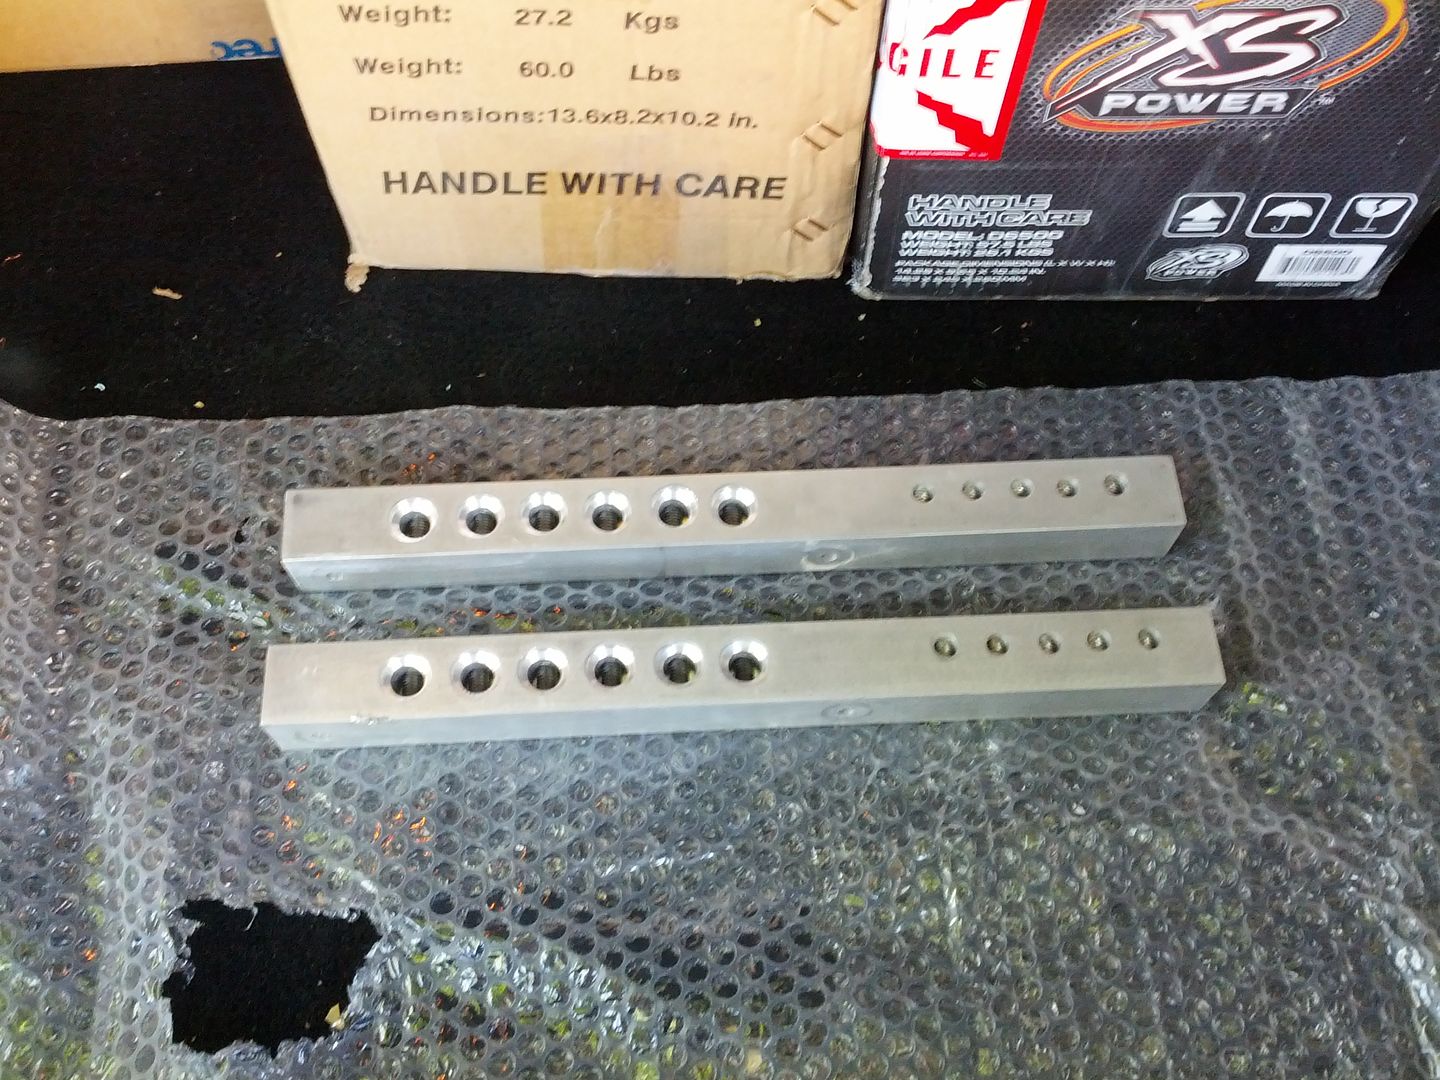
Stinger RCA's (1 - 2channel & 1 - 4channel)
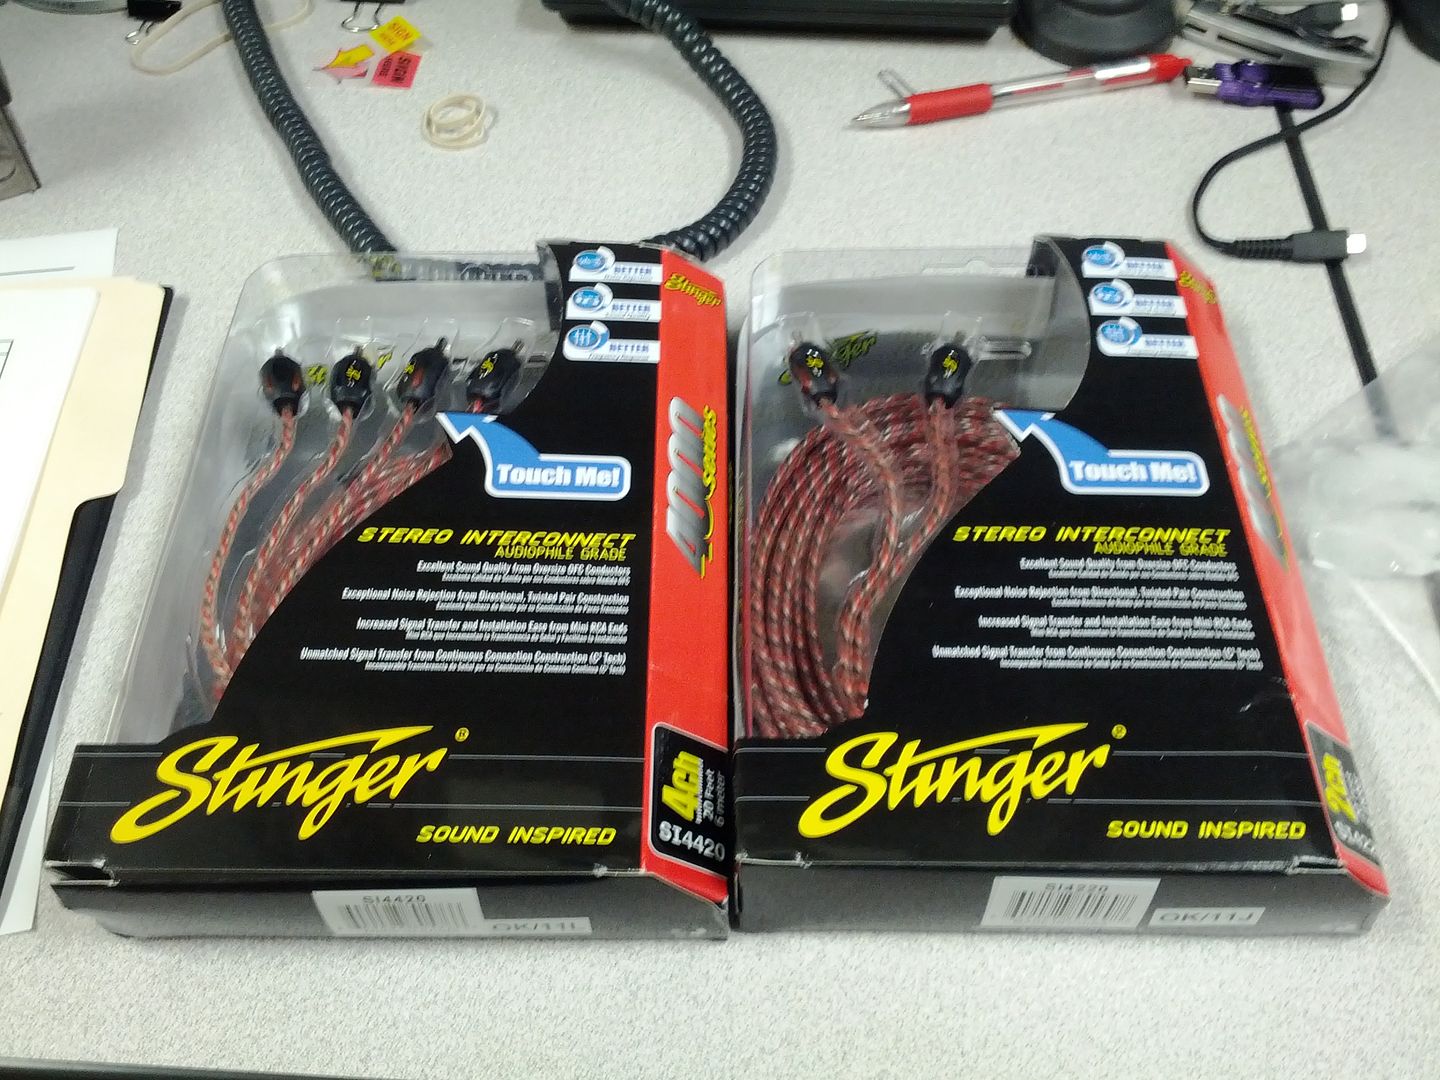
Also not pictured, I have 3 spools of 1/0 Stinger cable, 2 spools of 4 ga stinger cable, and some 8 ga stinger cable, a spool of 16 ga Stinger twisted pair, and some other things here and there.
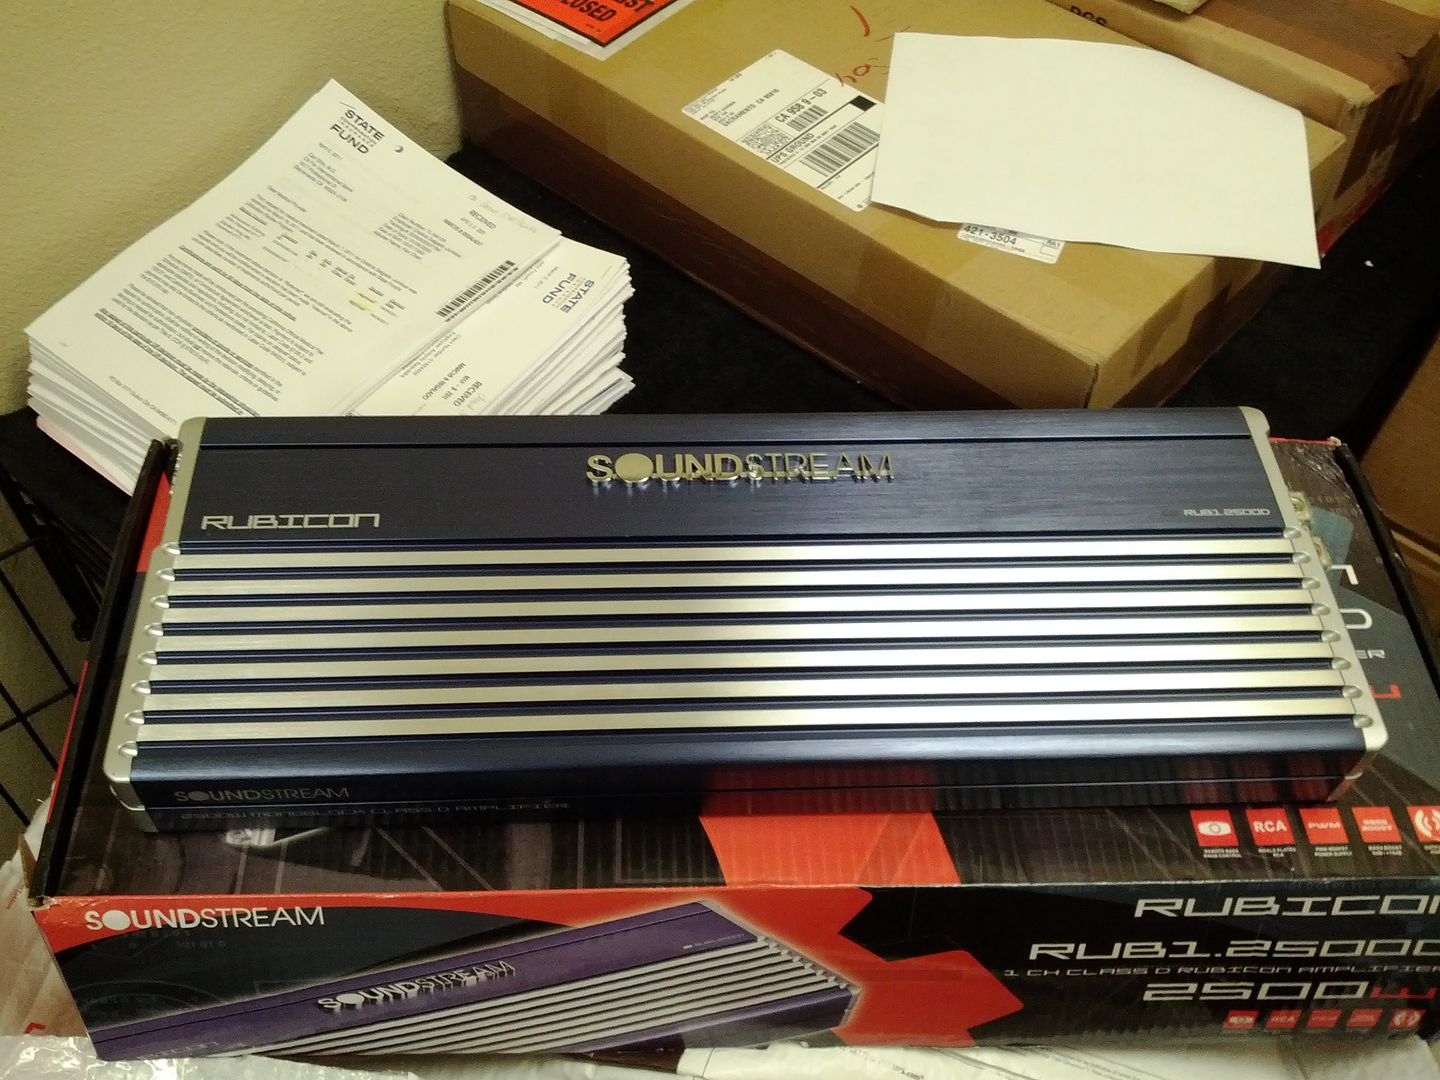
So I have most of my equipment in hand and ready to go. I still need a second 1.2500D but that will come in due time.
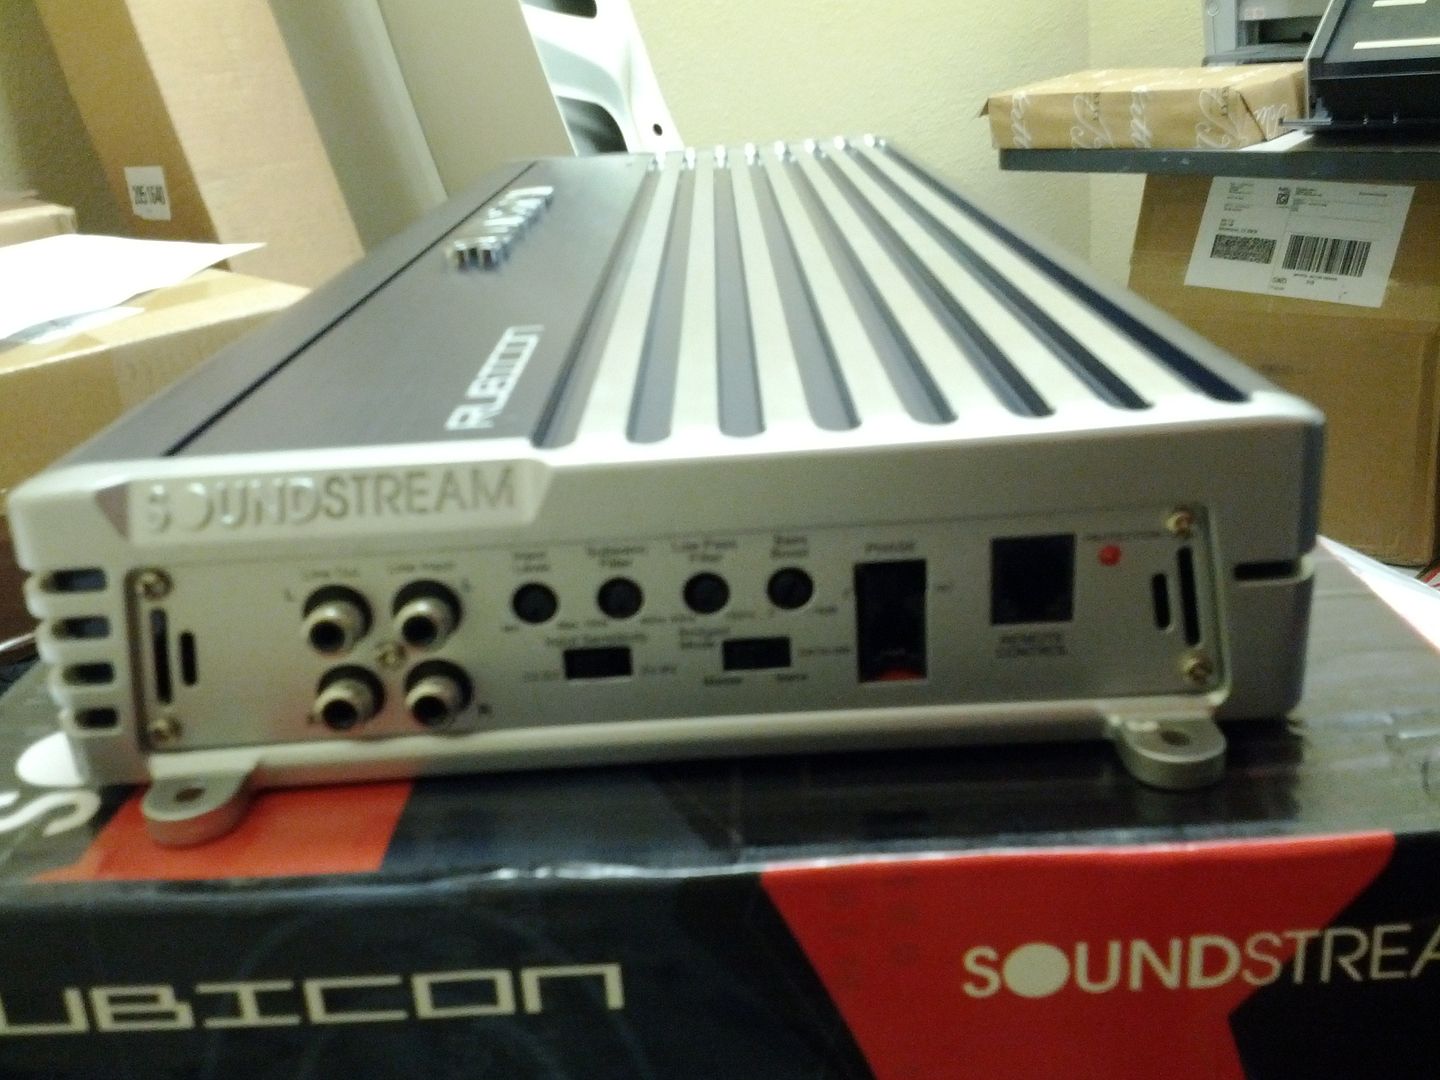
Oh almost forgot, I also have the rear amp, Soundstream Rubicon 4.500. Although I may change from this to the 4.600 to match the front.

So that's it, you're all pretty much caught up to date. I'm hoping that i can get some more work done soon!
Thanks for tuning in!
Buss Bars for them
Stinger RCA's (1 - 2channel & 1 - 4channel)
Also not pictured, I have 3 spools of 1/0 Stinger cable, 2 spools of 4 ga stinger cable, and some 8 ga stinger cable, a spool of 16 ga Stinger twisted pair, and some other things here and there.
So I have most of my equipment in hand and ready to go. I still need a second 1.2500D but that will come in due time.
Oh almost forgot, I also have the rear amp, Soundstream Rubicon 4.500. Although I may change from this to the 4.600 to match the front.
So that's it, you're all pretty much caught up to date. I'm hoping that i can get some more work done soon!
Thanks for tuning in!
#40
06-12-2012, 02:14 PM

#41
06-12-2012, 02:41 PM
Join Date: May 2011
Posts: 339
Likes: 0
Received 0 Likes
on
0 Posts
#42
06-24-2012, 12:26 PM
Join Date: May 2011
Posts: 339
Likes: 0
Received 0 Likes
on
0 Posts
Ok guys, I have updates today! I had a few hours this afternoon before i take my family to the drive in's and watch the new Madagascar movie! My daughters are soooo looking forward to it. So I was able to sneak out to the side of the house and get some work done on the box.
When I left off, I did a test fit of the subs, and a test fit of the flush panel. I'm still not happy with the flush panel and I'm not sure if I'm going to do anything about it or not, but for now I'm just going to hold on to what I've done!
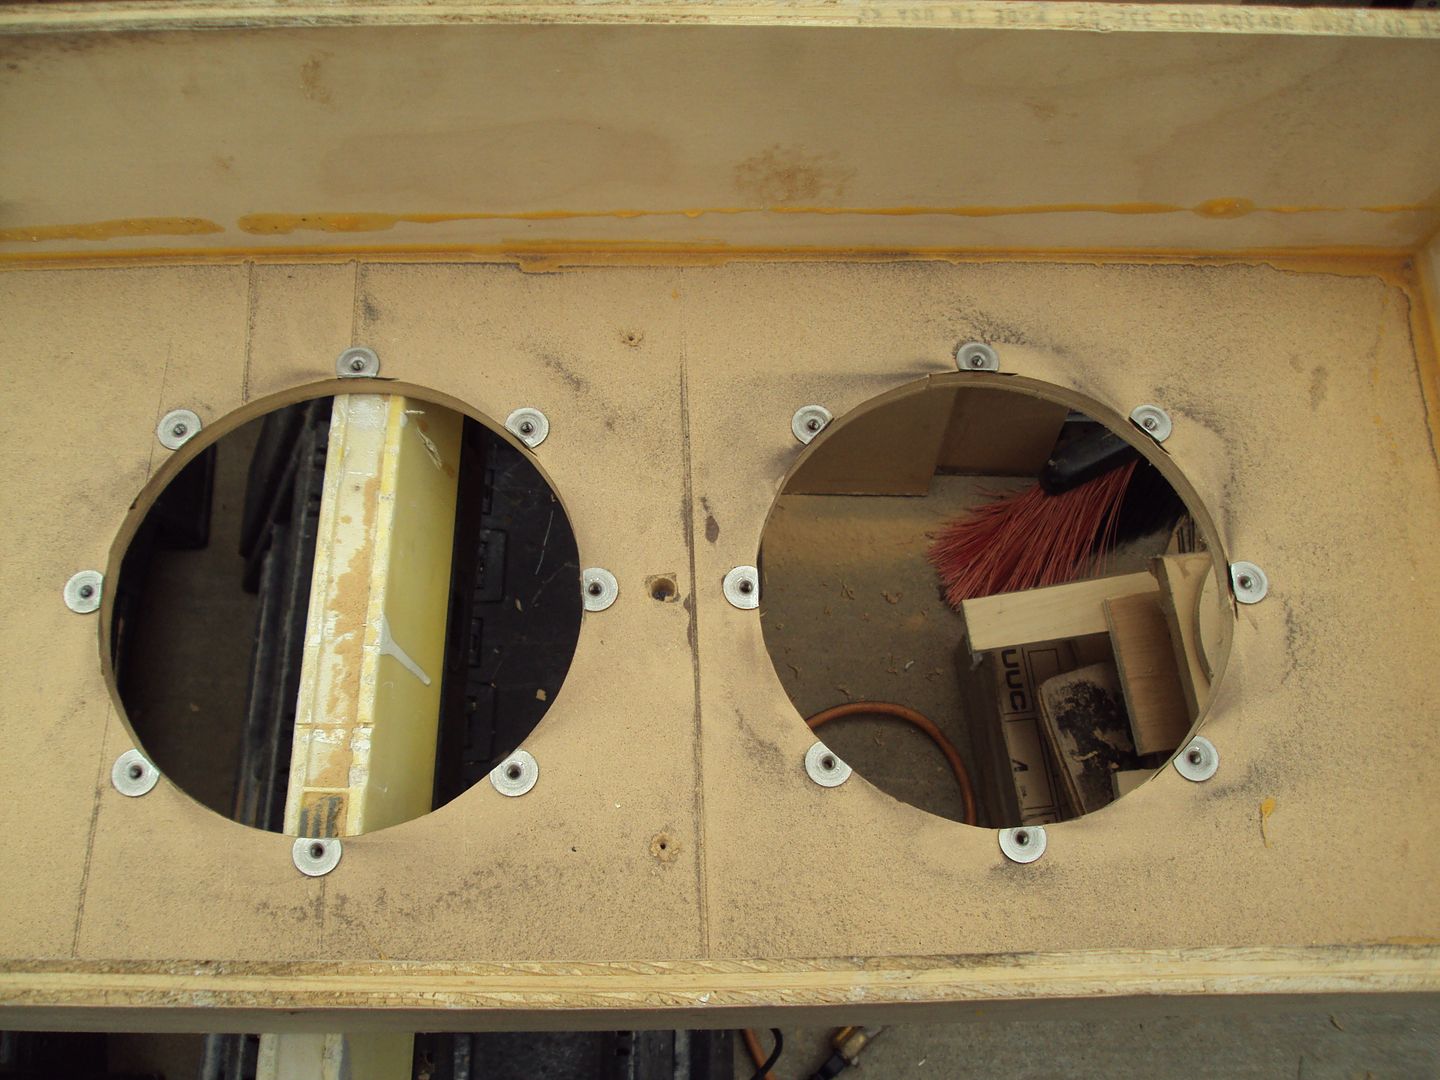
Today I started by drilling the holes for the threaded inserts.
Then got to installing them.
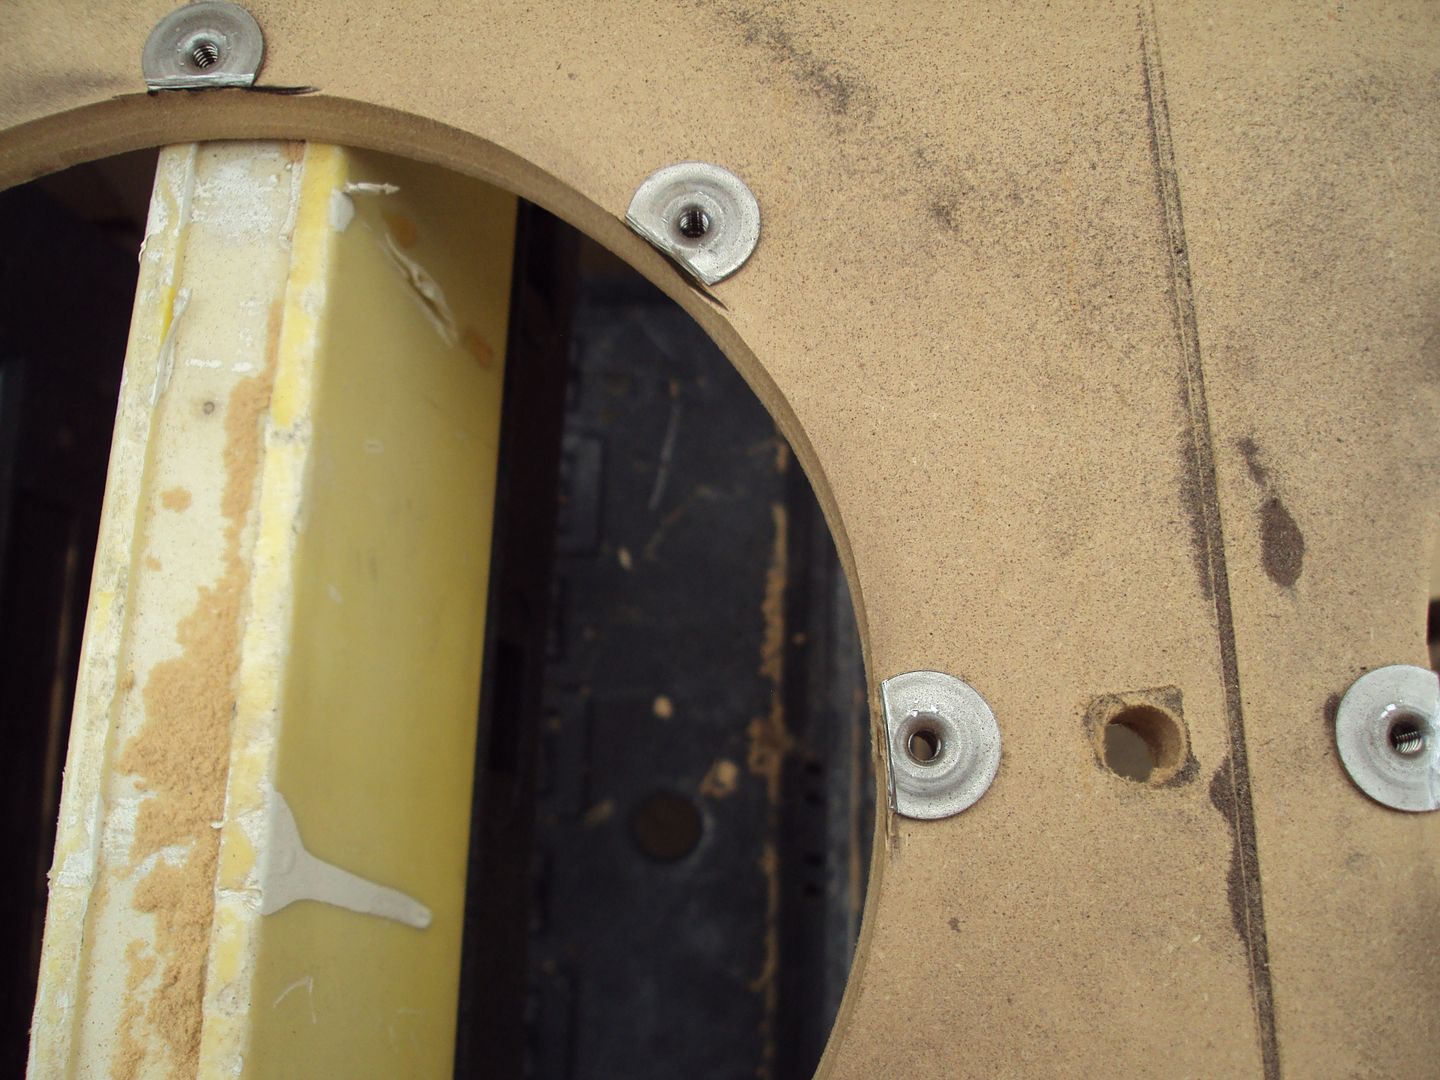
Once I got them all installed, I realized that I had a problem, which was confirmed by a test fit of the subs. The edges of the inserts stick out farther than the hole is. So the subs hit them and the holes don't line up. Bummer! You can see that here.
So I decided to get out my trusty friend and take care of the problem!
Did another test fit and we're golden.
When I left off, I did a test fit of the subs, and a test fit of the flush panel. I'm still not happy with the flush panel and I'm not sure if I'm going to do anything about it or not, but for now I'm just going to hold on to what I've done!
Today I started by drilling the holes for the threaded inserts.
Then got to installing them.
Once I got them all installed, I realized that I had a problem, which was confirmed by a test fit of the subs. The edges of the inserts stick out farther than the hole is. So the subs hit them and the holes don't line up. Bummer! You can see that here.
So I decided to get out my trusty friend and take care of the problem!
Did another test fit and we're golden.
#43
06-24-2012, 12:29 PM
Join Date: May 2011
Posts: 339
Likes: 0
Received 0 Likes
on
0 Posts
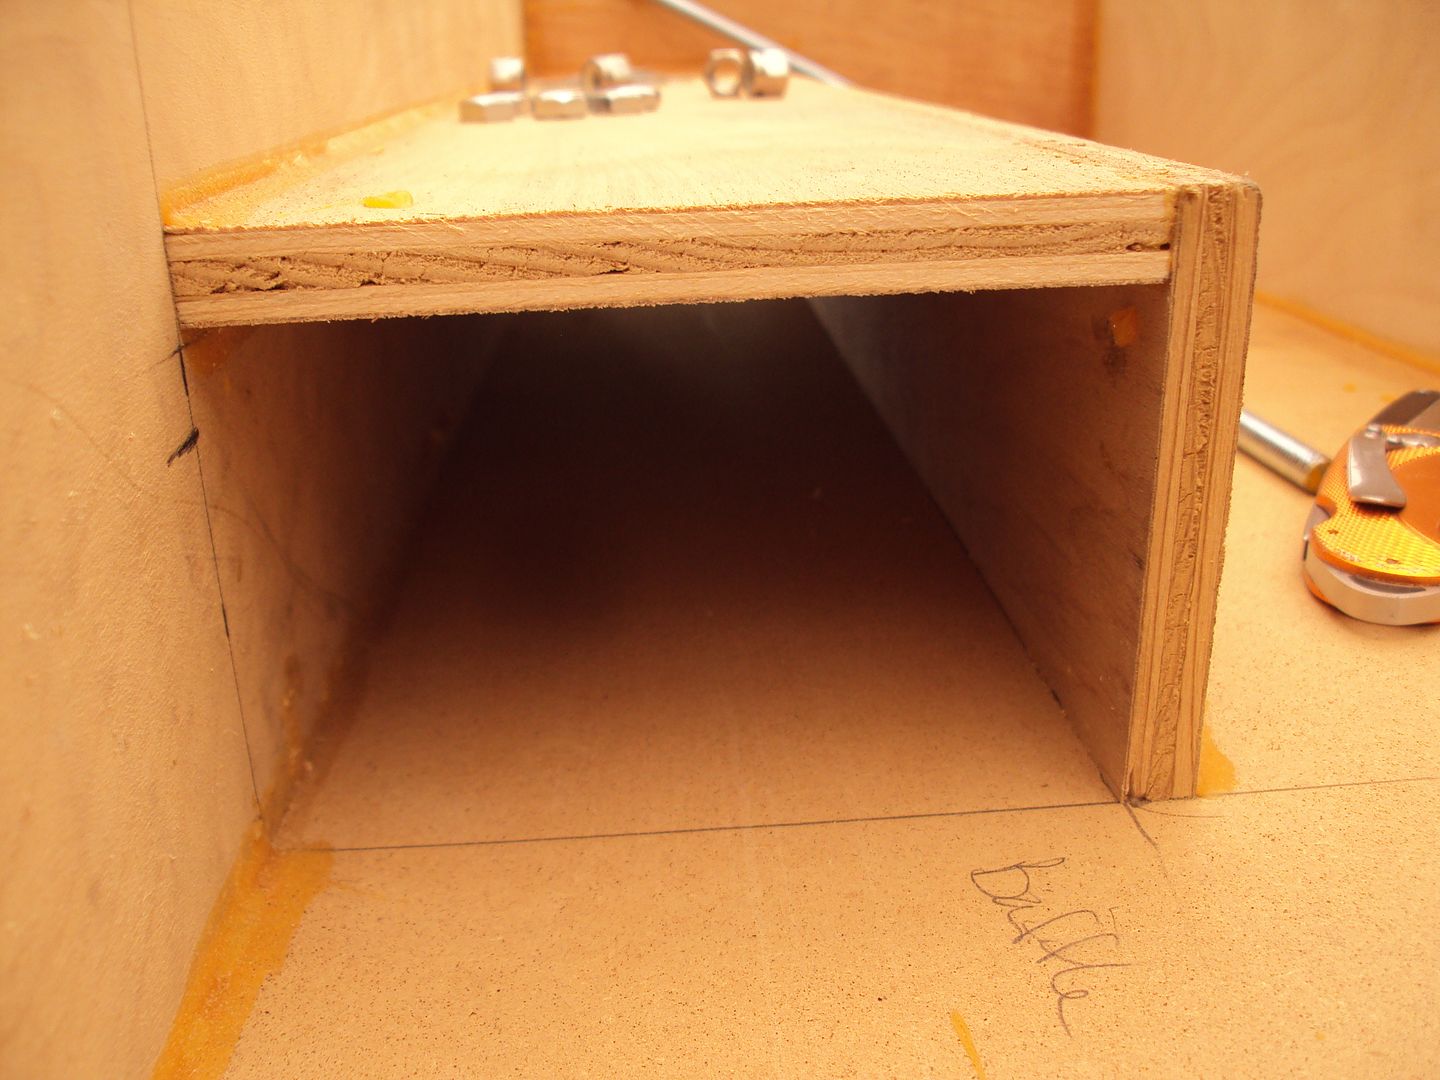
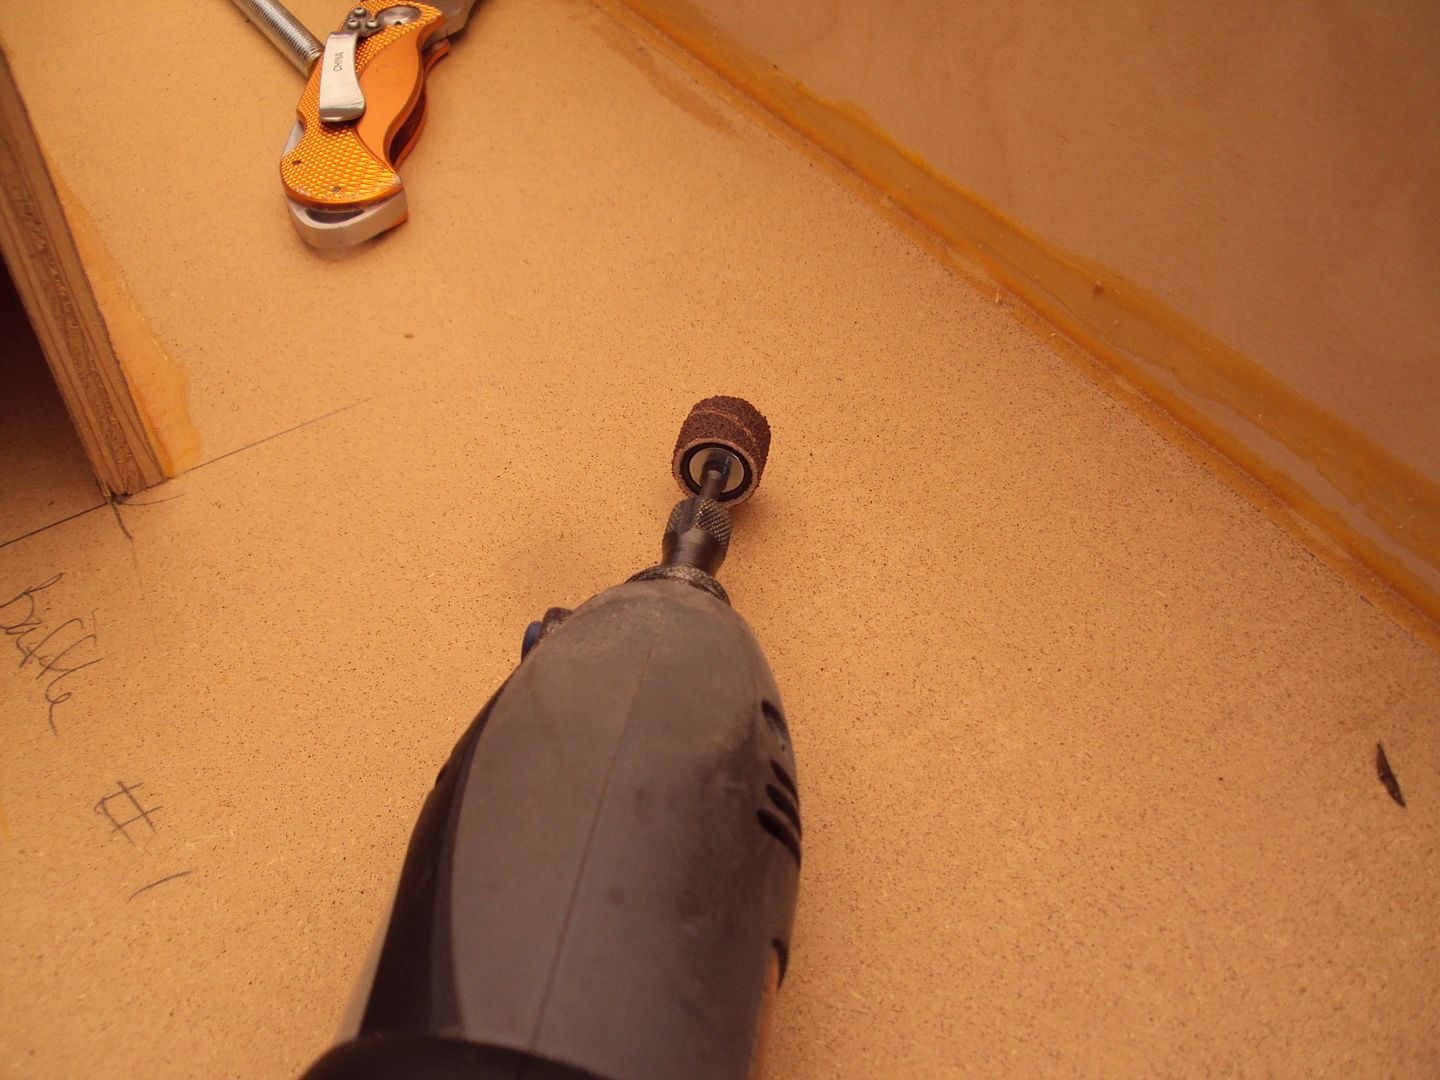
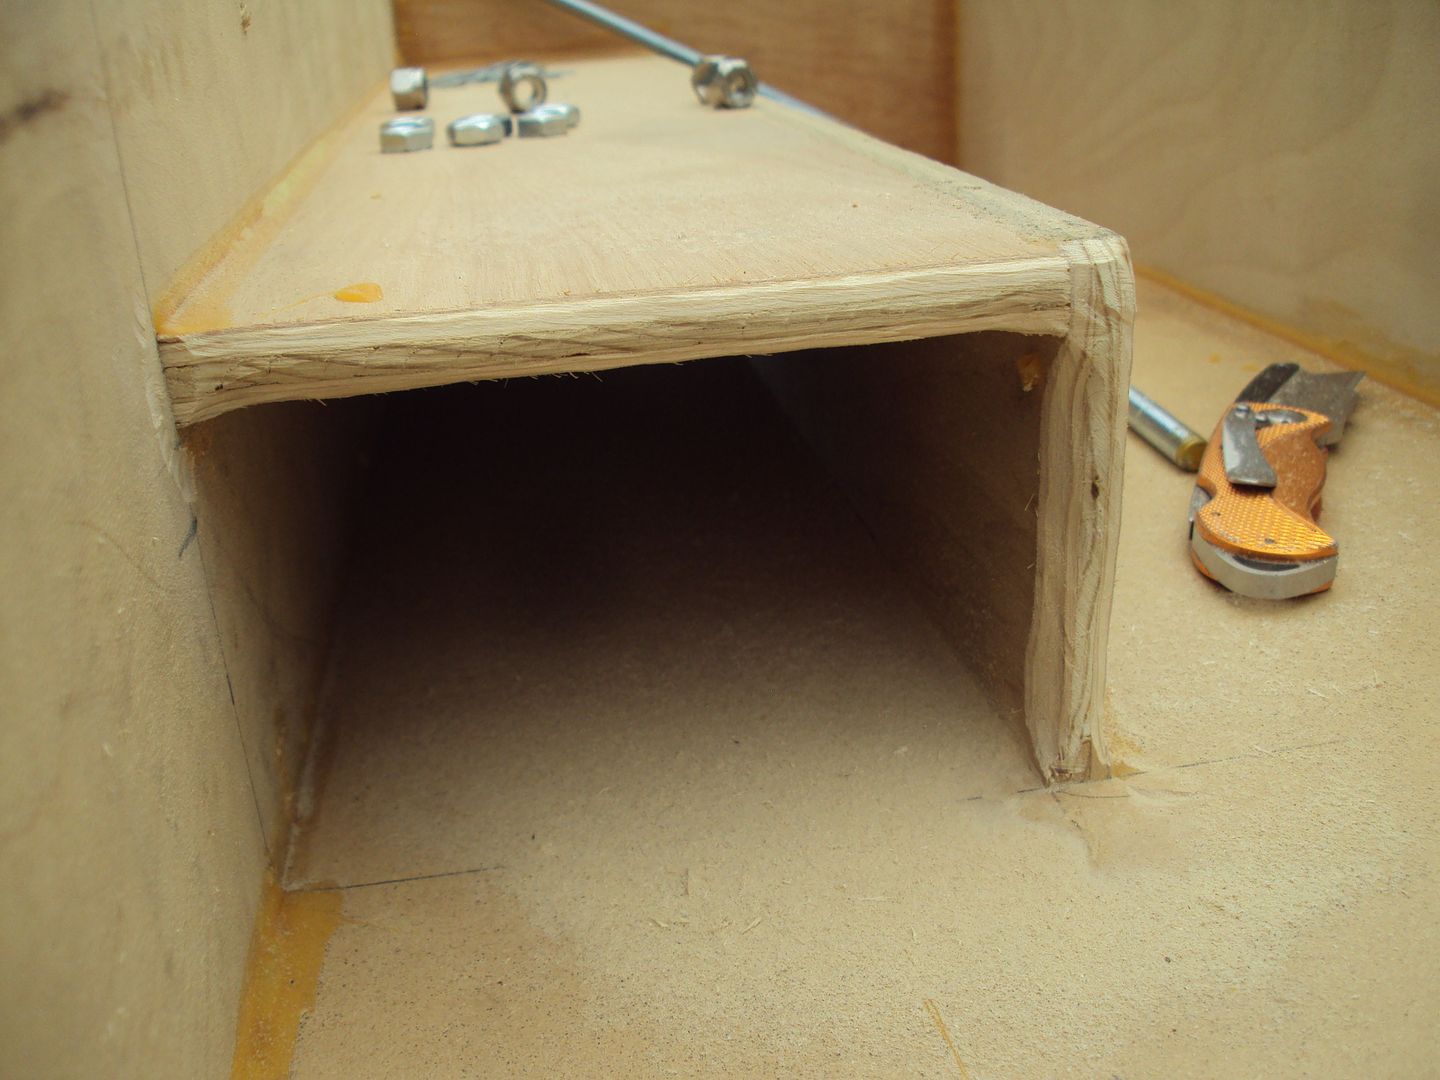
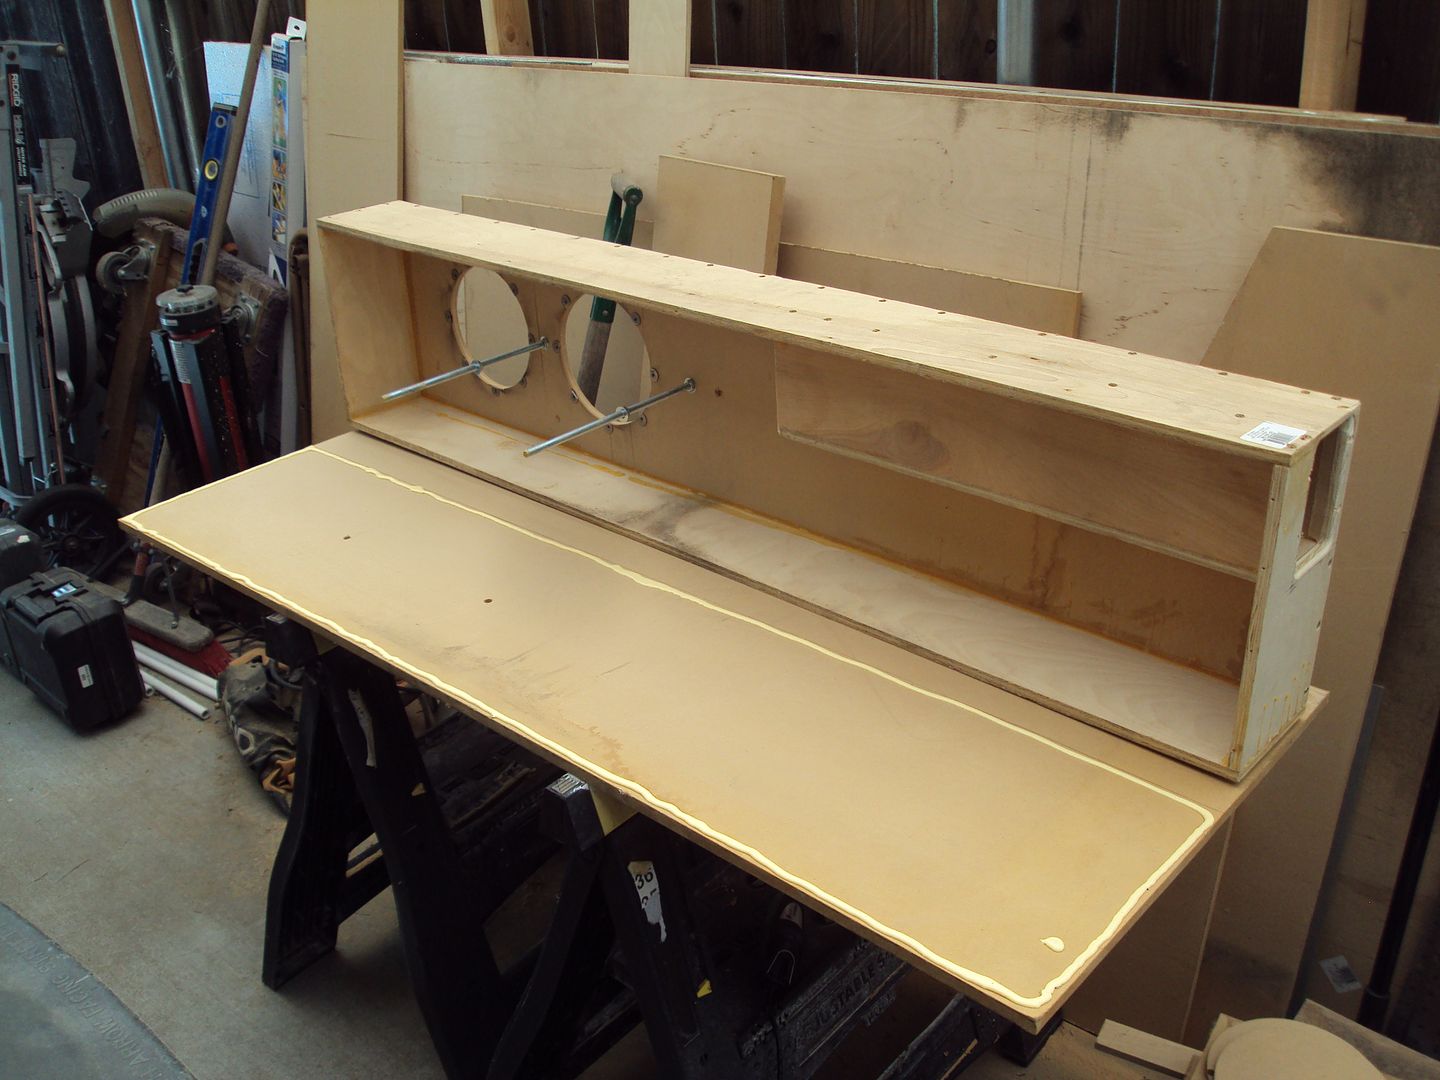
The next order of business was to address the square edges on this port. Not much I can do about it, but sand it. So I used my good friend again, with a sanding wheel this time, and did the best number I could on it. Probably should've done a little better job, but it's not square anymore and that's the point.
Next up was the bracing. Remember this is only half inch ply and mdf. So I need some kind of bracing in this thing at least. The top, bottom, and sides are probably ok, cause they're all birch and only about 6" wide so they're pretty stiff. However, the front and back panels are MDF and there's gonna be some flexin going on there!
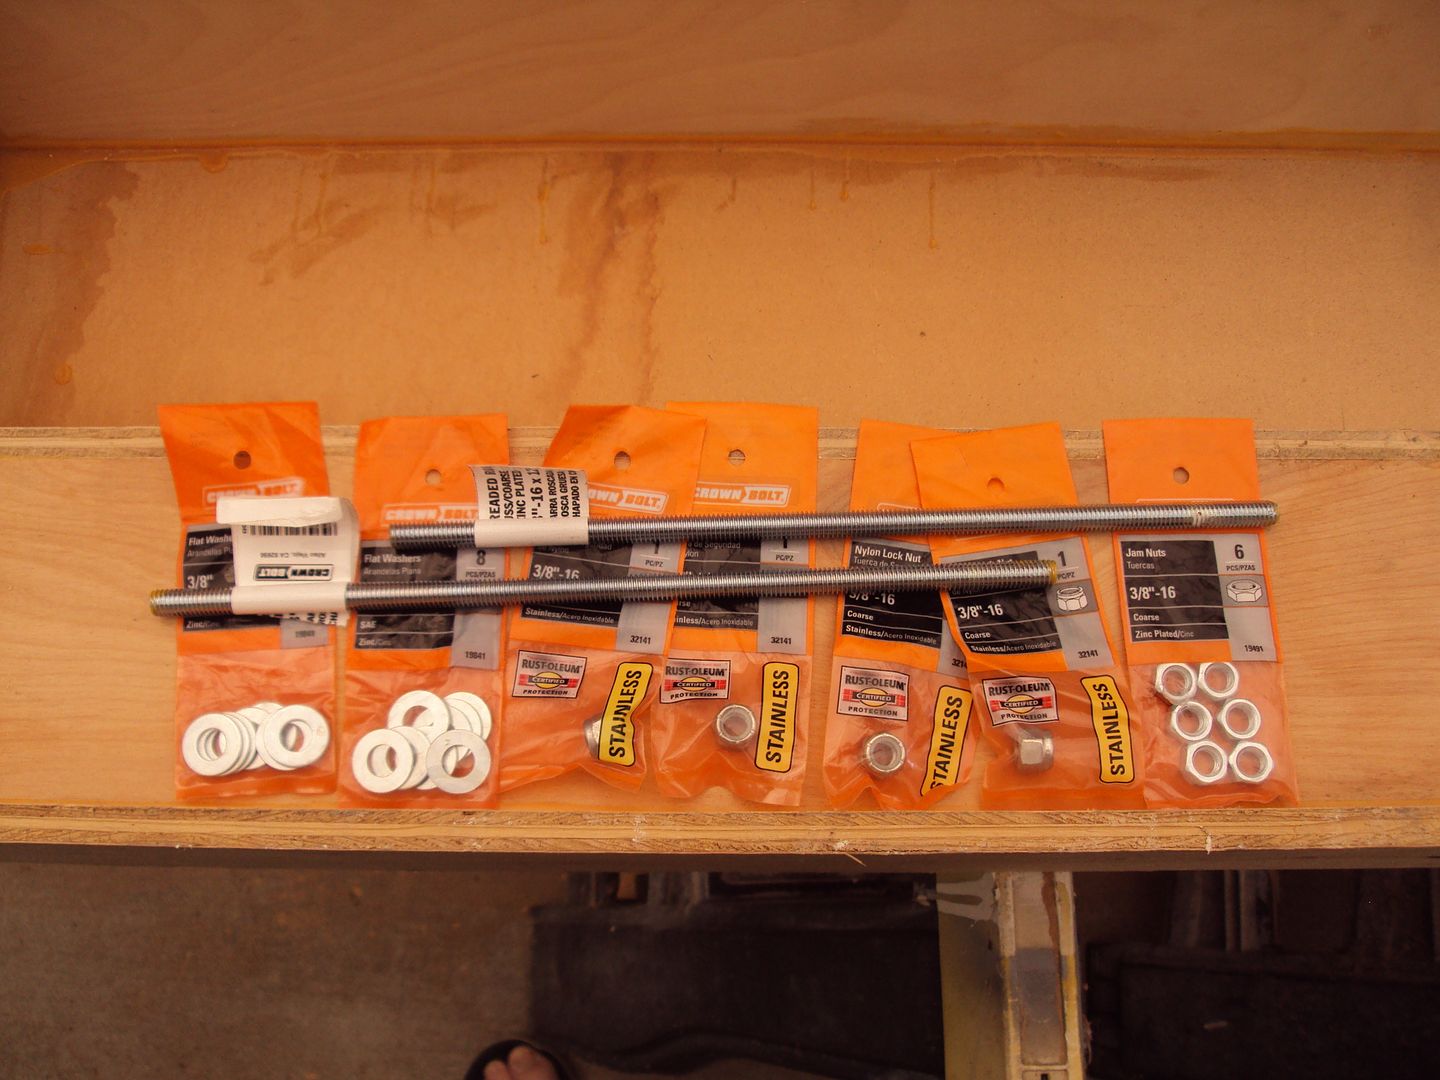
So instead of cutting a bunch of wood and nailing or screwing them, I decided threaded rods, washers, nuts, and nuts with nylon inserts will be the best thing to use here.
The hardware!
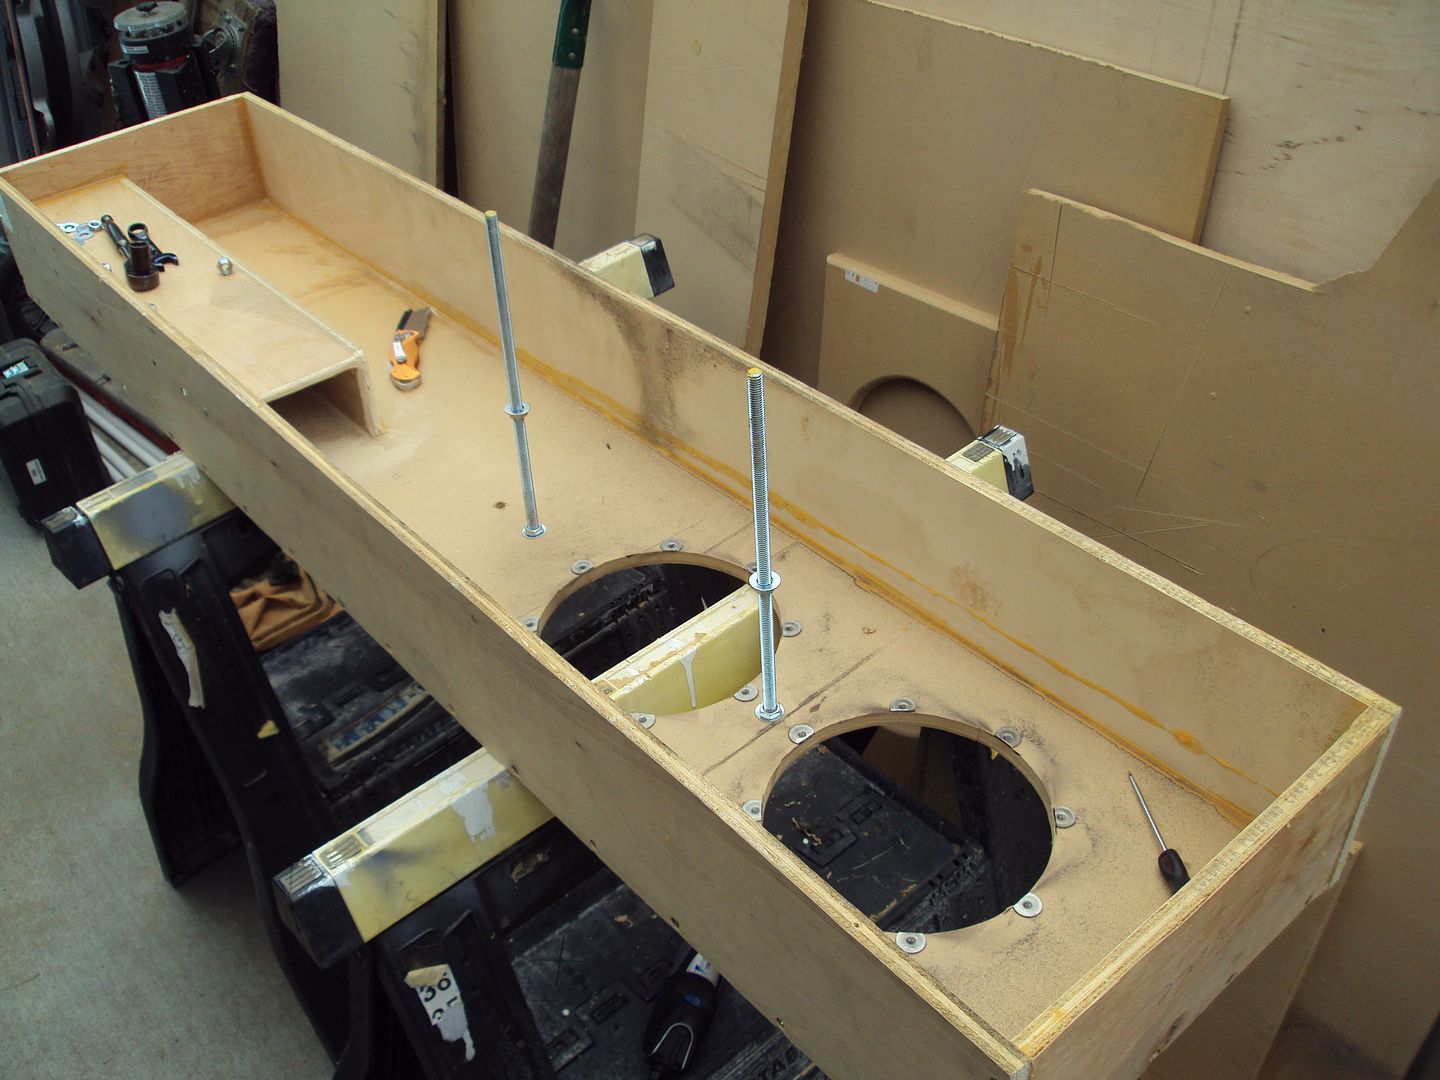
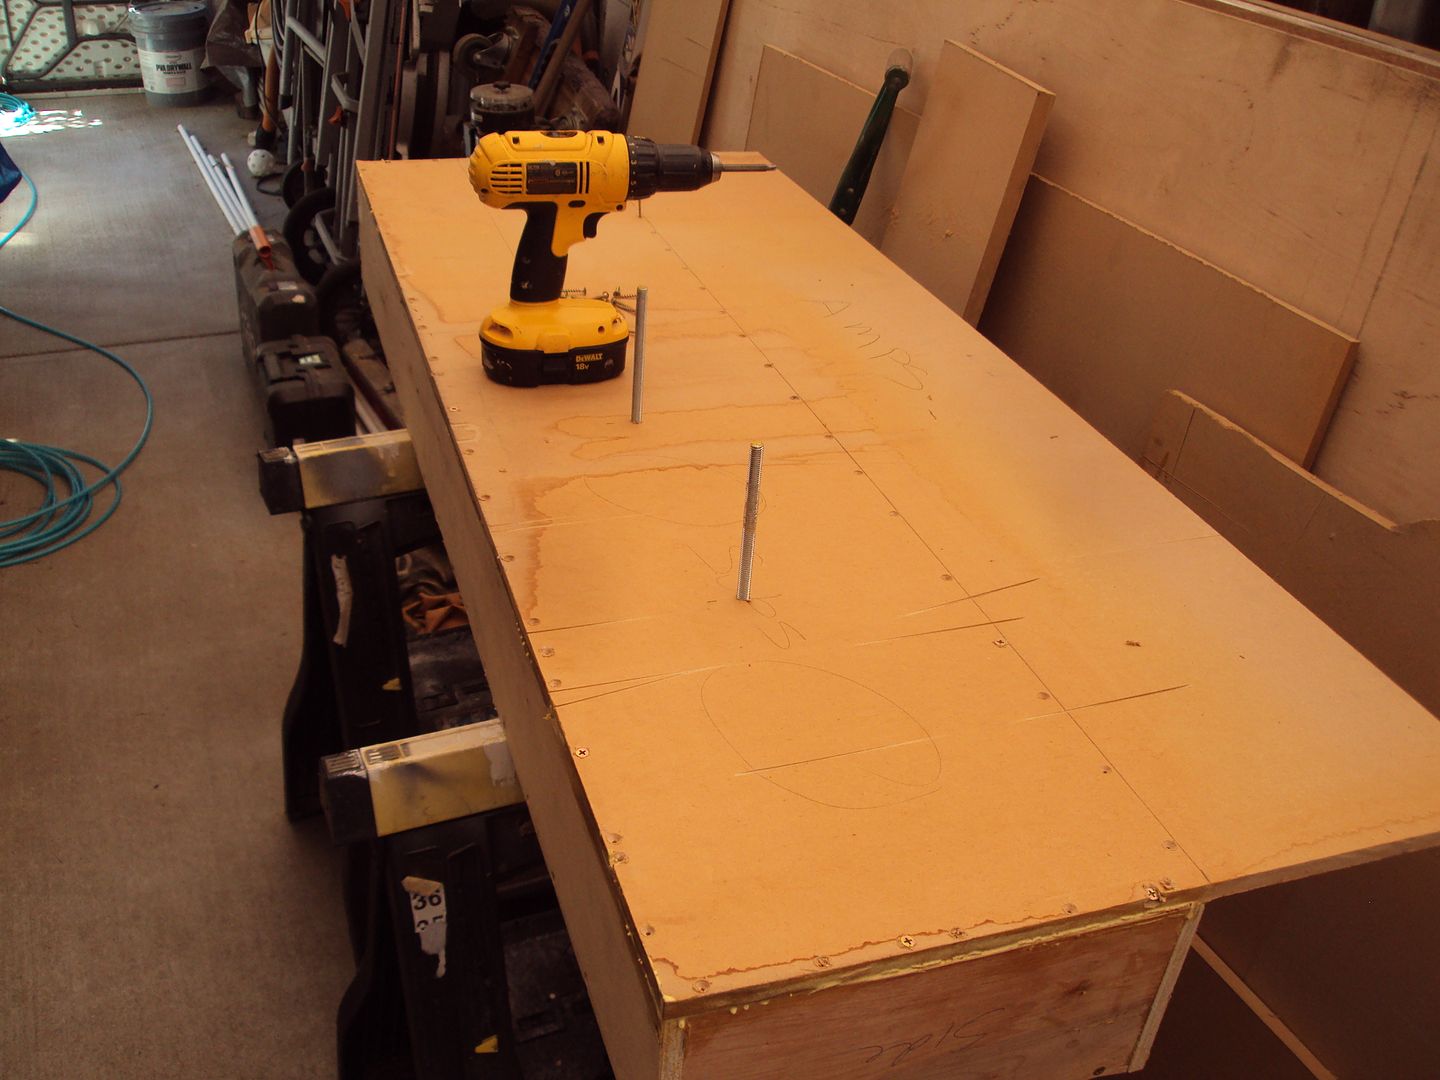
Now that I've got the rods in, tightened on the bottom, and the second nut and washer on, it's time for the last part in completing the actual box. The back side including the amp rack.
Got the holes drilled to fit the rods through
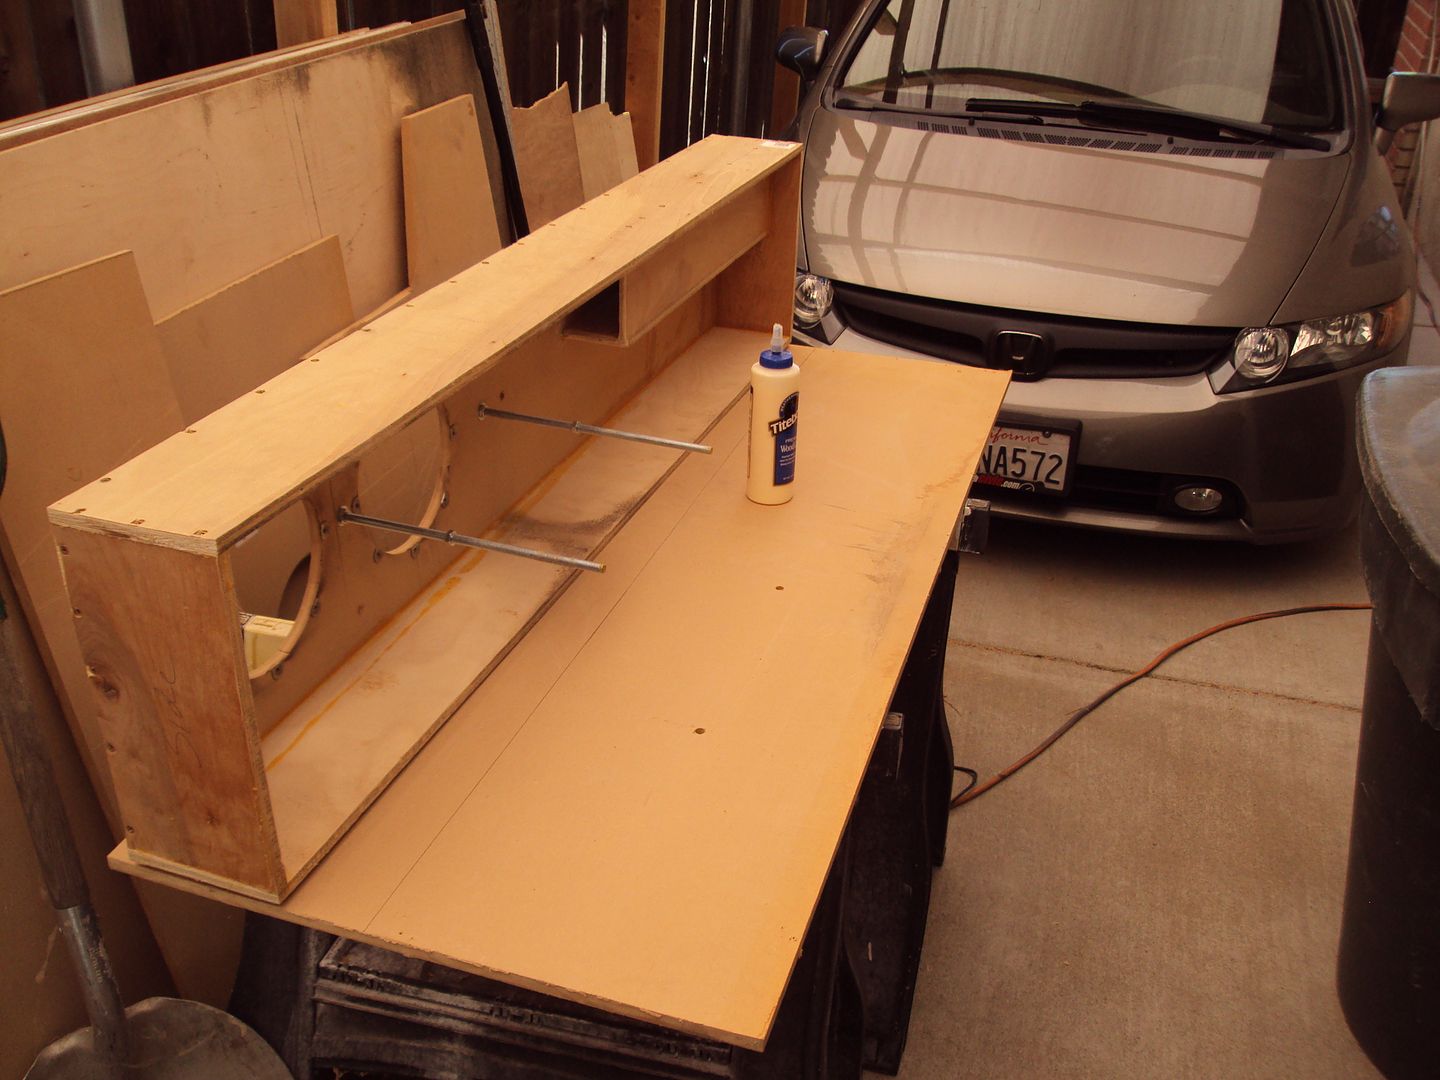
Then it was time to glue it. NICE thick bead so it oozes out everywhere!
Then get it on there! Obviously here I had to get it on, put a couple screws in it and flip it over. That's why it's back side up now. Did some counter sinking and then screwing! She's tight!!!!
Now as you can see the rods are too tall. So I had to cut them off. Well in order to not mess up the threads and be able to get the nuts on, I put on a couple extra nuts first, then cut them off. This way I can run the nuts off, salvage the threads and put the nuts with the nylon inserts on with no problems!
Next up was the bracing. Remember this is only half inch ply and mdf. So I need some kind of bracing in this thing at least. The top, bottom, and sides are probably ok, cause they're all birch and only about 6" wide so they're pretty stiff. However, the front and back panels are MDF and there's gonna be some flexin going on there!
So instead of cutting a bunch of wood and nailing or screwing them, I decided threaded rods, washers, nuts, and nuts with nylon inserts will be the best thing to use here.
The hardware!
Now that I've got the rods in, tightened on the bottom, and the second nut and washer on, it's time for the last part in completing the actual box. The back side including the amp rack.
Got the holes drilled to fit the rods through
Then it was time to glue it. NICE thick bead so it oozes out everywhere!
Then get it on there! Obviously here I had to get it on, put a couple screws in it and flip it over. That's why it's back side up now. Did some counter sinking and then screwing! She's tight!!!!
Now as you can see the rods are too tall. So I had to cut them off. Well in order to not mess up the threads and be able to get the nuts on, I put on a couple extra nuts first, then cut them off. This way I can run the nuts off, salvage the threads and put the nuts with the nylon inserts on with no problems!
#44
06-24-2012, 12:31 PM
Join Date: May 2011
Posts: 339
Likes: 0
Received 0 Likes
on
0 Posts
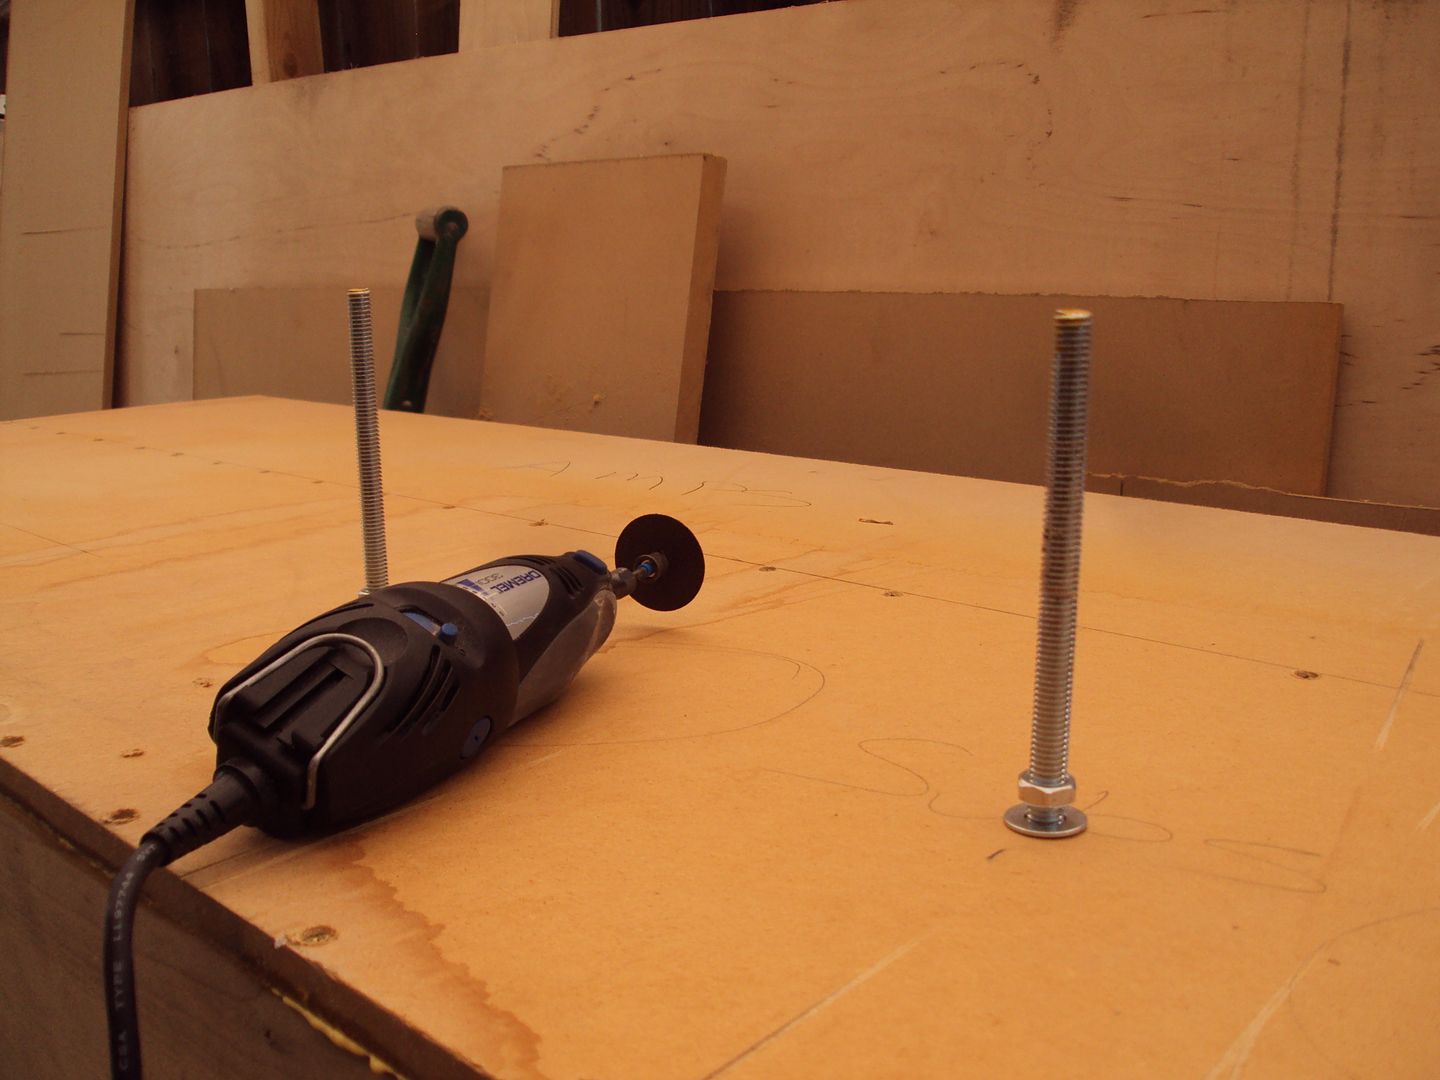
So after this was done, I was thinking to myself, I really need to get an air saw. I've been talking about getting one for a while now, and really it's just a good tool to have. So after seeing this, I was shaking my head saying I have to just go get one! So that's next on the list of tools to buy!
So I ran those nuts off and put the final ones on no problems and tightened it down! NO FLEX!!
I also trimmed off the excess! Not pictured.
So here is what she looks like so far!
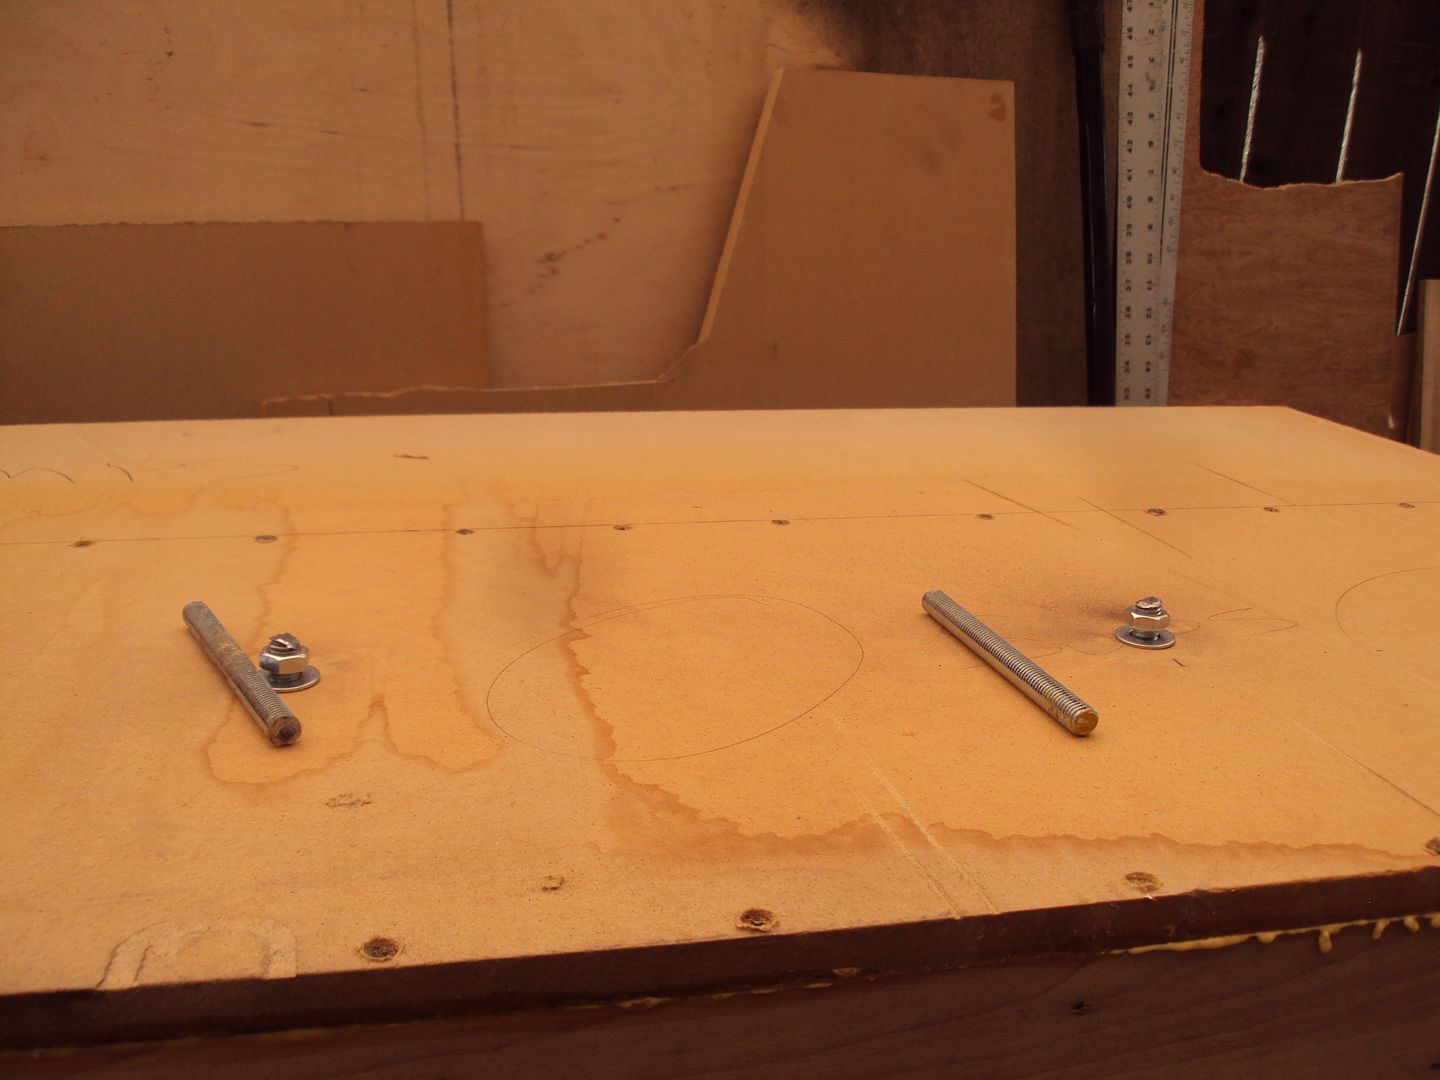
Now onto the flush panel. I need to hide the nuts from the rods, so I measured it out, drilled the holes and got it mounted.
Half inch bit with tape to mark the depth. 1/2" out of a 3/4" panel. Needed to stay within the extra quarter inch!
Then I just reamed them out a little bit to fit the nut!
Sits beautifully!
So I ran those nuts off and put the final ones on no problems and tightened it down! NO FLEX!!
I also trimmed off the excess! Not pictured.
So here is what she looks like so far!
Now onto the flush panel. I need to hide the nuts from the rods, so I measured it out, drilled the holes and got it mounted.
Half inch bit with tape to mark the depth. 1/2" out of a 3/4" panel. Needed to stay within the extra quarter inch!
Then I just reamed them out a little bit to fit the nut!
Sits beautifully!
#45
06-24-2012, 12:32 PM
Join Date: May 2011
Posts: 339
Likes: 0
Received 0 Likes
on
0 Posts
So the flush panel, I had said before, was going to be screwed in from the inside to not show screws. But that just wasn't going to work. These subs were kind of a pain to get out of there, and if I ever have to take them out, I'd rather not have to pry them out and risk puncturing one or something stupid. So I decided to just screw them on from the front. Then if I need to take it off, I can with no problems.
Test fitted the subs. I'm getting excited. It's still a temporary box, and there's some stuff that's driving me nuts, like the flush panel, and it being just one side of the box, and the router dips from the screw holes, and stuff like that. But overall I'm happy with it. It'll work out for a temp box.
Now it's time for the sexy!!!!
Soundstream Rubicon 1.1600D sub amp, and 4.600 mids and highs amp.
Time for the layout!
So this was the first layout, and then I even went ahead and drilled out holes for the inserts. But I had to change it.
Reason I had to change it was cause I left myself no room for a fuse block or ground block. Yes, there's only 2 amps, but I still need to have them. So I moved the amps down a bit, and left myself plenty of room for that. Those will get made a little later. I'll probably just go pick up some aluminum bar from home depot, drill and tap em, and call it good. I do have some aluminum block here though that I was going to make custom blocks with, so maybe I'll use those. We'll see!
So here she is, rough and in the nude! Amps mounted in the correct spaces.
The top looks unbalanced, but that will balance out when I get the blocks in there for power and ground. It's the bottom right that's not sitting well with me. I may do something there to decorate it and dress it up. We'll see!
So that's it for now. We're getting closer, but still a ways to go!
Thanks for tuning in!