
1977 F-100 restoration project

#47
 10-02-2011, 07:39 AM
Join Date: Jun 2005
Location: Atlanta
Posts: 321
Likes: 0
Received 0 Likes
on
0 Posts
working on that today. I'll post when I'm done. It won't be anything special because I didn't want to pour a lot of money into it. I got 90% of the wood out of a junkyard for $10. I was pretty lucky.
#48
10-02-2011, 08:45 AM
You commented on your hood not aligning, but in a later picture, it appears ok. Anyway, if you didn't figure it out, here's what I found when I put mine on: you need to put the hinge brackets seemingly low when you tighten them. For some reason, the rear springs up when you close it, but if you mount it lower than you think it should go, then it sits fine.
Keep up the good work!
Keep up the good work!
#50
10-02-2011, 06:55 PM
Join Date: Jun 2005
Location: Atlanta
Posts: 321
Likes: 0
Received 0 Likes
on
0 Posts
You commented on your hood not aligning, but in a later picture, it appears ok. Anyway, if you didn't figure it out, here's what I found when I put mine on: you need to put the hinge brackets seemingly low when you tighten them. For some reason, the rear springs up when you close it, but if you mount it lower than you think it should go, then it sits fine.
Keep up the good work!
Keep up the good work!
#51
10-17-2011, 06:17 AM
Join Date: Jun 2005
Location: Atlanta
Posts: 321
Likes: 0
Received 0 Likes
on
0 Posts

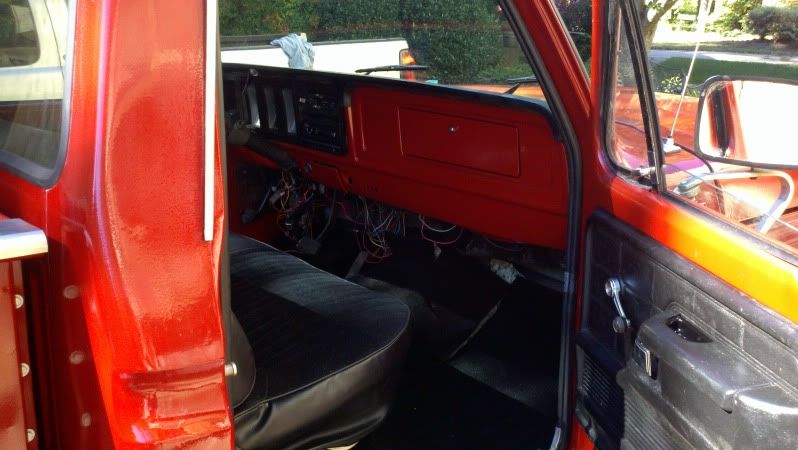
Finished most of the interior. Still have to clean up some details.
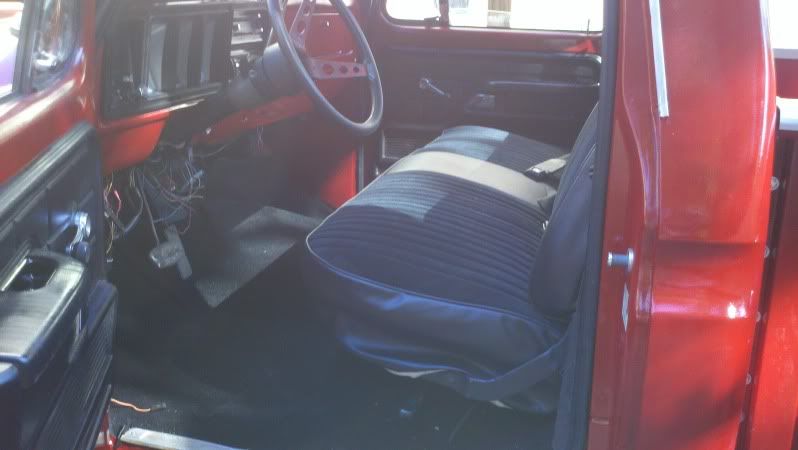
Yeah, still got to hang up those wires cleanly. Going to do that after the alarm goes in.
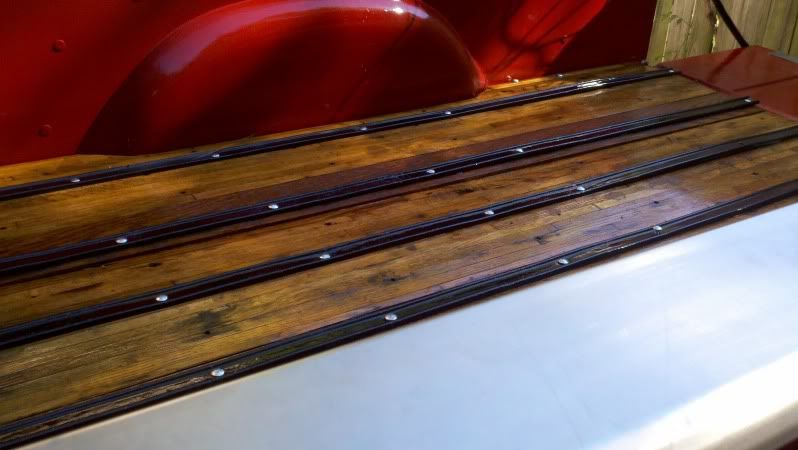
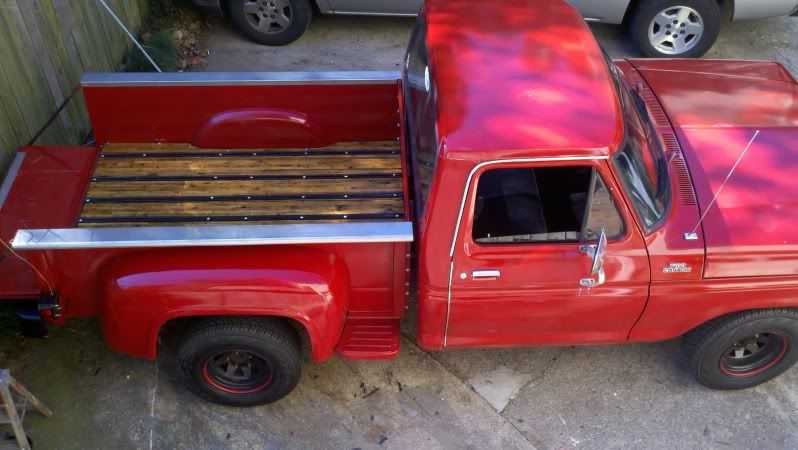
Bed's not perfect, but it is good enough for us now.
Still need to put in bolts above the gas tank. That'll be a pain. Might just drop in short bolts with a little glue for looks, don't think I need them structurally.
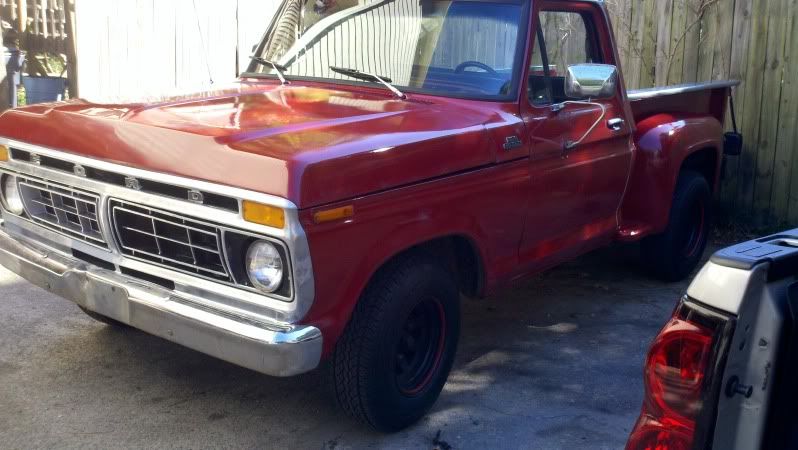
New grille insert on the passenger side, need to match the paint on the two of them. I think I like the one with black in the background better. Anybody vote one way or the other??
This thing still slips when it is going into 3rd gear. Any ideas about what to do?
I also have to align the front end, above 50 MPH right now it is flat out dangerous. It just skates all over the place.
#52
10-17-2011, 07:00 AM
Elder User
Join Date: Feb 2009
Location: effort,pa
Posts: 967
Likes: 0
Received 0 Likes
on
0 Posts
 ..
..
#54
10-24-2011, 06:28 AM
Join Date: Jun 2005
Location: Atlanta
Posts: 321
Likes: 0
Received 0 Likes
on
0 Posts
Update
One step forward, six steps back.
I'm chasing the source of an erratic miss in the motor. Have replaced rotor, cap, wires, plugs, coil, and ignition control module. It does not track with any cylinder and it is pretty random. This weekend I put in a brand new distributor and it made no difference.
That only leaves intake, exhaust, or vacuum leaks as the likely source of the miss. Start nosing around and find a major exhaust leak where the intake and exhaust manifolds bolt together. It was around the backside and you couldn't see it. There was like a 1/16 inch leak between the two where they mate. Went to tighten the bolt and " pop". The boss where the bolt goes through the intake and into the exhaust Manifold broke off. No welding this back, the metal was brittle. No way to cinch the intake and exhaust together because the bolt hole was gone.
Off to pull-a-part. You know you own an old truck when they give you a VIP card. Found a good intake and exhaust, but by the time I pulled it off I was too ticked off and tired to put it on my truck. Time to relax and get my patience back so I can do it right.
Right now I think the cause of the miss is a leak. That's all it can be (well...not really, it could still be in the carb). I'll order a new intake/exhaust gasket and clean up the new manifolds while I'm waiting on it to arrive.
Don't you just hate it when you get a vehicle 98% right and then take a BIG step backwards trying to to clean up that last 2%? Grrrrrrr.
#55
10-24-2011, 06:35 AM


#57
10-24-2011, 09:07 AM

Elder User
Join Date: Dec 2010
Location: Liberty Hill, Tx
Posts: 618
Likes: 0
Received 0 Likes
on
0 Posts
#58
10-26-2011, 10:54 AM
Join Date: Jun 2005
Location: Atlanta
Posts: 321
Likes: 0
Received 0 Likes
on
0 Posts
One step forward, six steps back
Posted this in the Inline Six forum, but for anybody watching the status of the build, here is the latest.
The thing about the 1/16 inch leak was me, the village idiot, not recognizing that there was supposed to be a GASKET IN BETWEEN THEM. Wow, wonder if that 1/16 inch gap was where a gasket should be? Sometimes I even amaze myself.
Right now I think the cause of the miss is a leak. That's all it can be. I should be able to get it all back together by this weekend.
#59
10-26-2011, 11:09 AM
Join Date: Jun 2005
Location: Atlanta
Posts: 321
Likes: 0
Received 0 Likes
on
0 Posts
Other detail from the other day. I was pulling my hair out trying to find out why the freaking turn signals didn't work. Guys, I've got degrees in Electrical Engineering. I'm supposed to be able to figure out a dad-gummed blinking light. I don't mind telling you that this thing was driving me crazy.
Turns out it was the fuseholder. Fuse itself was fine. Wiring was fine. The outer edge of the fuseholder was fine (where I kept probing it). The INNER EDGE of the fuseholder that actually holds the fuse was oxidized enough to be almost a perfect insulator. Who'd a figured that? I had to sand out the INSIDE of the fuseholder clips. I guess that's what happens with 40 year old tin.
And my kids wonder why I don't have any hair left on my head.
#60
10-26-2011, 12:06 PM
I like the project. I bought my 77 F150 flare when i was 15, still working on it to this day, has become quite the project / hobby / toy. Decent pic in the sig. Mine was red when i bought it too. Used to know a guy who had a burnt orange truck with the 300, said he got 22mpg on the hwy with 3.55s and 33s... just took a little while to get there.
For the trans slipping might try adjusting the vacuum modulator on the back of the trans.
For the paint, thing looks really good for no more experience than you guys have, it really does. Some 1500 wet paper and a buffer is your friend. Just watch the edges so you dont go through or burn the paint.
EDIT:
I forgot to mention, the wood looks great I like the "old" look of the wood with the polish to it. Might just be the motivation to get mine done. The sheet of 1/2" plywood is just about done for.