
Excursion on boggers build up
#16
 02-15-2011, 07:10 AM


#17
02-15-2011, 07:30 AM

More Turbo
#19
02-18-2011, 09:40 AM

Join Date: Jan 2006
Location: North Bay
Posts: 316
Likes: 0
Received 0 Likes
on
0 Posts
Got around to taking some pics since I ( by I, I mean the rain...crazy weather up here....+7 and rain today, -9 tomorrow) washed the truck
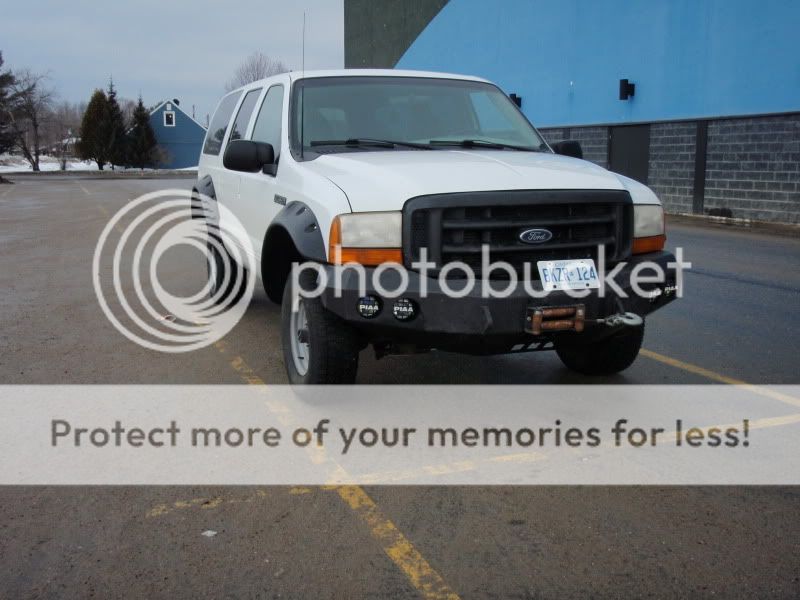
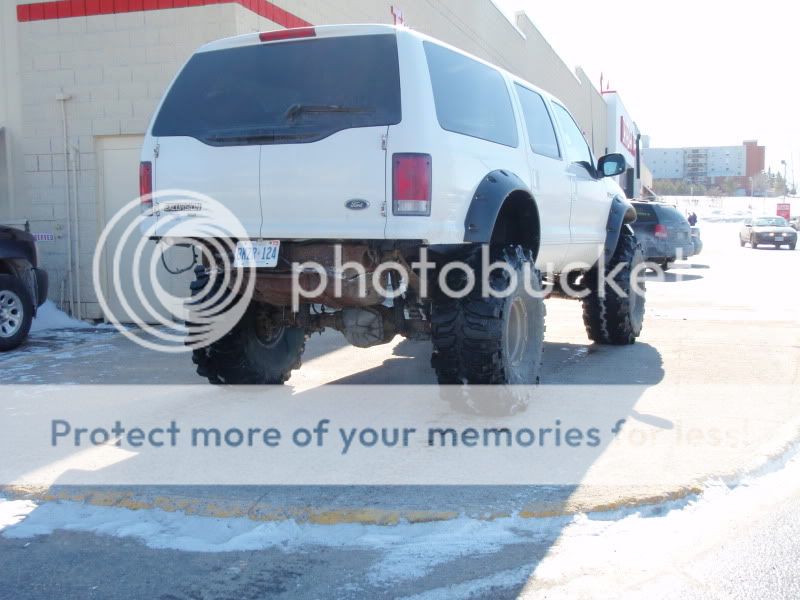
don't worry, the plate isnt going to stay there long
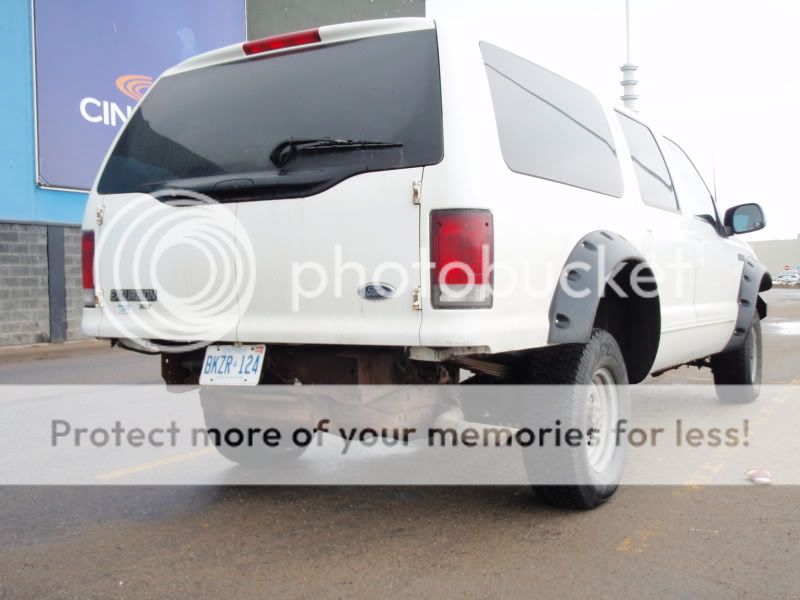
Pic of the back with the sides of the body cut for the bumper. Haven't had time to work on the bumper mounts either
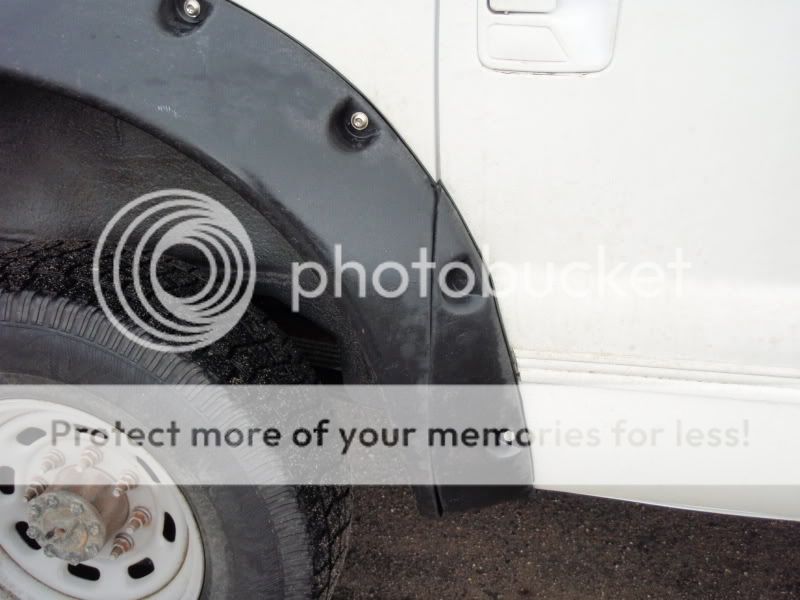
Pic of the cut flare for the rear door. I marked it with some fineline masking tape and cut down the center of it with a jigsaw( which cut it like butter). I should have used something a bit thicker because they still touch when the door is closed...i'll just have to do another skim pass on one side. Notice the piece of flare on the door only has 1 screw so far...the body line must be a bit different because the supplied screws would not reach the body. i have some longer screws that should work. I hope to work on it 1 day this weekend
Pic of the bracket that needs to be cut off
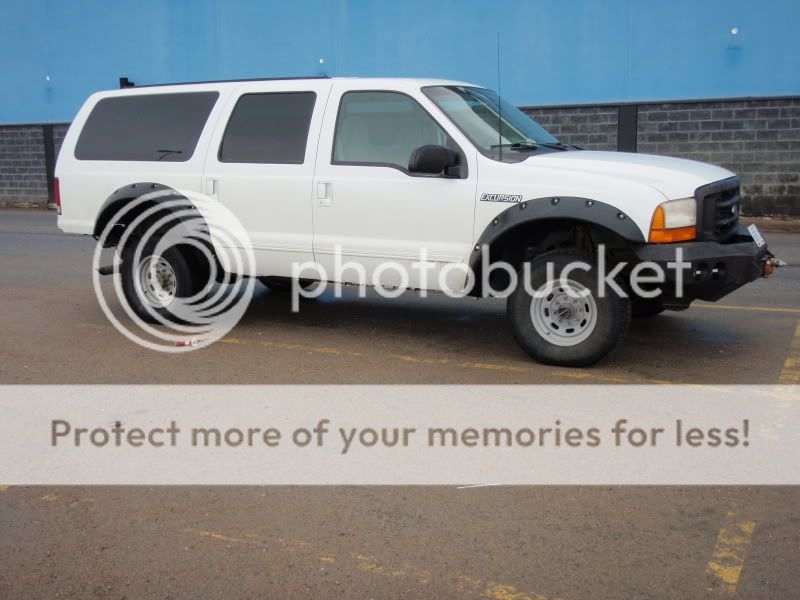
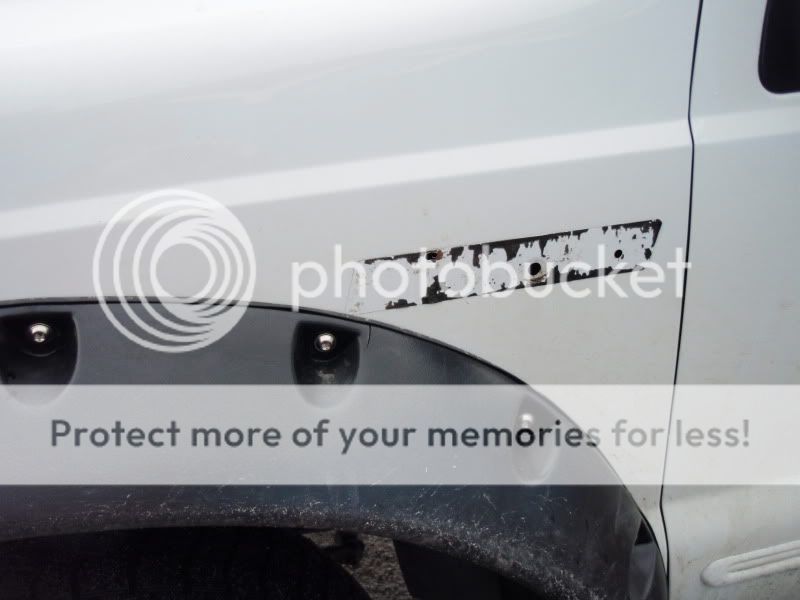
one last detail...the Excursion on the driver fender needed to be removed...because the ends of the badge are angled..the one on the passenger side did not need to be removed
I have a shop booked on tuesday to do the suspension swap...pics of that shortly
don't worry, the plate isnt going to stay there long
Pic of the back with the sides of the body cut for the bumper. Haven't had time to work on the bumper mounts either
Pic of the cut flare for the rear door. I marked it with some fineline masking tape and cut down the center of it with a jigsaw( which cut it like butter). I should have used something a bit thicker because they still touch when the door is closed...i'll just have to do another skim pass on one side. Notice the piece of flare on the door only has 1 screw so far...the body line must be a bit different because the supplied screws would not reach the body. i have some longer screws that should work. I hope to work on it 1 day this weekend
Pic of the bracket that needs to be cut off
one last detail...the Excursion on the driver fender needed to be removed...because the ends of the badge are angled..the one on the passenger side did not need to be removed
I have a shop booked on tuesday to do the suspension swap...pics of that shortly

#22
02-19-2011, 08:21 AM
Postmaster
#23
02-19-2011, 08:31 AM

Before you completely remove the tab for the bumperbar, consider adding a tow hook (this one is off the rear of a school bus). I only cut the piece that was parallel to the ground leaving the vertical piece to bolt the hook to.

#24
02-19-2011, 09:19 AM
Join Date: Jan 2006
Location: North Bay
Posts: 316
Likes: 0
Received 0 Likes
on
0 Posts
Interesting idea...I will keep that in mind
#26
02-20-2011, 06:17 PM
Join Date: Jan 2006
Location: North Bay
Posts: 316
Likes: 0
Received 0 Likes
on
0 Posts
Had some time to work on the Excursion today.
Thanks to Shelby for lending us her nice spot in the garage
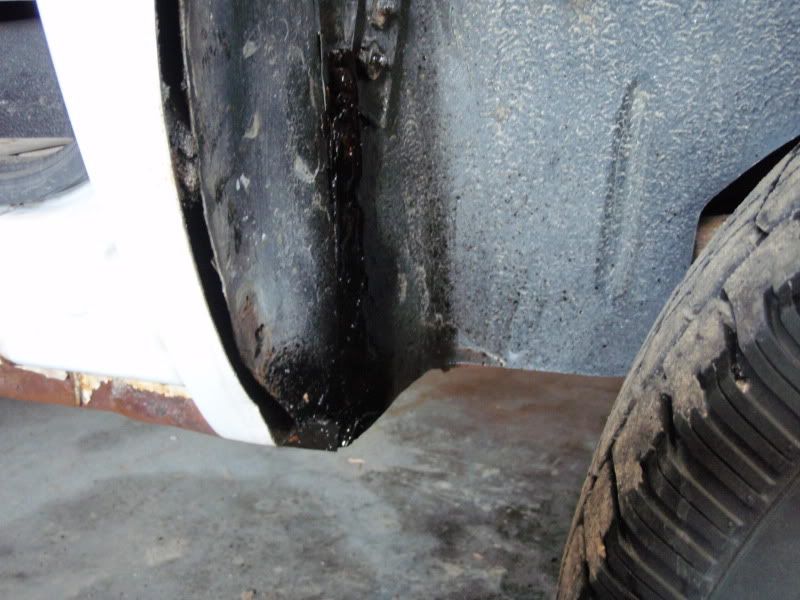
There is a body seam in the wheelwell that has to go
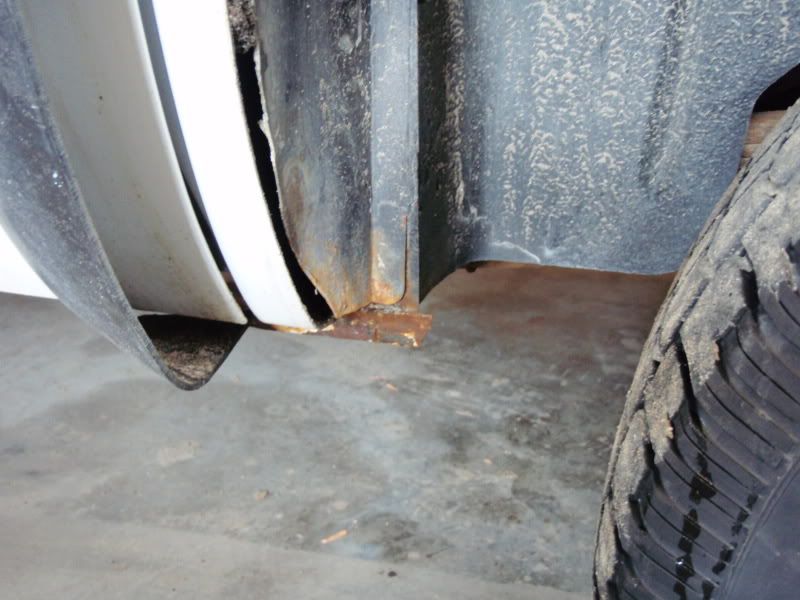
trimmed, folded over and painted
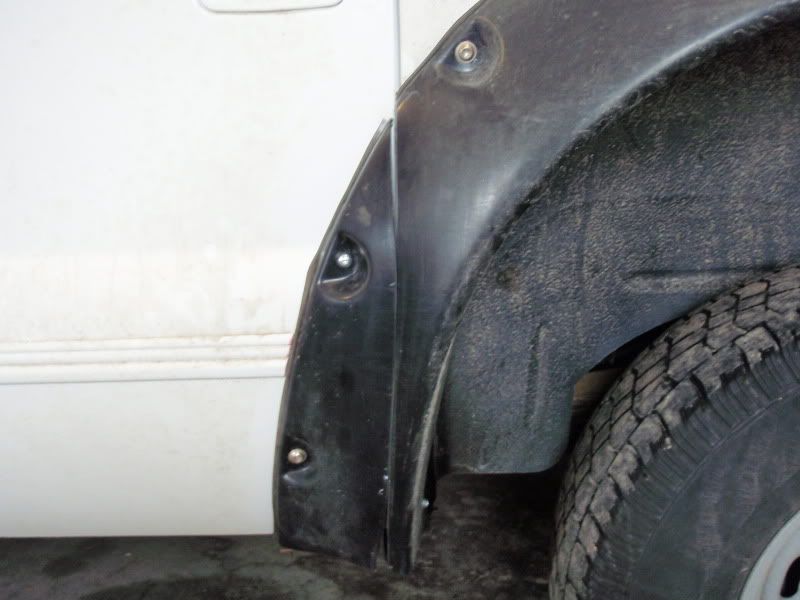
Spent some time working on the fitment of the flares around the door...they sprung a little bit when I cut them
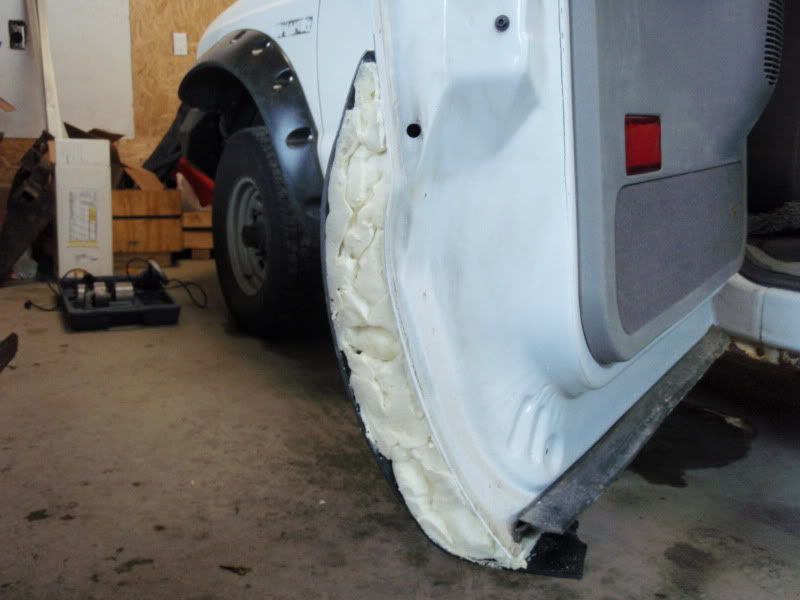
To add a bit of rigidity to the flares, I decided to fill them with spray foam...this should also keep them from filling with mud
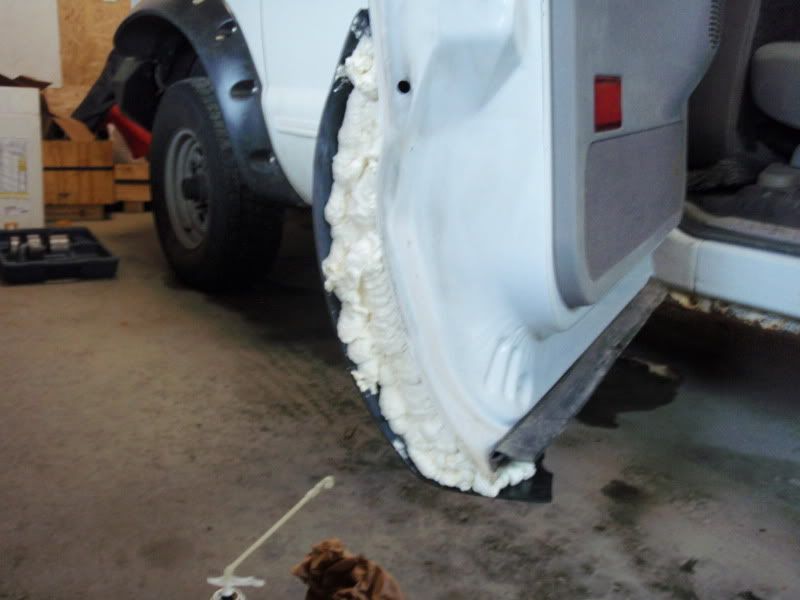
expanded and trimmed
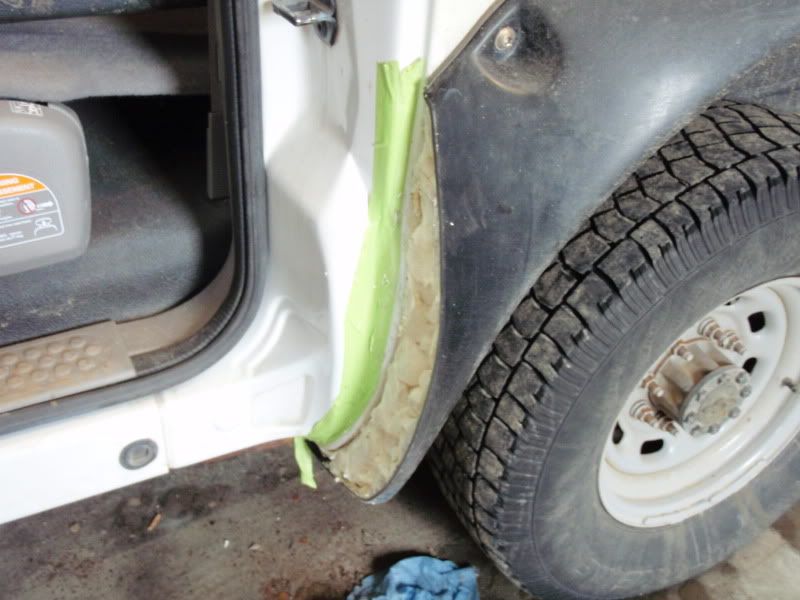
masked for paint ( rocker guard)
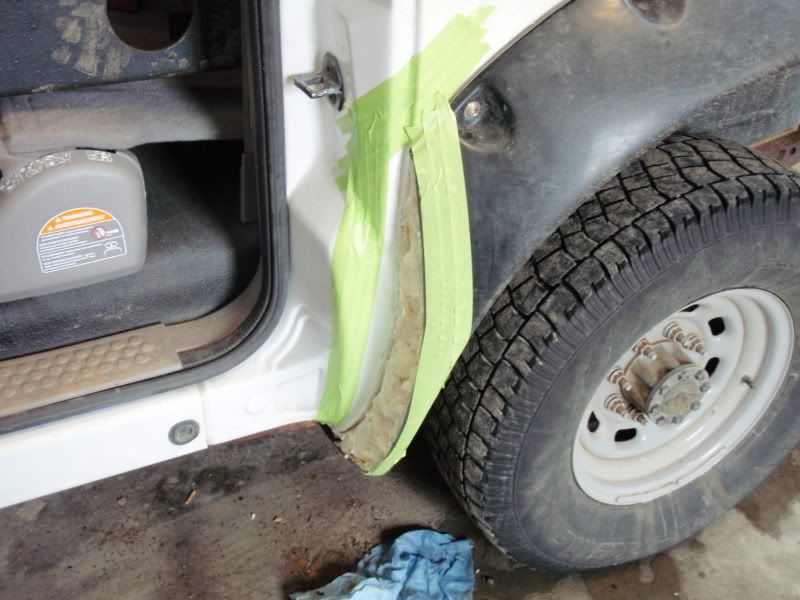
Painted. This also keeps you from seeing white between the flare sections


soon.........
Thanks to Shelby for lending us her nice spot in the garage
There is a body seam in the wheelwell that has to go
trimmed, folded over and painted
Spent some time working on the fitment of the flares around the door...they sprung a little bit when I cut them
To add a bit of rigidity to the flares, I decided to fill them with spray foam...this should also keep them from filling with mud
expanded and trimmed
masked for paint ( rocker guard)
Painted. This also keeps you from seeing white between the flare sections
soon.........
#27
02-20-2011, 06:20 PM
More Turbo
looks good...my .02
spray some bedliner/undercoating over those ends if you're not going to do a full cap on them. That foam can be worse than mud when it gets wet, it holds the water in the air pockets. I had to deal with some rocker panels/nerf bars somebody had filled with the stuff, it was BAD after a year.make sure it's 100% waterproof.
spray some bedliner/undercoating over those ends if you're not going to do a full cap on them. That foam can be worse than mud when it gets wet, it holds the water in the air pockets. I had to deal with some rocker panels/nerf bars somebody had filled with the stuff, it was BAD after a year.make sure it's 100% waterproof.
#28
02-23-2011, 01:49 PM
Join Date: Jan 2006
Location: North Bay
Posts: 316
Likes: 0
Received 0 Likes
on
0 Posts
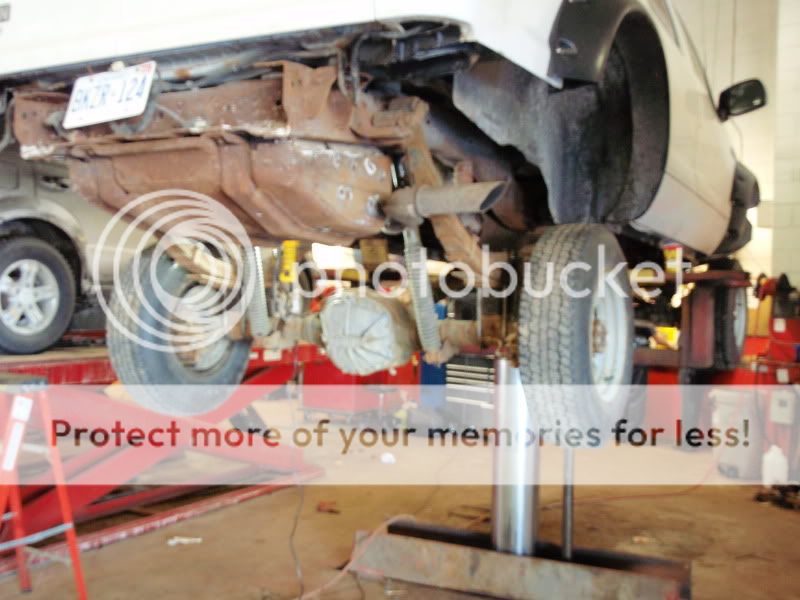
Ok , got lots of pics but the mostly turned out blurry, I must have been shaking with excitement.
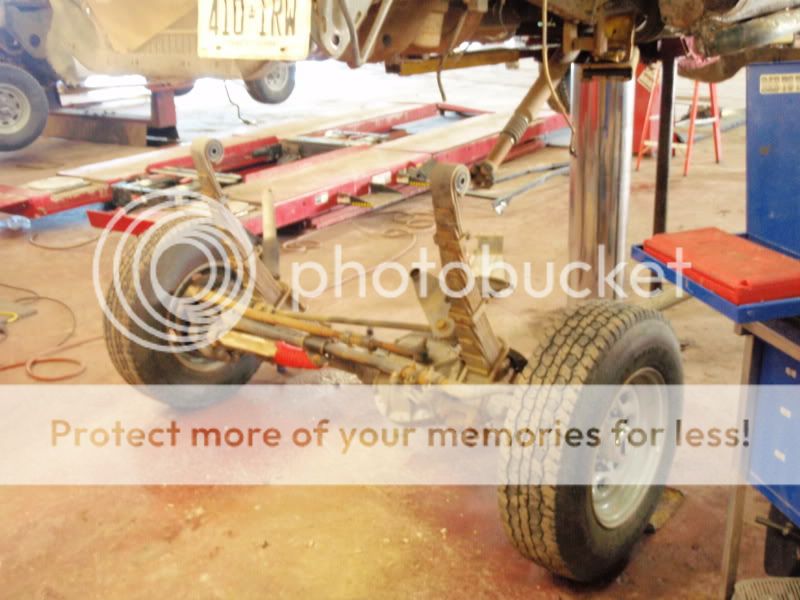
poor old duty getting ready for surgery.

Front axle out
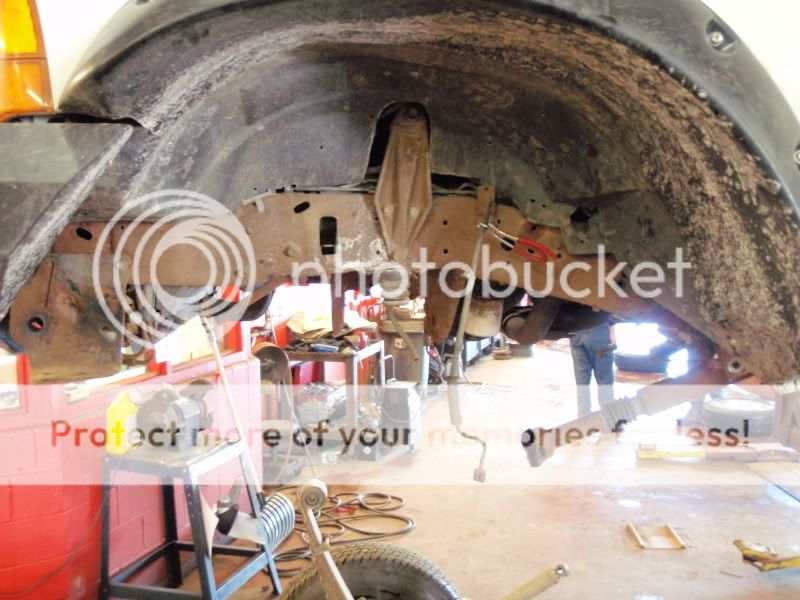
Lifted front end installed in the EX
Rear axle out
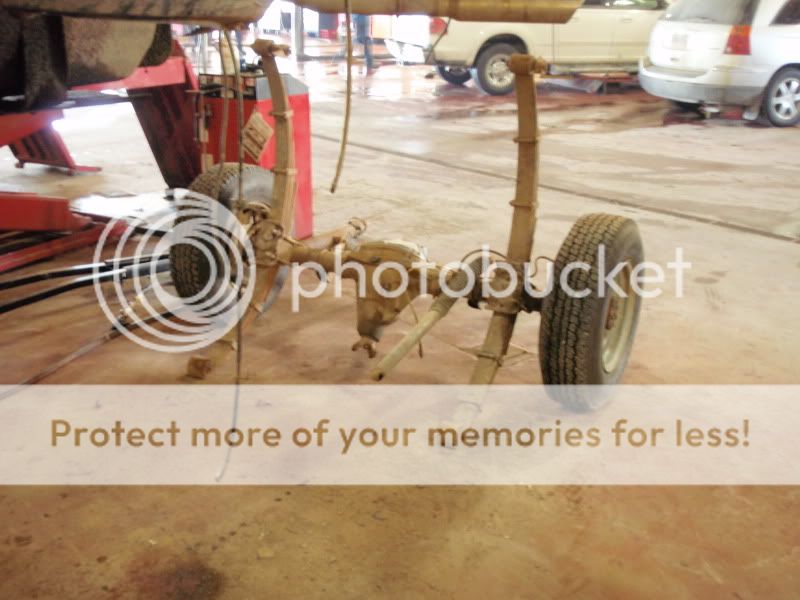
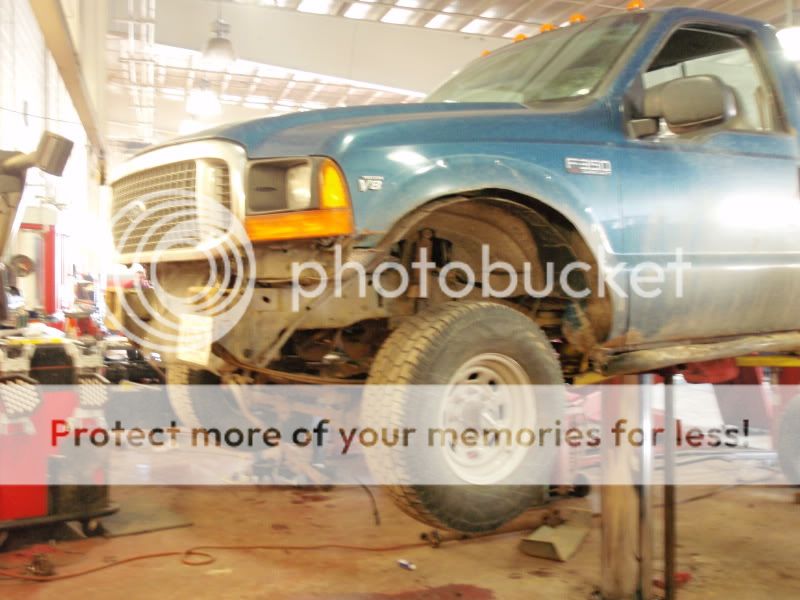
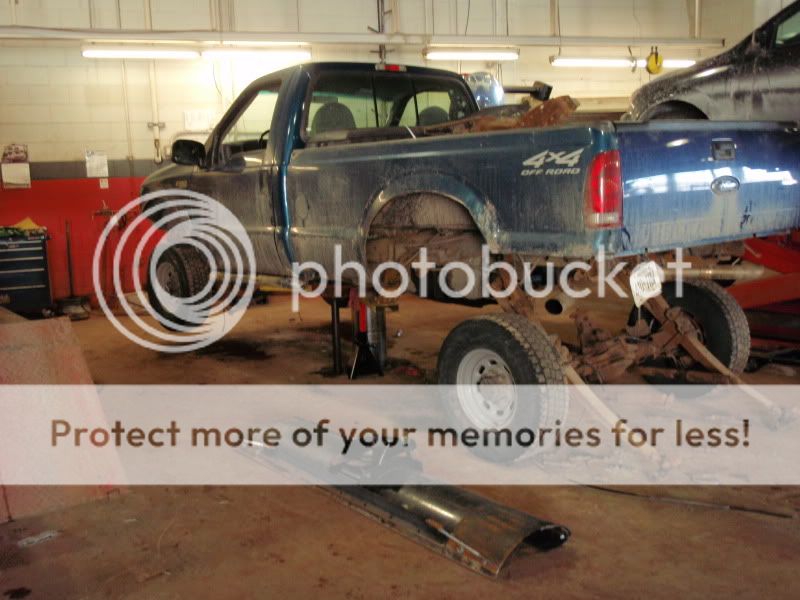
Stock front end in duty..how do you like the nice chrome grille
Lifted rear in the EX
stock rear axle waiting to go up
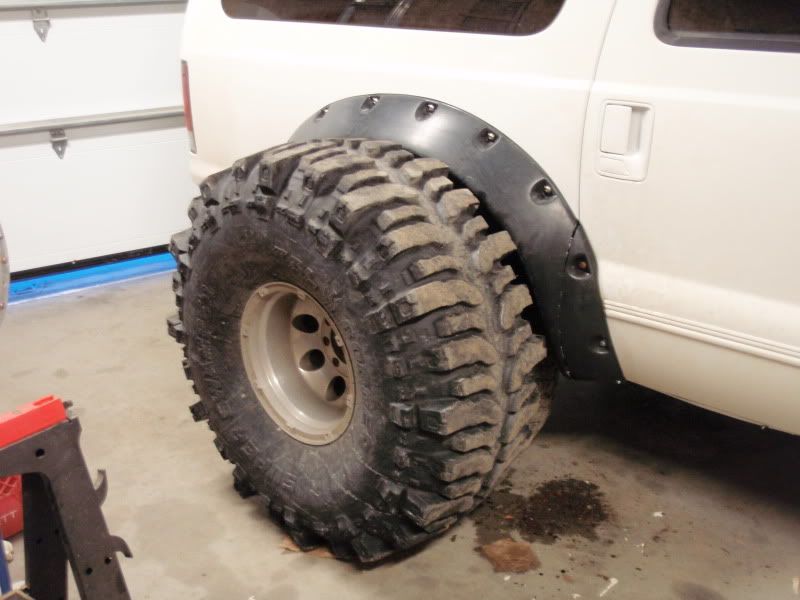
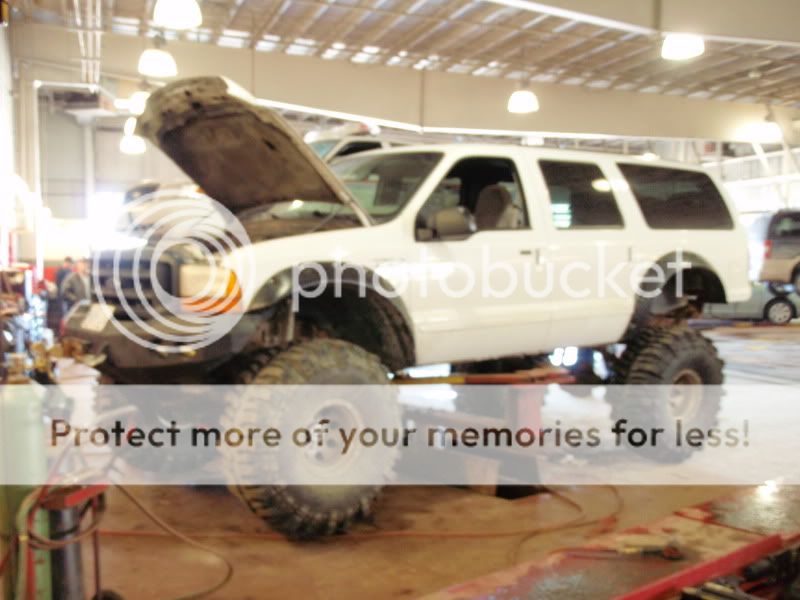
Tires and wheels on
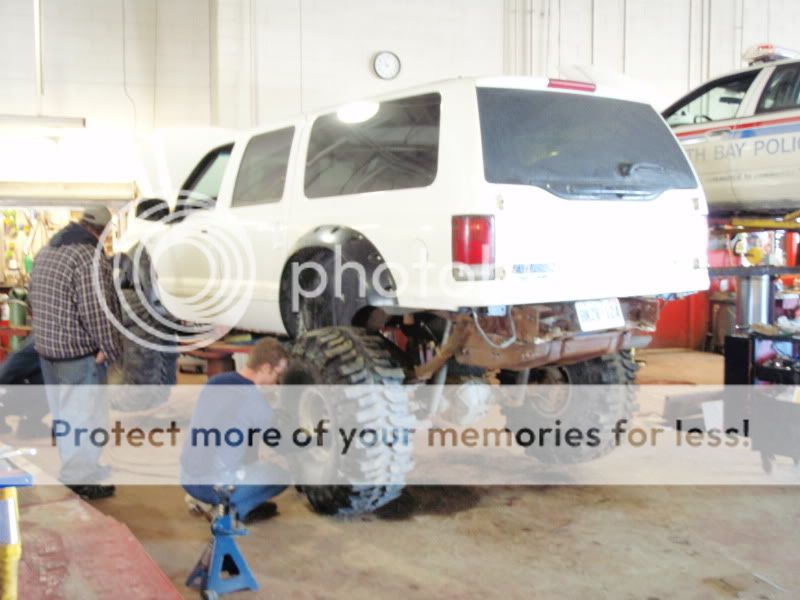
The rear of the excursion is alot heavier than the dutys. Most EX lifts have a bit more lift in the rear to compensate for the extra weight, so I put my stock F350 3 5/8ths block back in. in order to keep my shocks, the shock mounts were loosened and rotated up until they would bolt in
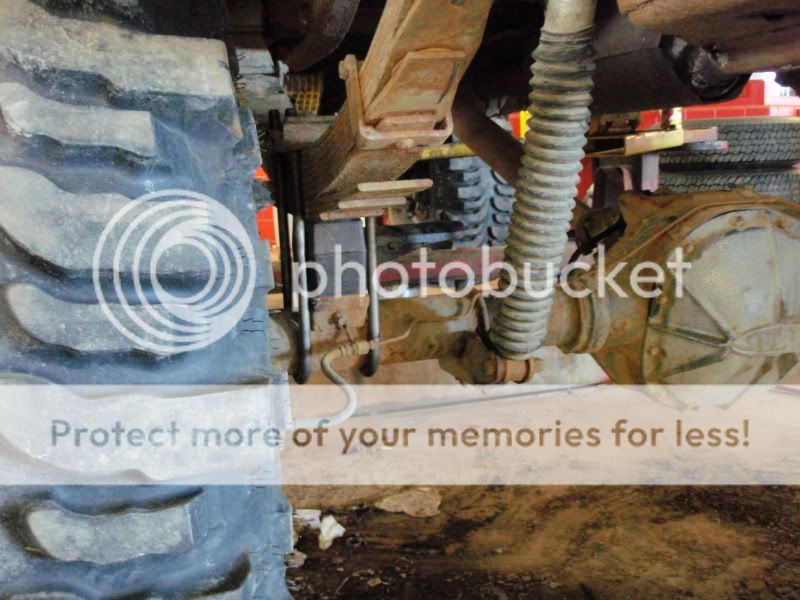
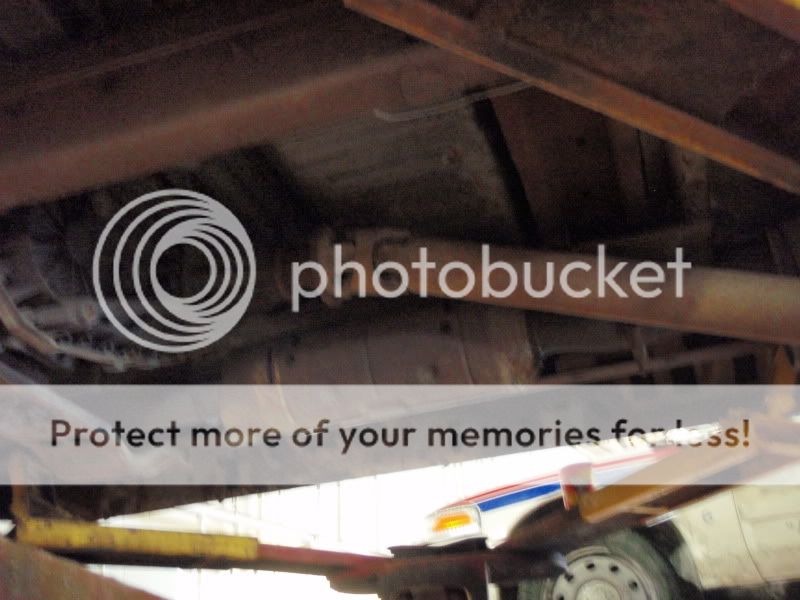
I stole the double cardon joint driveshafts off of the superduty to eliminate driveline vibration ( the ex has just single Ujoints at each end of the shafts. Also worth mentioning, I have a 6.0 powerstroke front driveshaft in, as it is 1 1/2" longer than the gas engine shafts....getting a used one in the scrap yard is alot cheaper then ordering a whole new shaft.
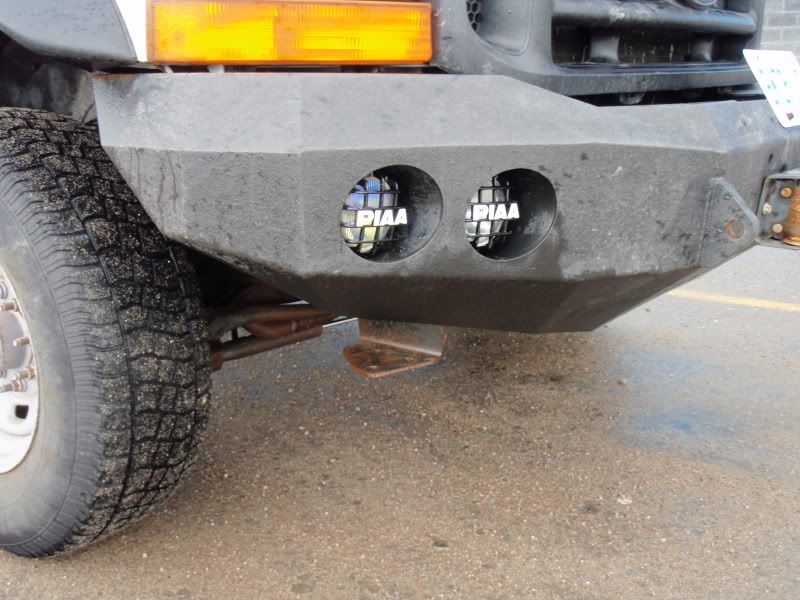
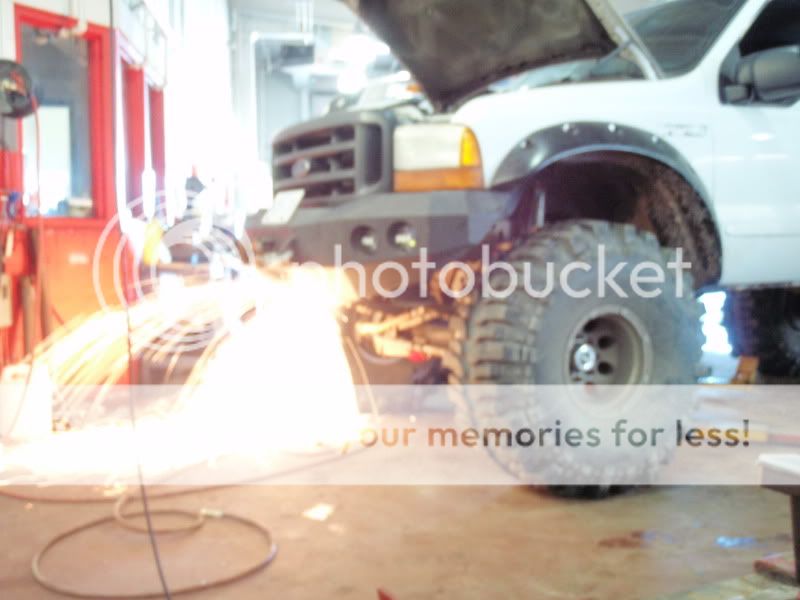
Crash bar brackets hit the tires when turning...so byebye
also not pictured, i had my custom exhaust put on the excursion, but the tailpipes needed to be cut off because they would not clear the gastank.
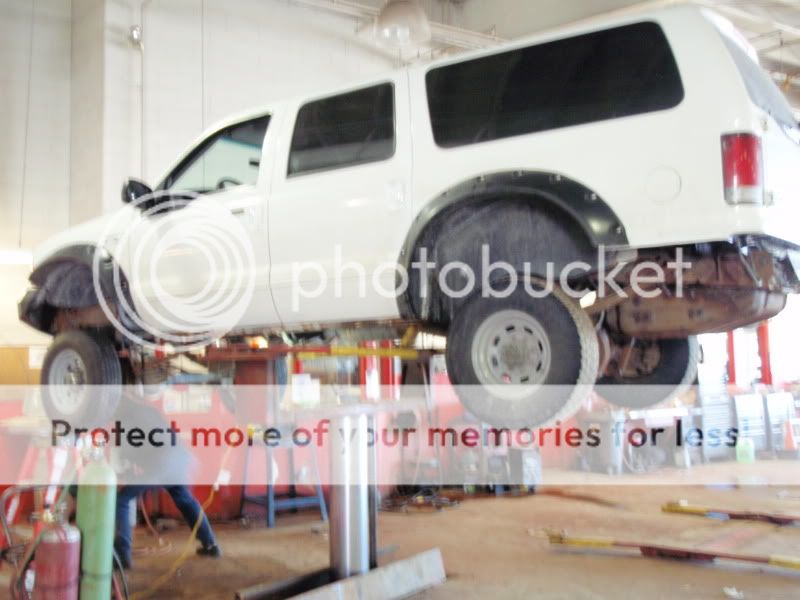
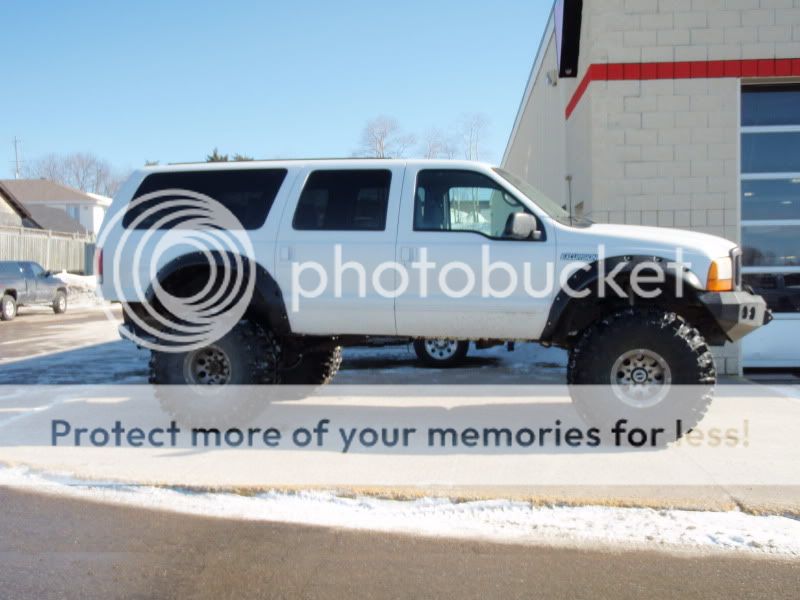
Ok took some quick pics outside
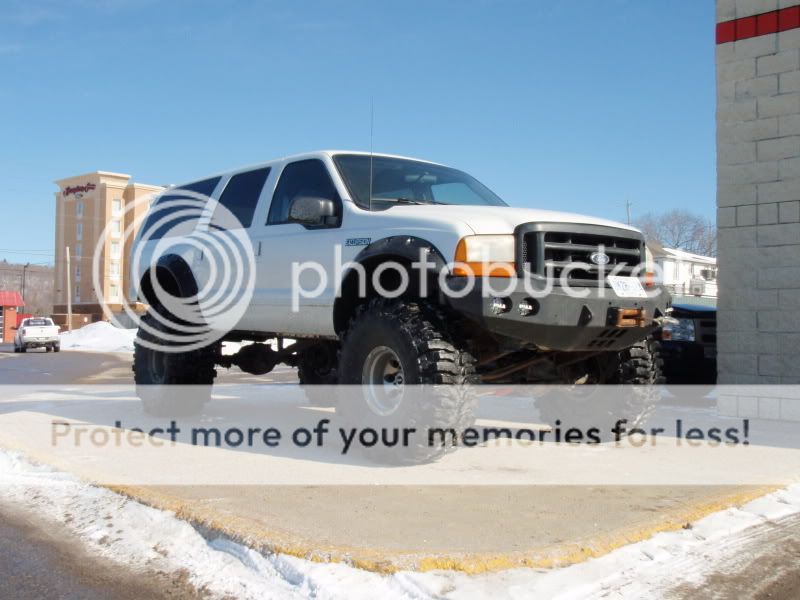
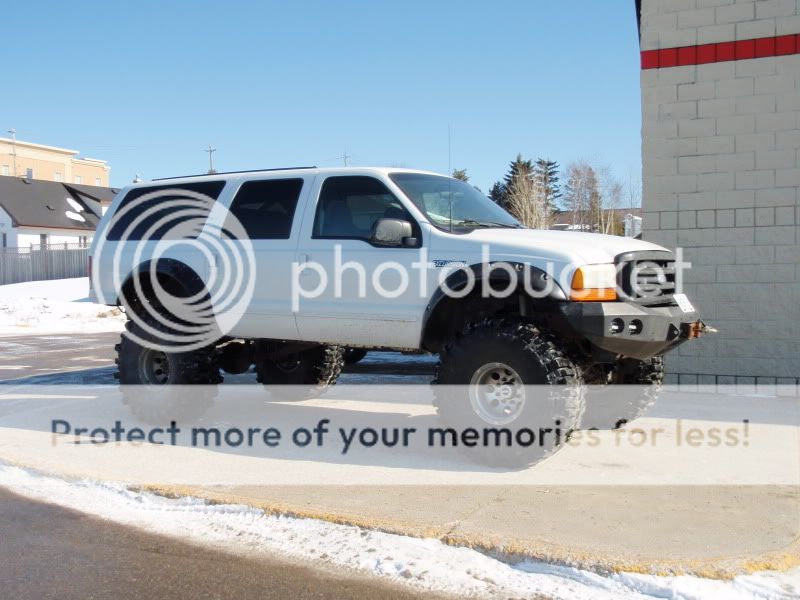
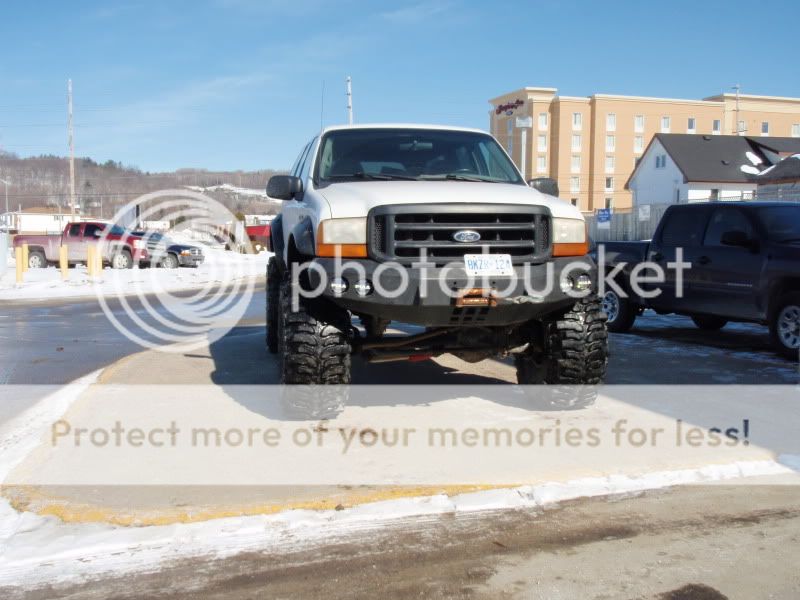
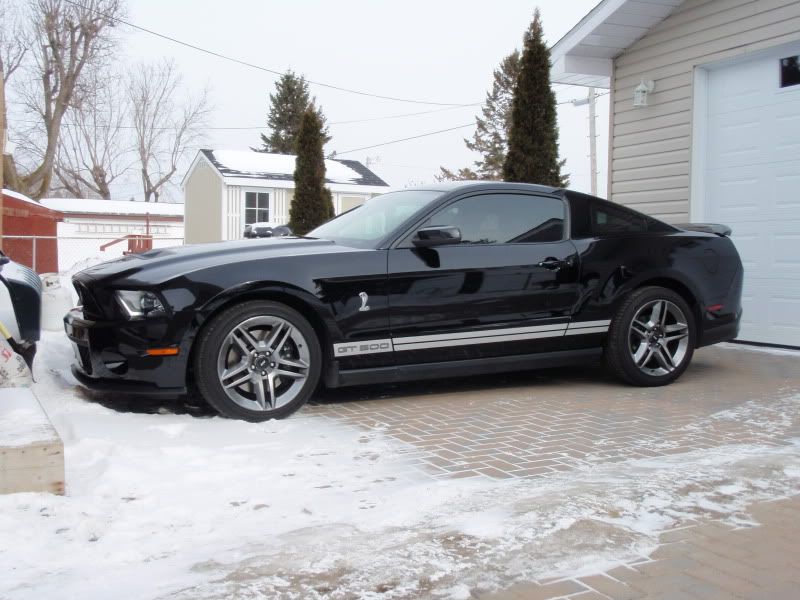
home beside the escape
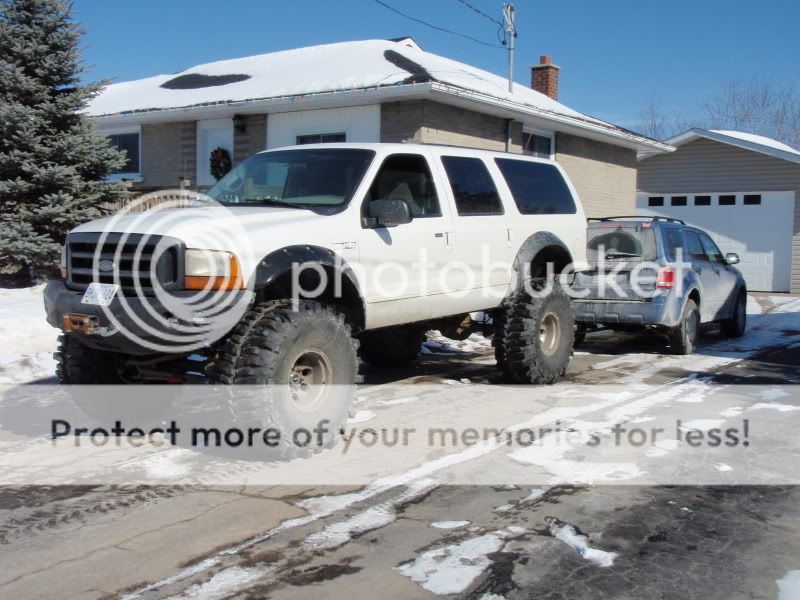
Went to the car wash to clean it up a bit, then out onto the lake for some pics...also notice the plates in the right spot and winch cover installed
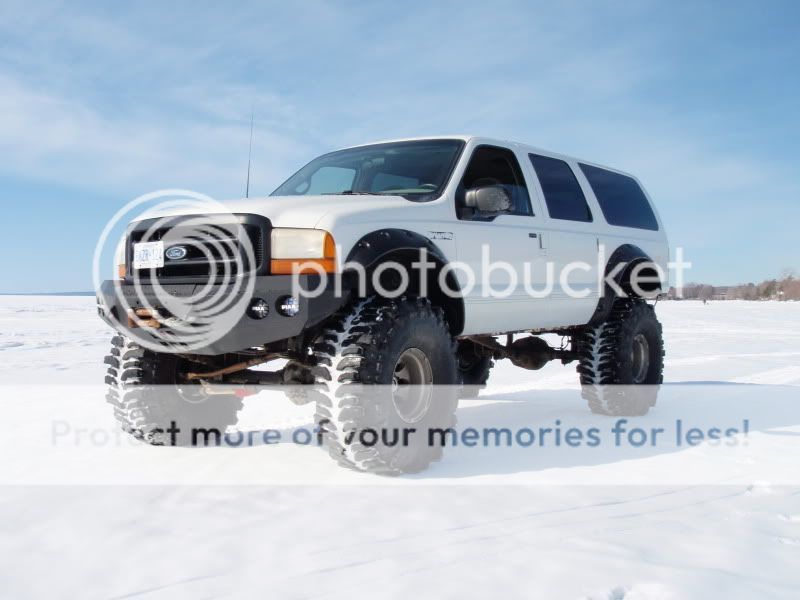
yes, it it taller than that apartment building
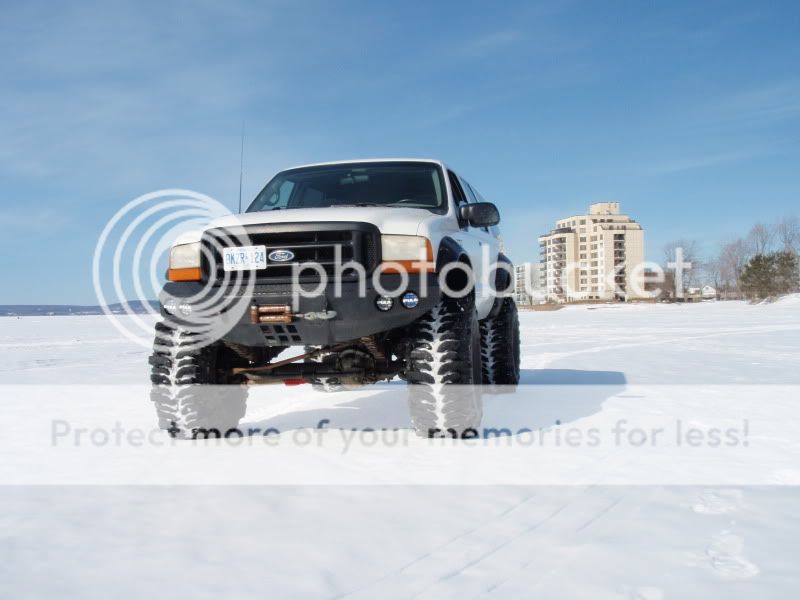
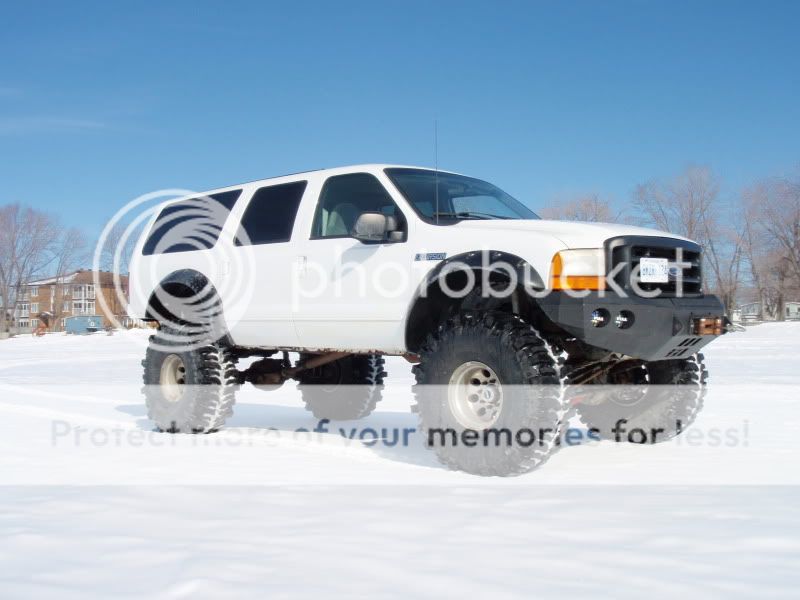
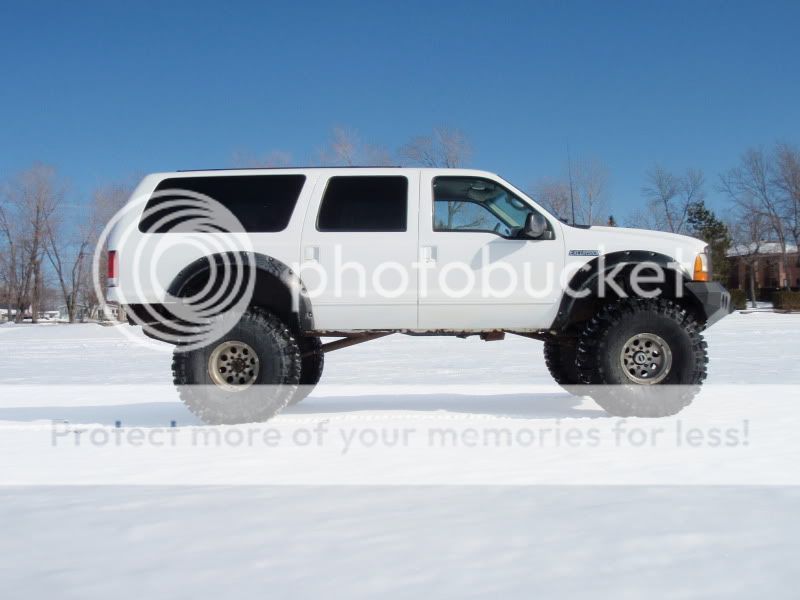
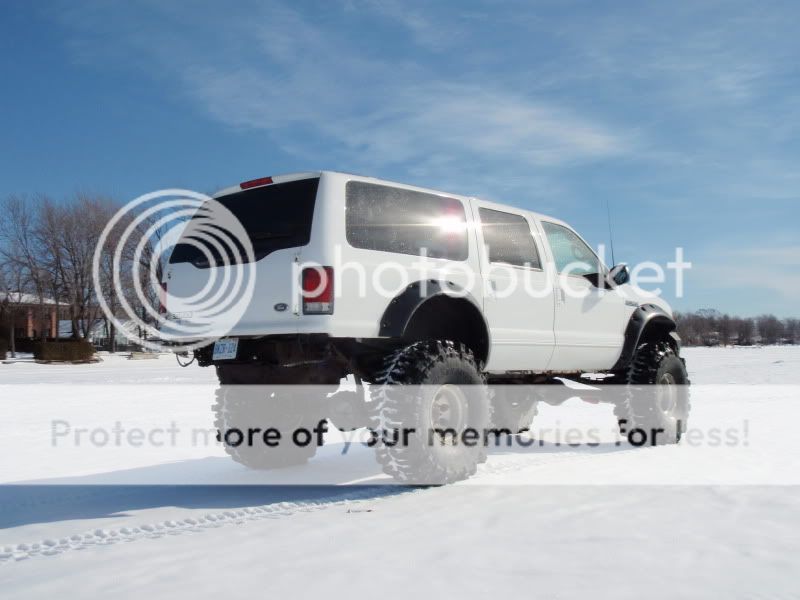
still lots of work to do, like wire up my winch, lights and front locker , then fit the rear bumper and get some new tailpipes made up...but i'm pretty happy with how it turned out so far.
poor old duty getting ready for surgery.
Front axle out
Lifted front end installed in the EX
Rear axle out
Stock front end in duty..how do you like the nice chrome grille
Lifted rear in the EX
stock rear axle waiting to go up
Tires and wheels on
The rear of the excursion is alot heavier than the dutys. Most EX lifts have a bit more lift in the rear to compensate for the extra weight, so I put my stock F350 3 5/8ths block back in. in order to keep my shocks, the shock mounts were loosened and rotated up until they would bolt in
I stole the double cardon joint driveshafts off of the superduty to eliminate driveline vibration ( the ex has just single Ujoints at each end of the shafts. Also worth mentioning, I have a 6.0 powerstroke front driveshaft in, as it is 1 1/2" longer than the gas engine shafts....getting a used one in the scrap yard is alot cheaper then ordering a whole new shaft.
Crash bar brackets hit the tires when turning...so byebye
also not pictured, i had my custom exhaust put on the excursion, but the tailpipes needed to be cut off because they would not clear the gastank.
Ok took some quick pics outside
home beside the escape
Went to the car wash to clean it up a bit, then out onto the lake for some pics...also notice the plates in the right spot and winch cover installed
yes, it it taller than that apartment building
still lots of work to do, like wire up my winch, lights and front locker , then fit the rear bumper and get some new tailpipes made up...but i'm pretty happy with how it turned out so far.
#30
02-23-2011, 03:20 PM