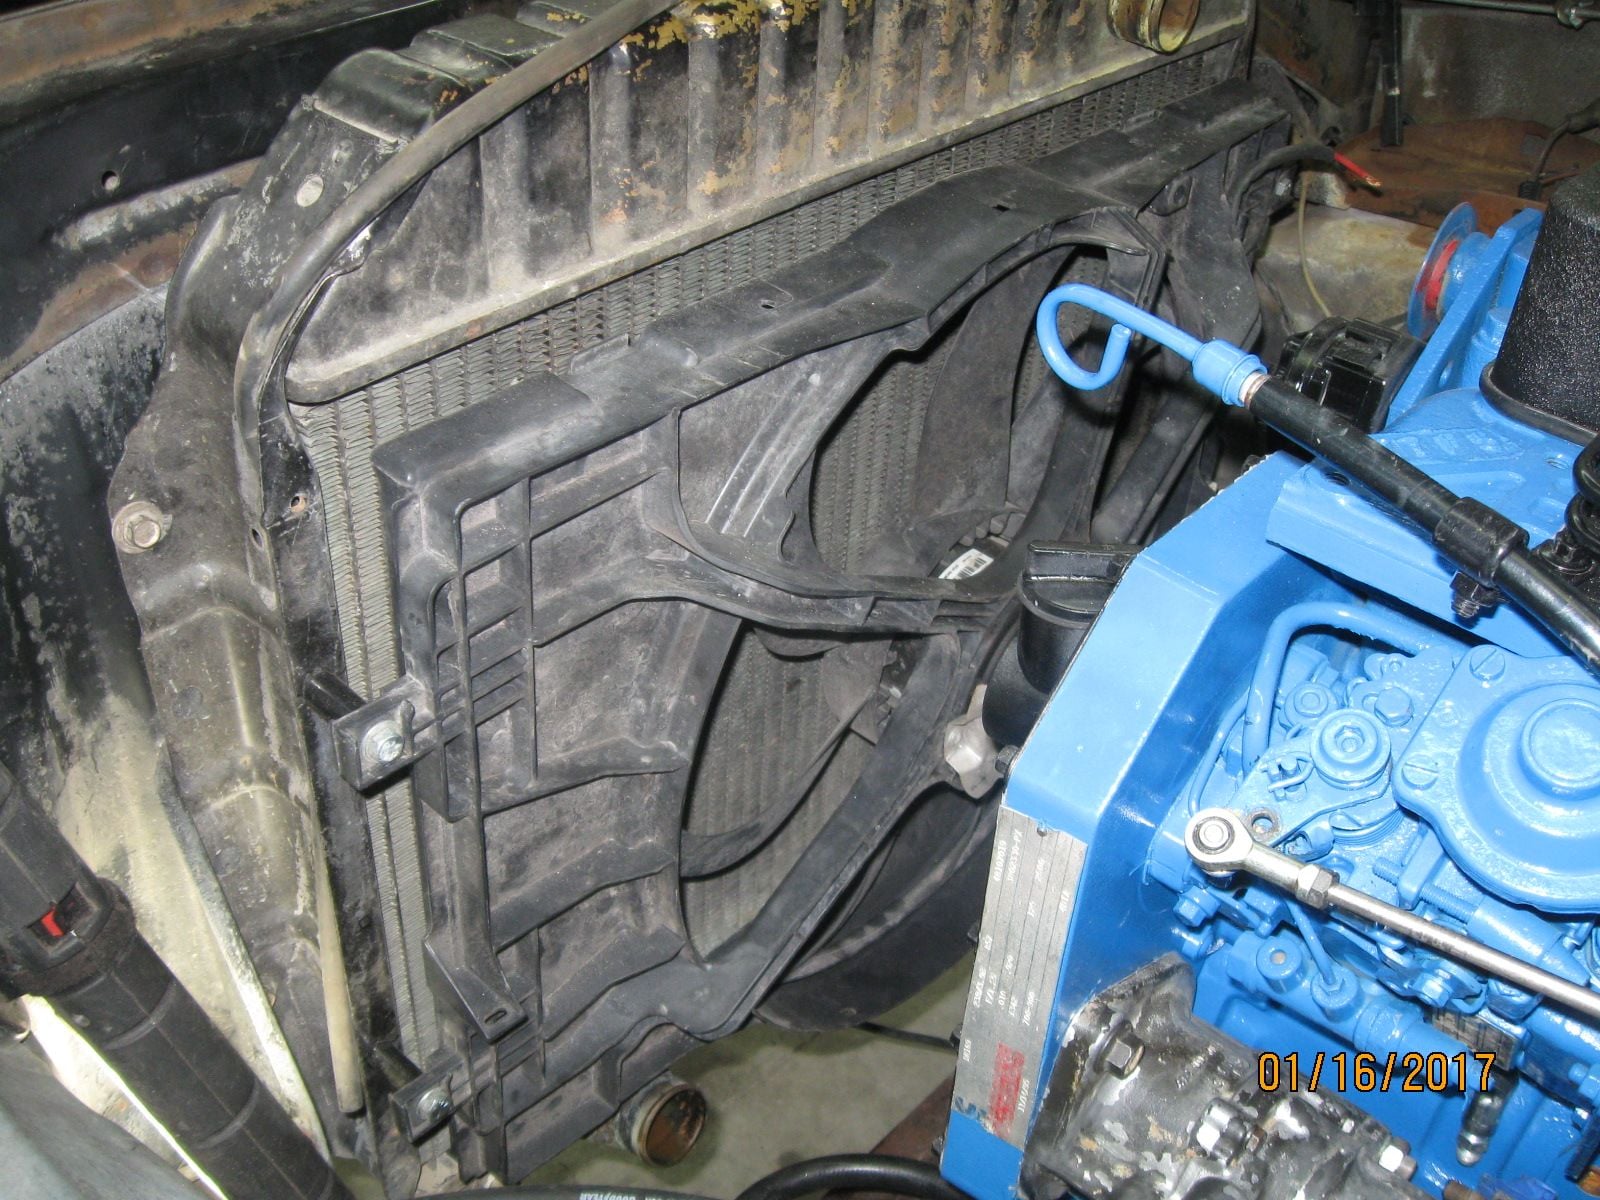
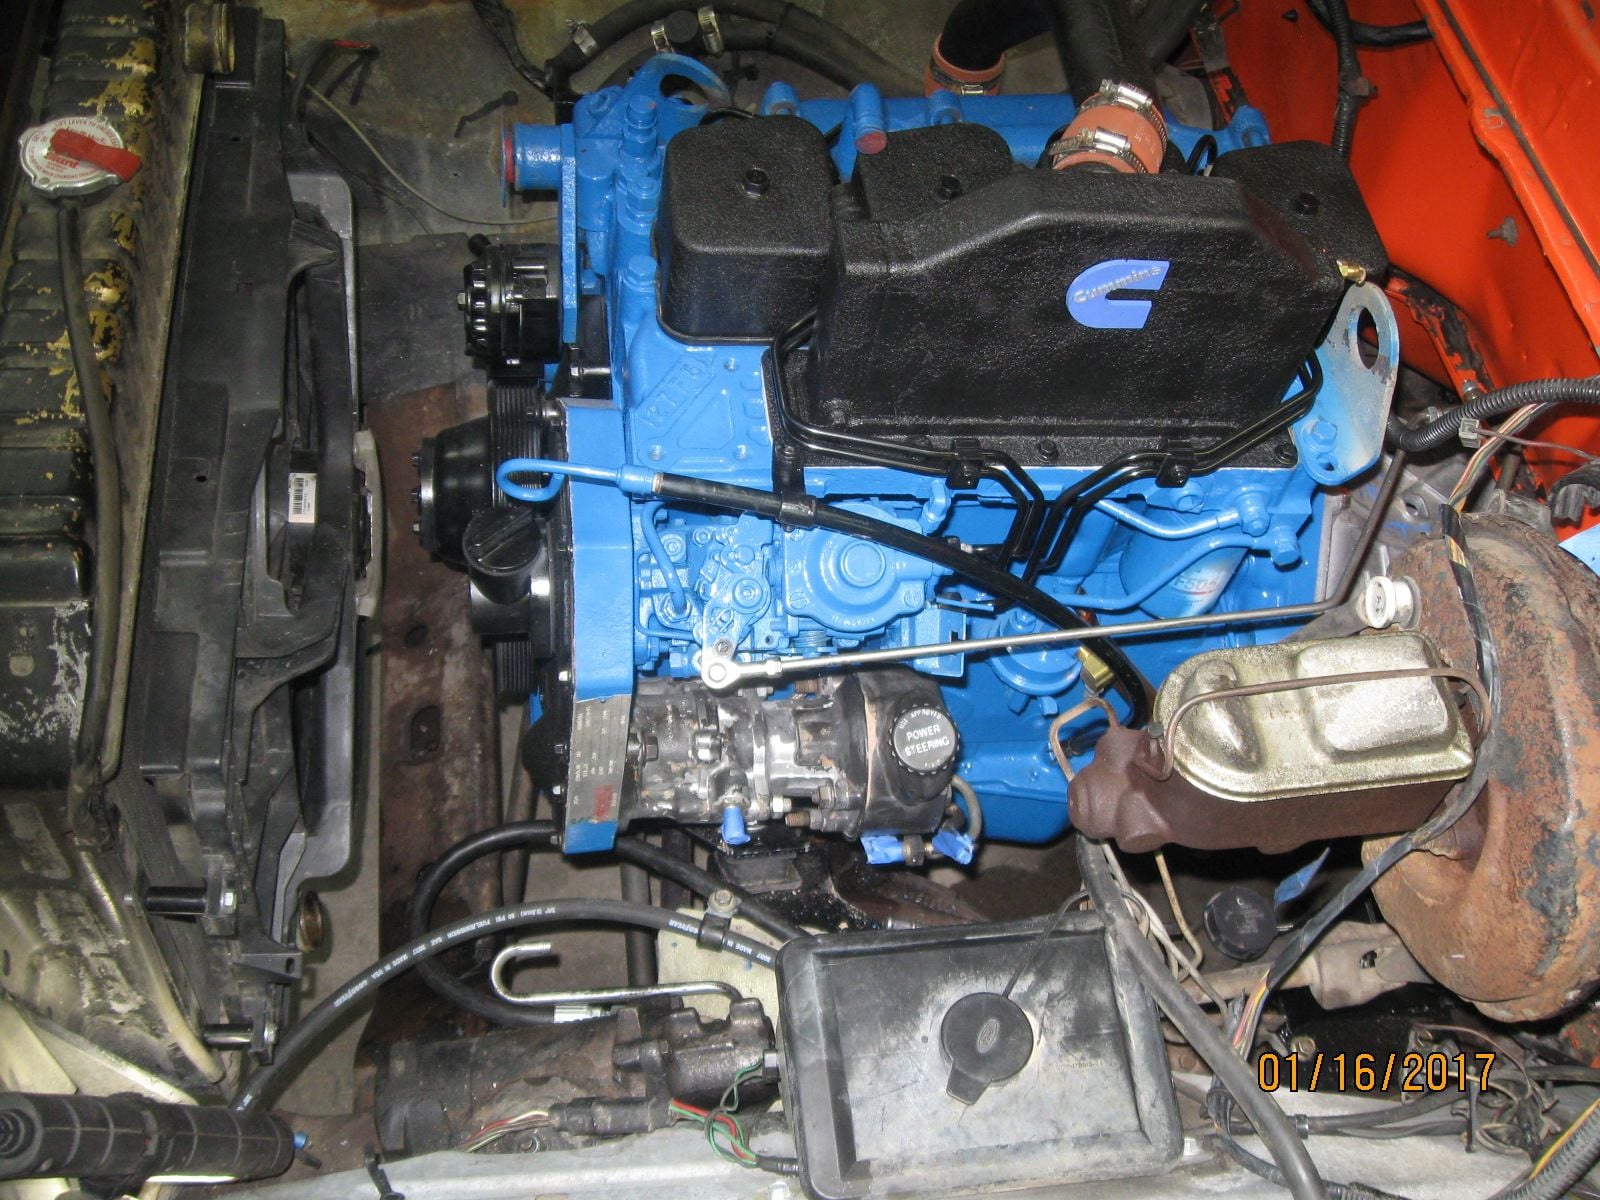
My '78 F150 4x4 swb Cummins 4bt build
#106
#107

#108
 and then the problem still reappears.......all the while the poor mechanic is being paid flat rate wages because the "great all knowing diagnostic computer" took you on a diagnostic journey (that flat rate never covers the time involved because you had to remove the cab on this particular model)and then told you to replace the whatsit......when all along it turns out that you had a bad fuse......I'm soooo over that ****.........LOL
#109
#111
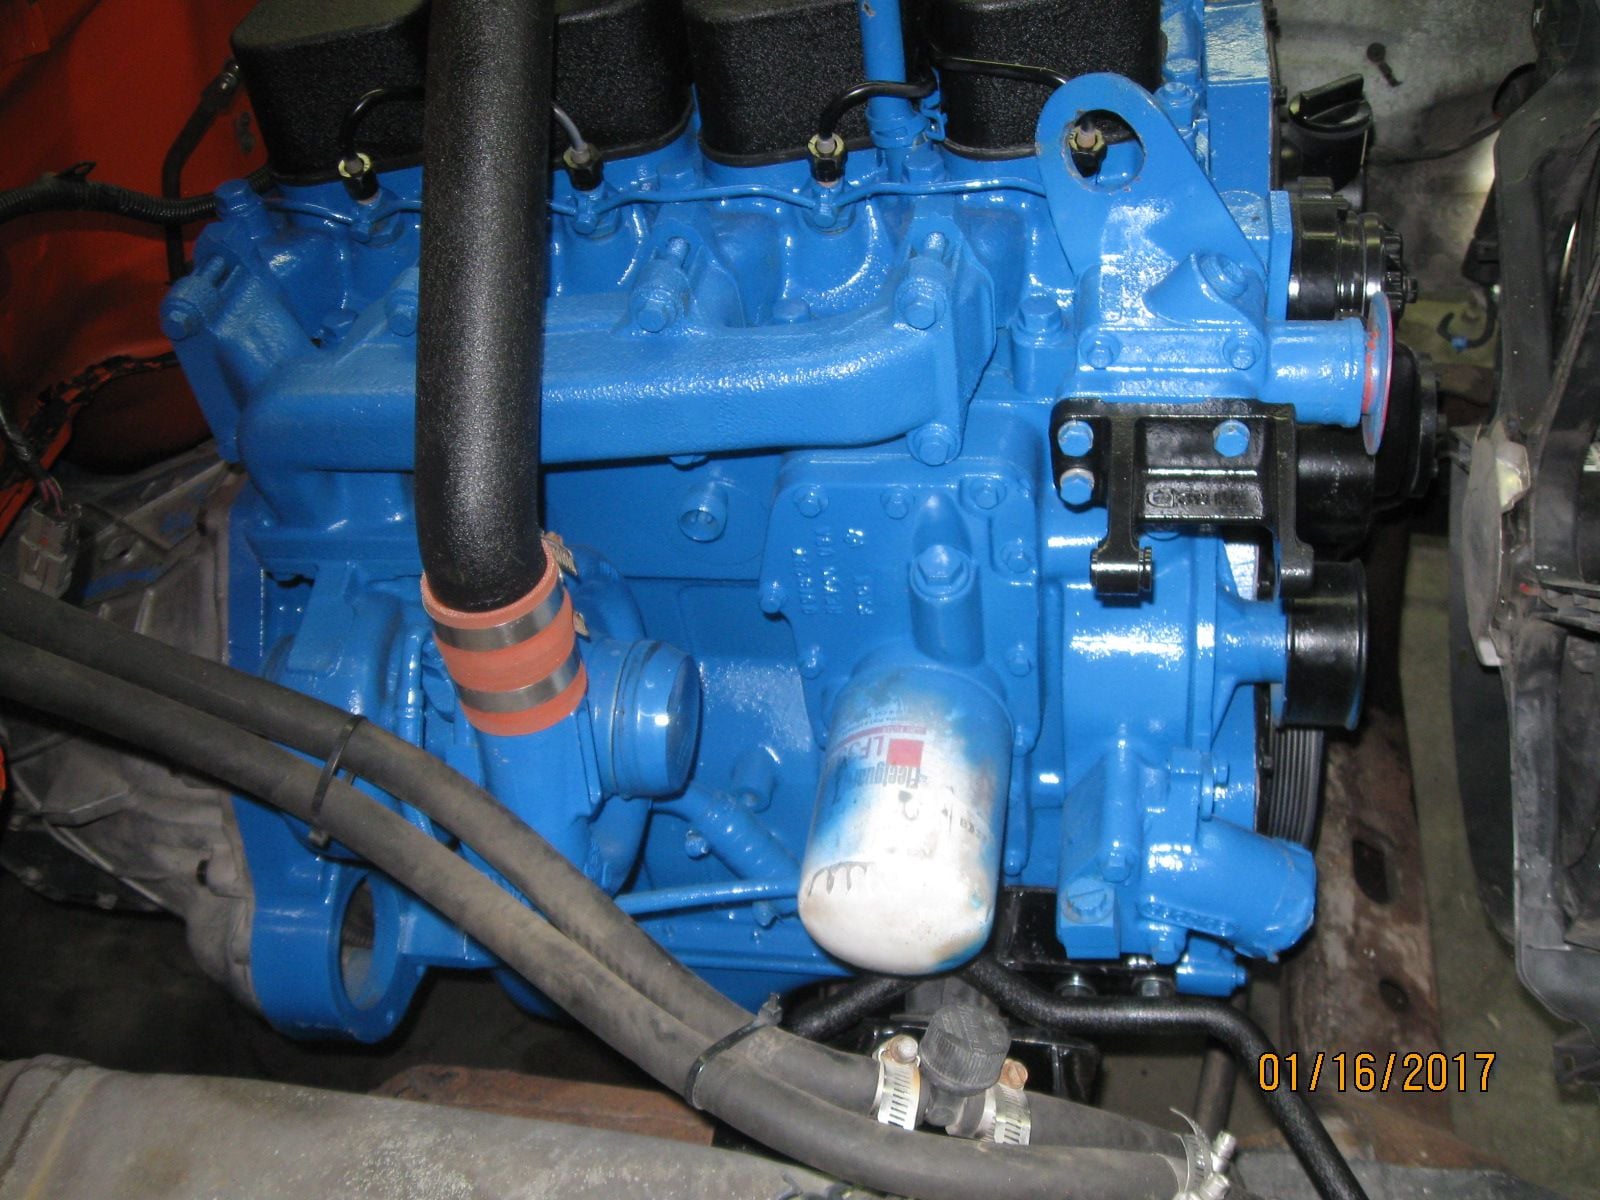
The other side....Hopefully she's sitting on the mounts for a long time......I've had it in and out a few times....LOL
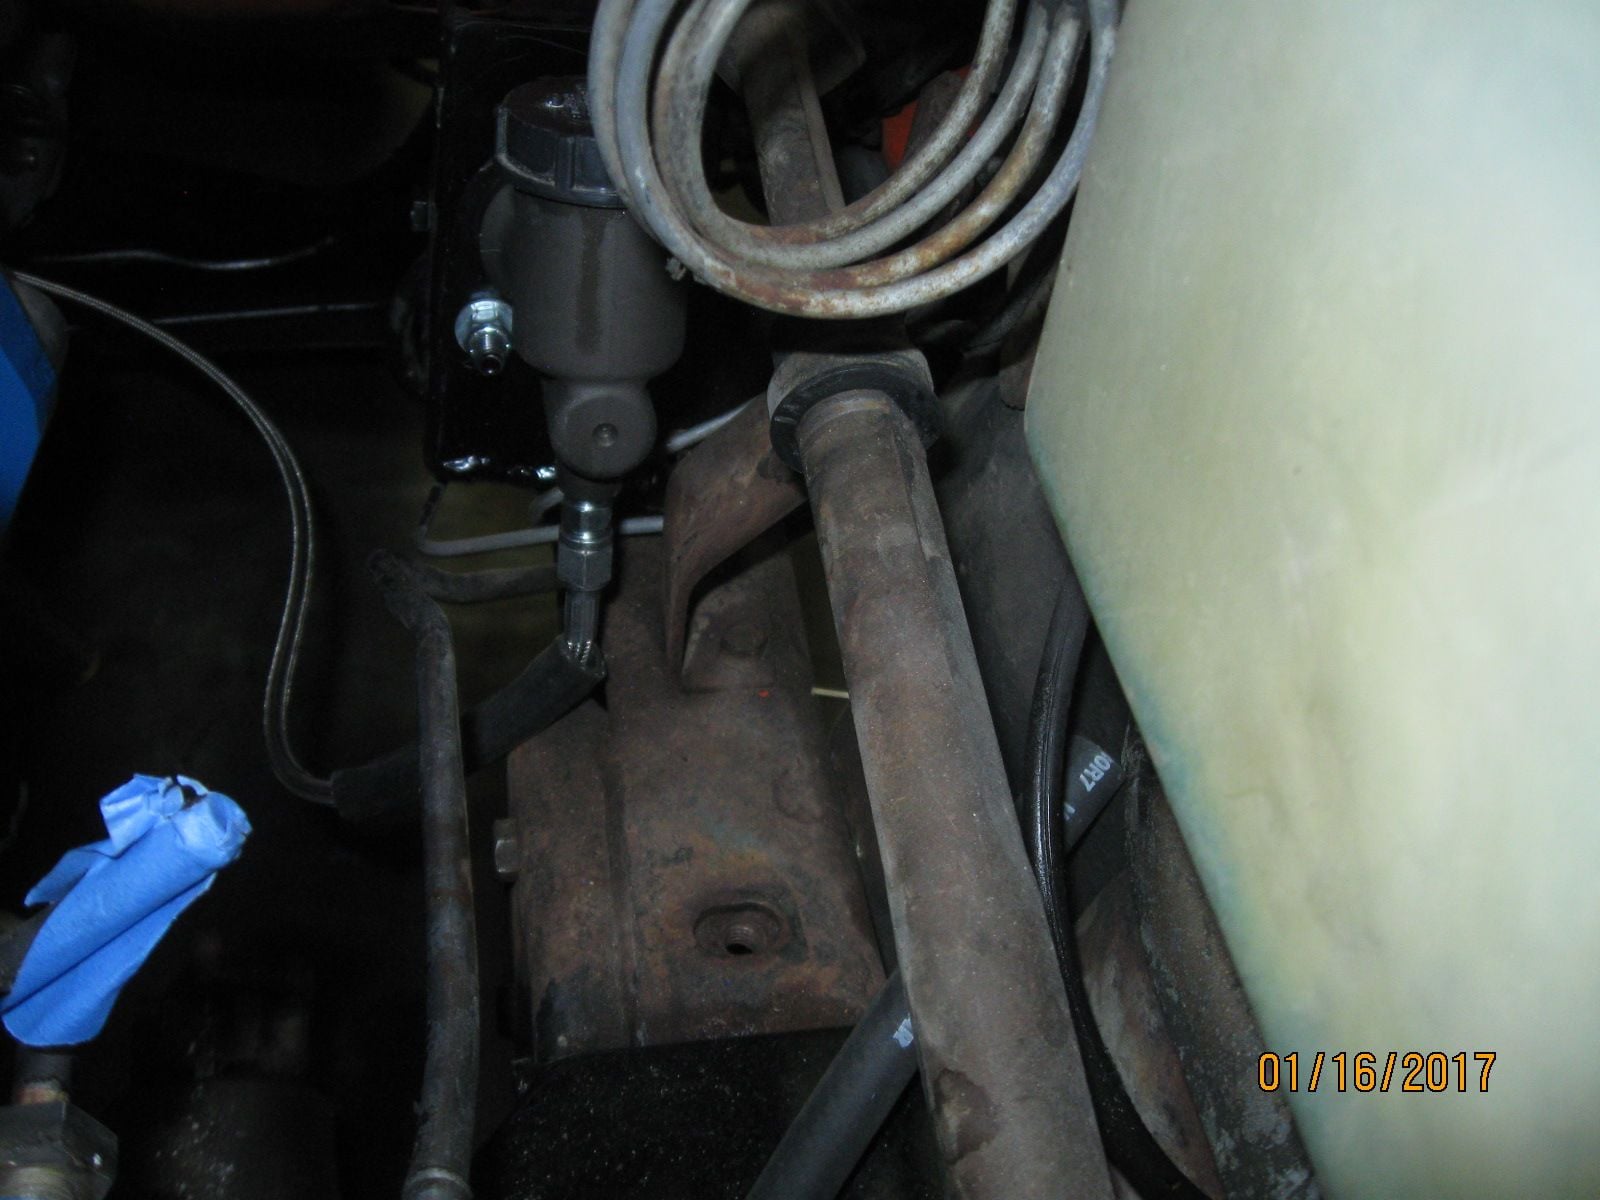
I need to go to town and find a -4 JIC elbo to eliminate the hard rubbing by the clutch hose on the frame.....Just hate going to town....LOL
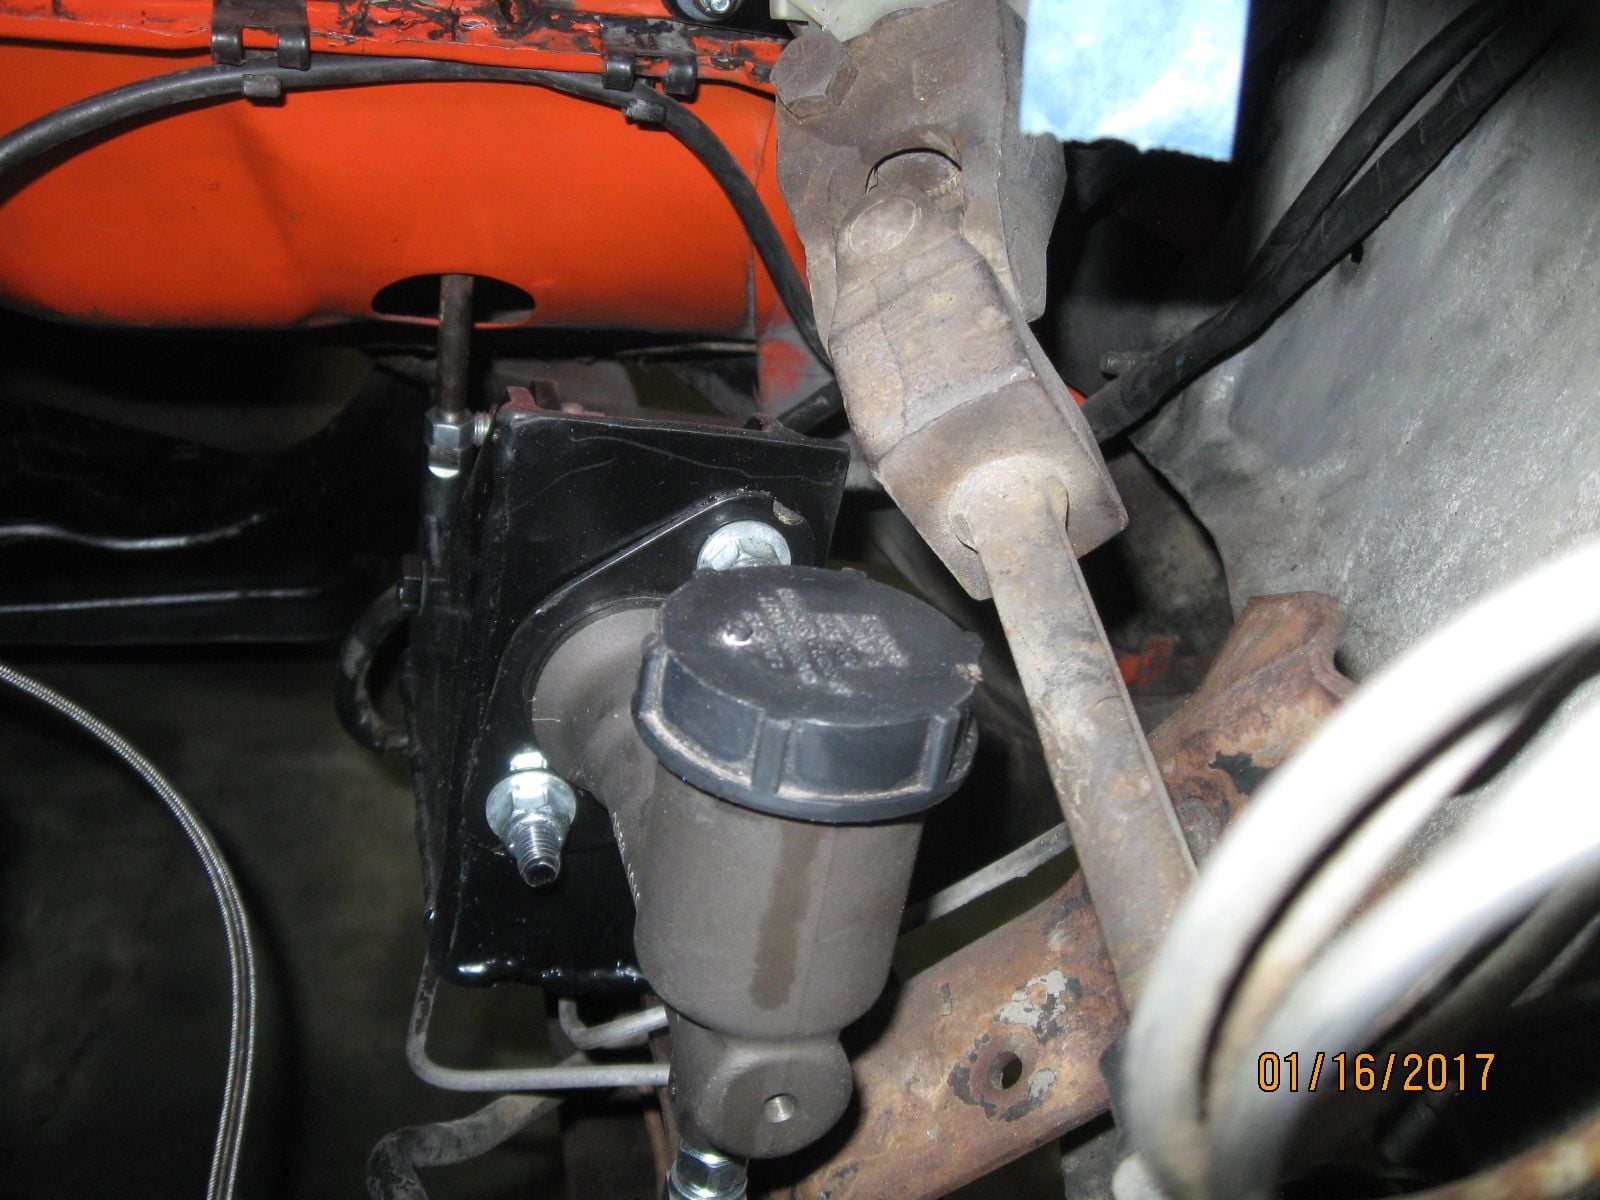
Just a front view of the clutch master cyl. setup
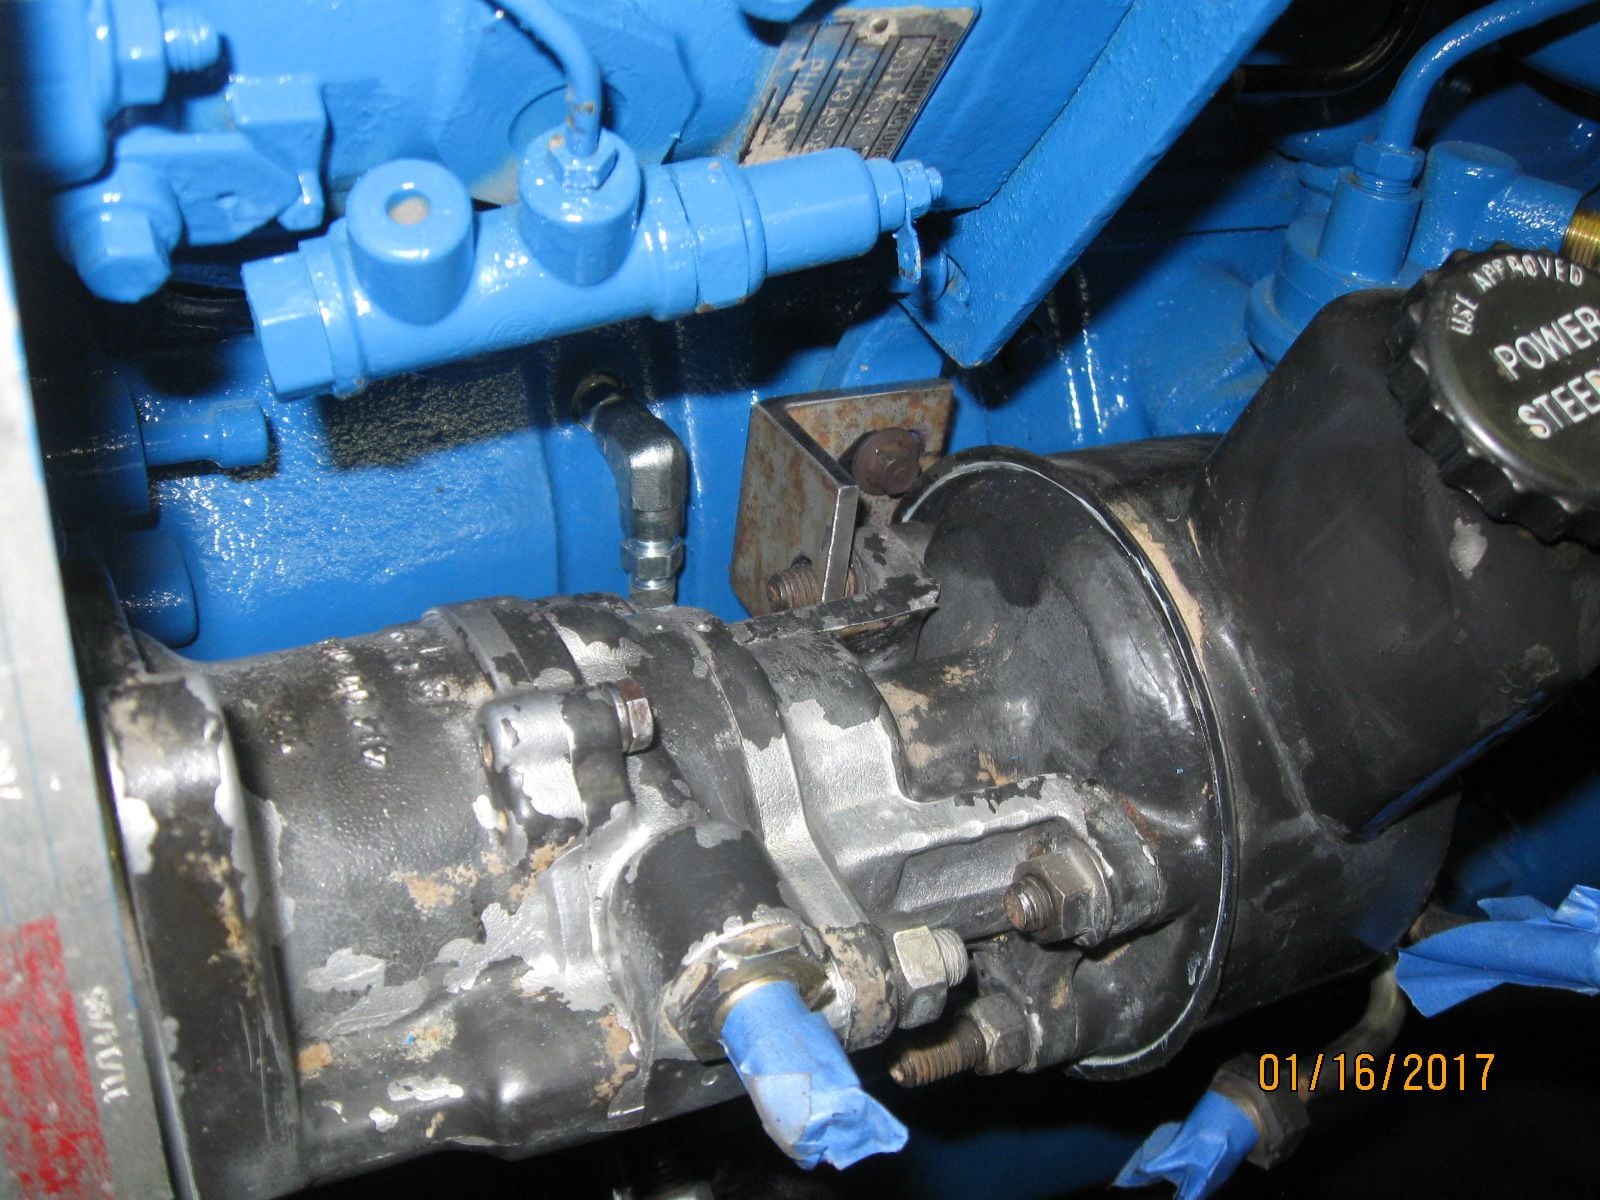
Here is the Dodge piggyback P/S / Vacuum pump. I fabbed up the angle iron support bracket from the PS pump to the block today.....not much progress today.....Dang shop never warmed up....was cold.....
#112
I spent most of the day watching old Gunsmoke reruns.....good day to be in by the fire. The angle iron bracket I built was to replace the one that came off of a Dodge......just a minor difference between the 4 and 6 cyl Cummins I guess....I wish I would have built that damn bracket while the engine was out....would have been way easier to measure etc........oh well you know what they say about hindsight......
#113
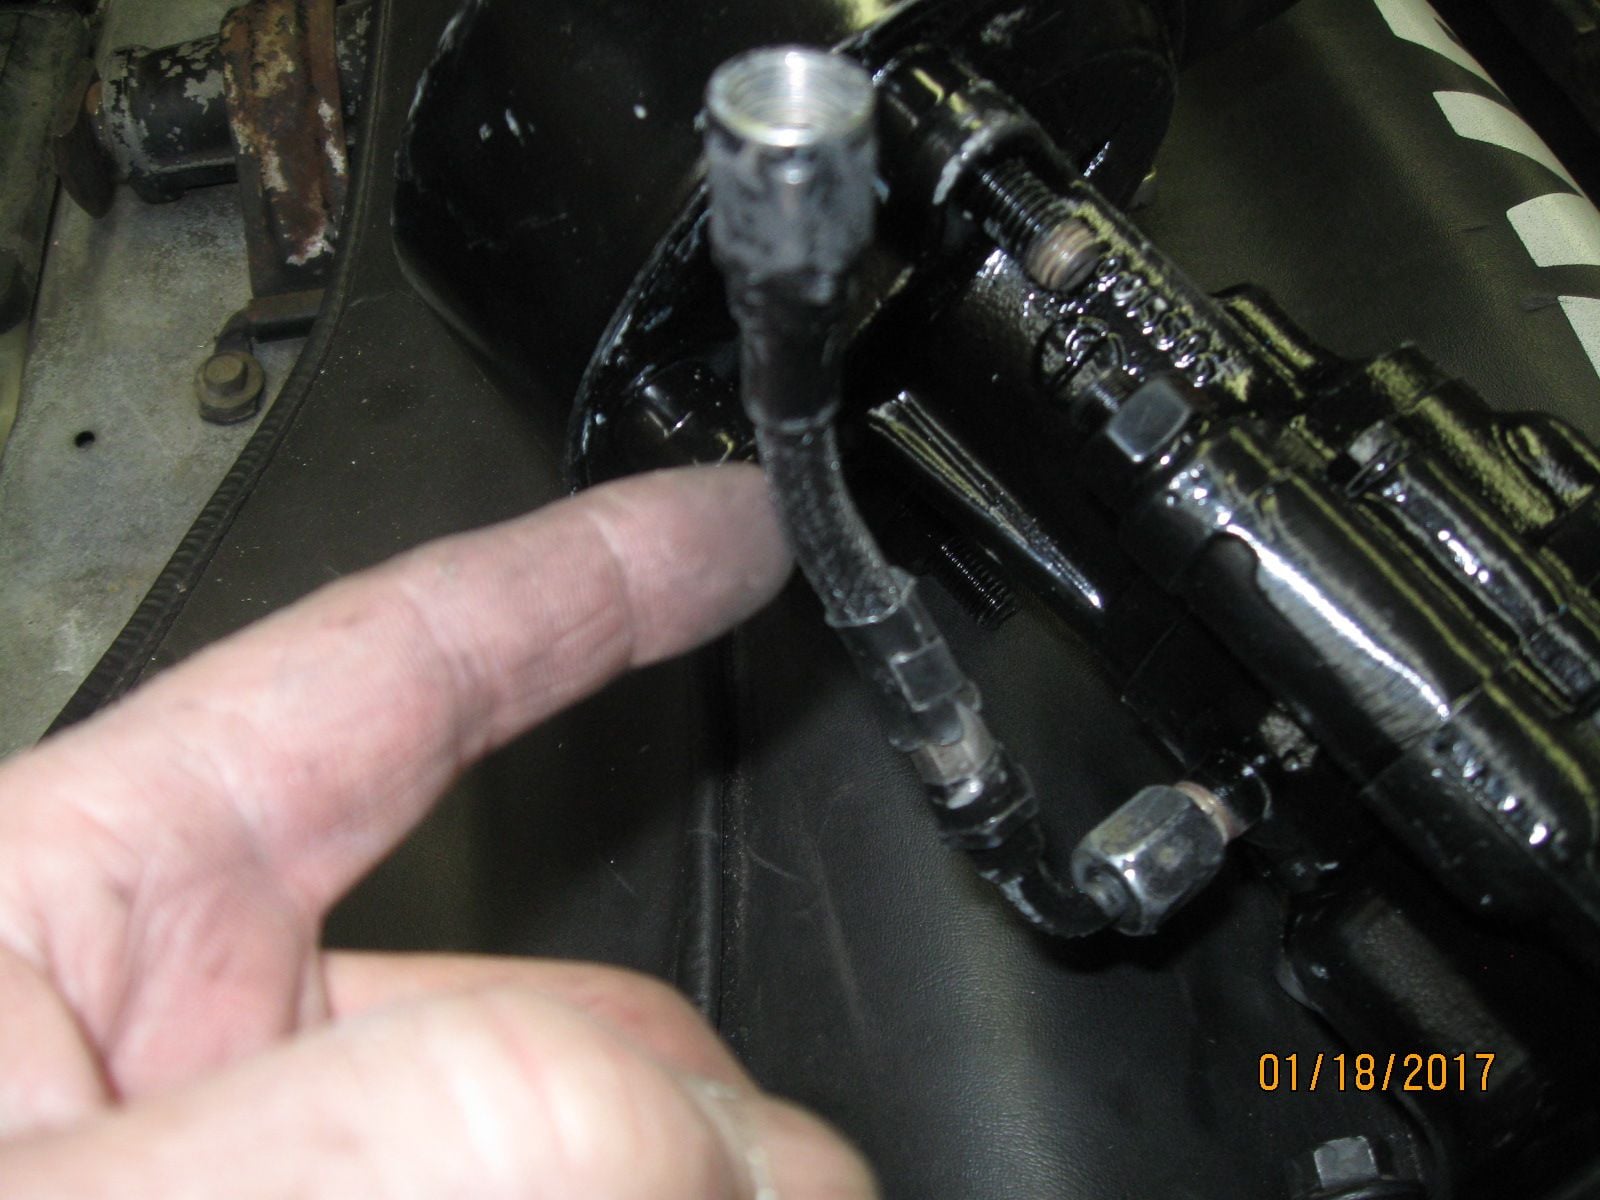
Somedays..........It's the little things that fight you.....This little SOB for example........It is the engine oil pressure line that supplies lube to the vacuum pump.....It is a tight fit on a Dodge and an even tighter fit on a 4BT........
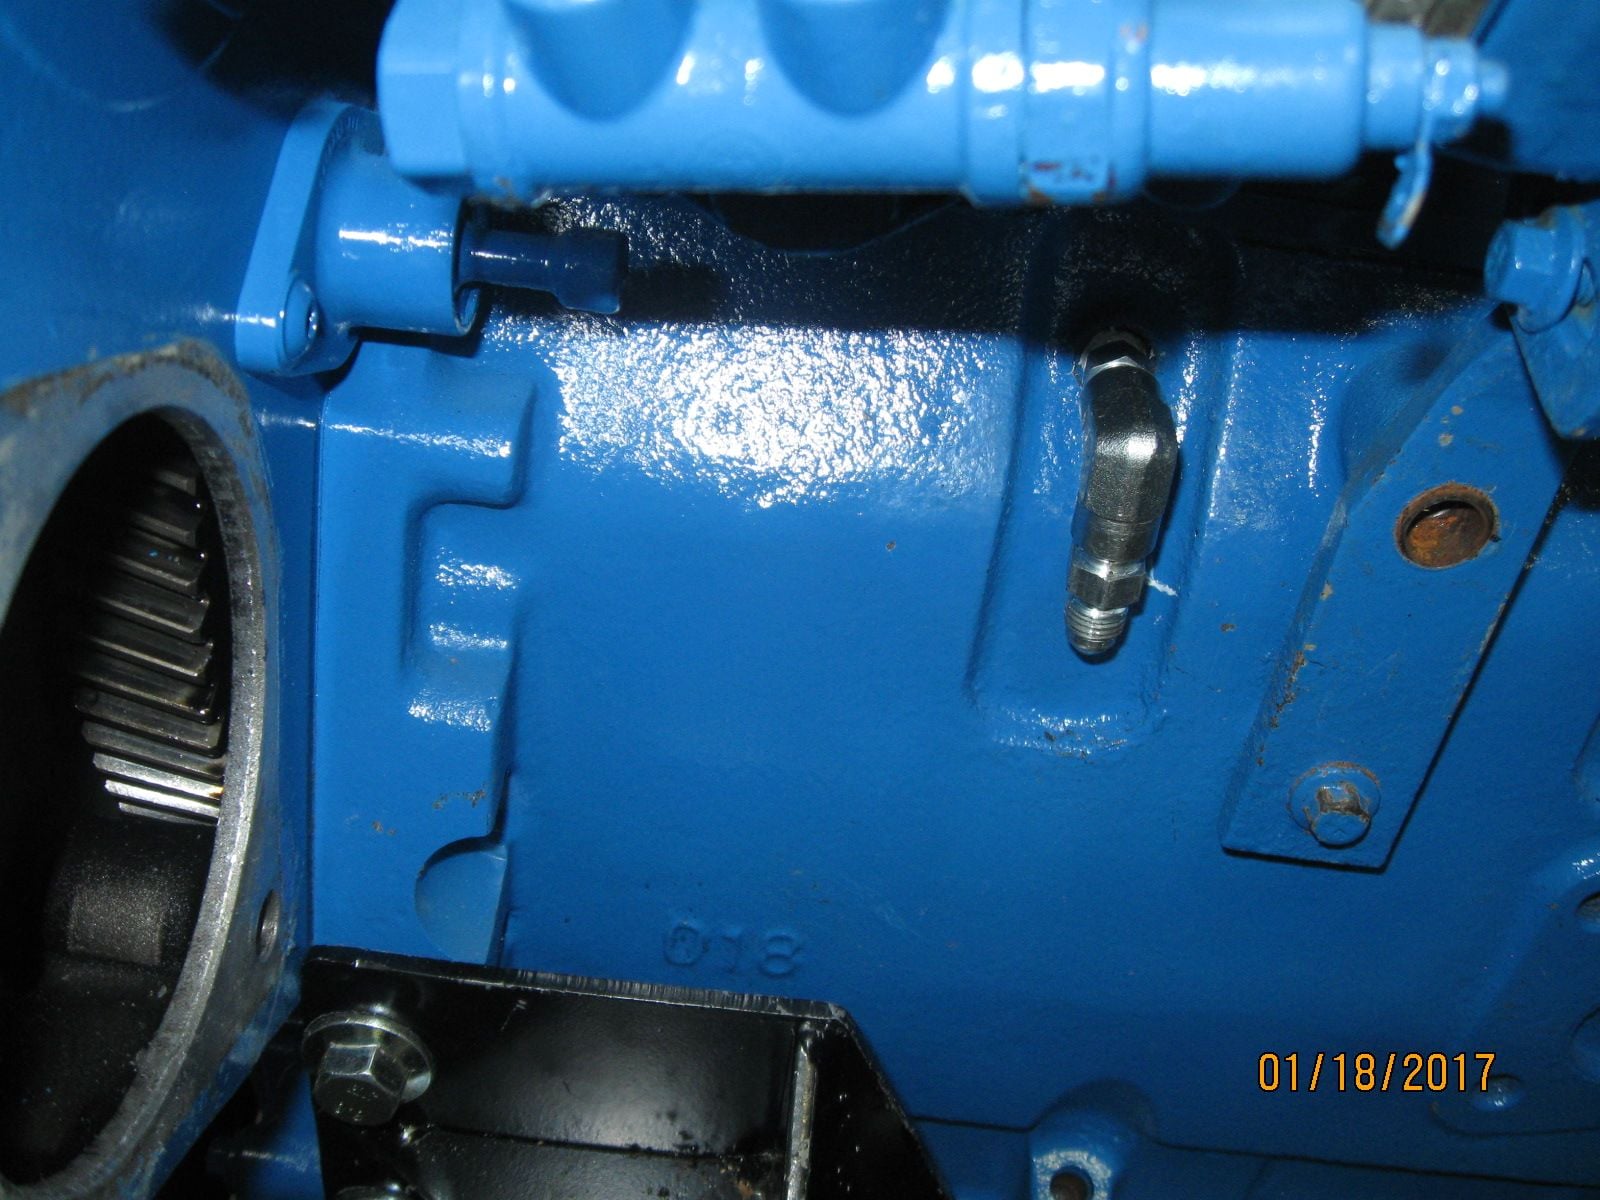
The aforementioned little SOB attaches here. Same fitting setup on a Dodge I'm not real sure why it is so much tighter on here......no way to get it attached after the pump is in place....at least not with my arthritic old fingers...LOL
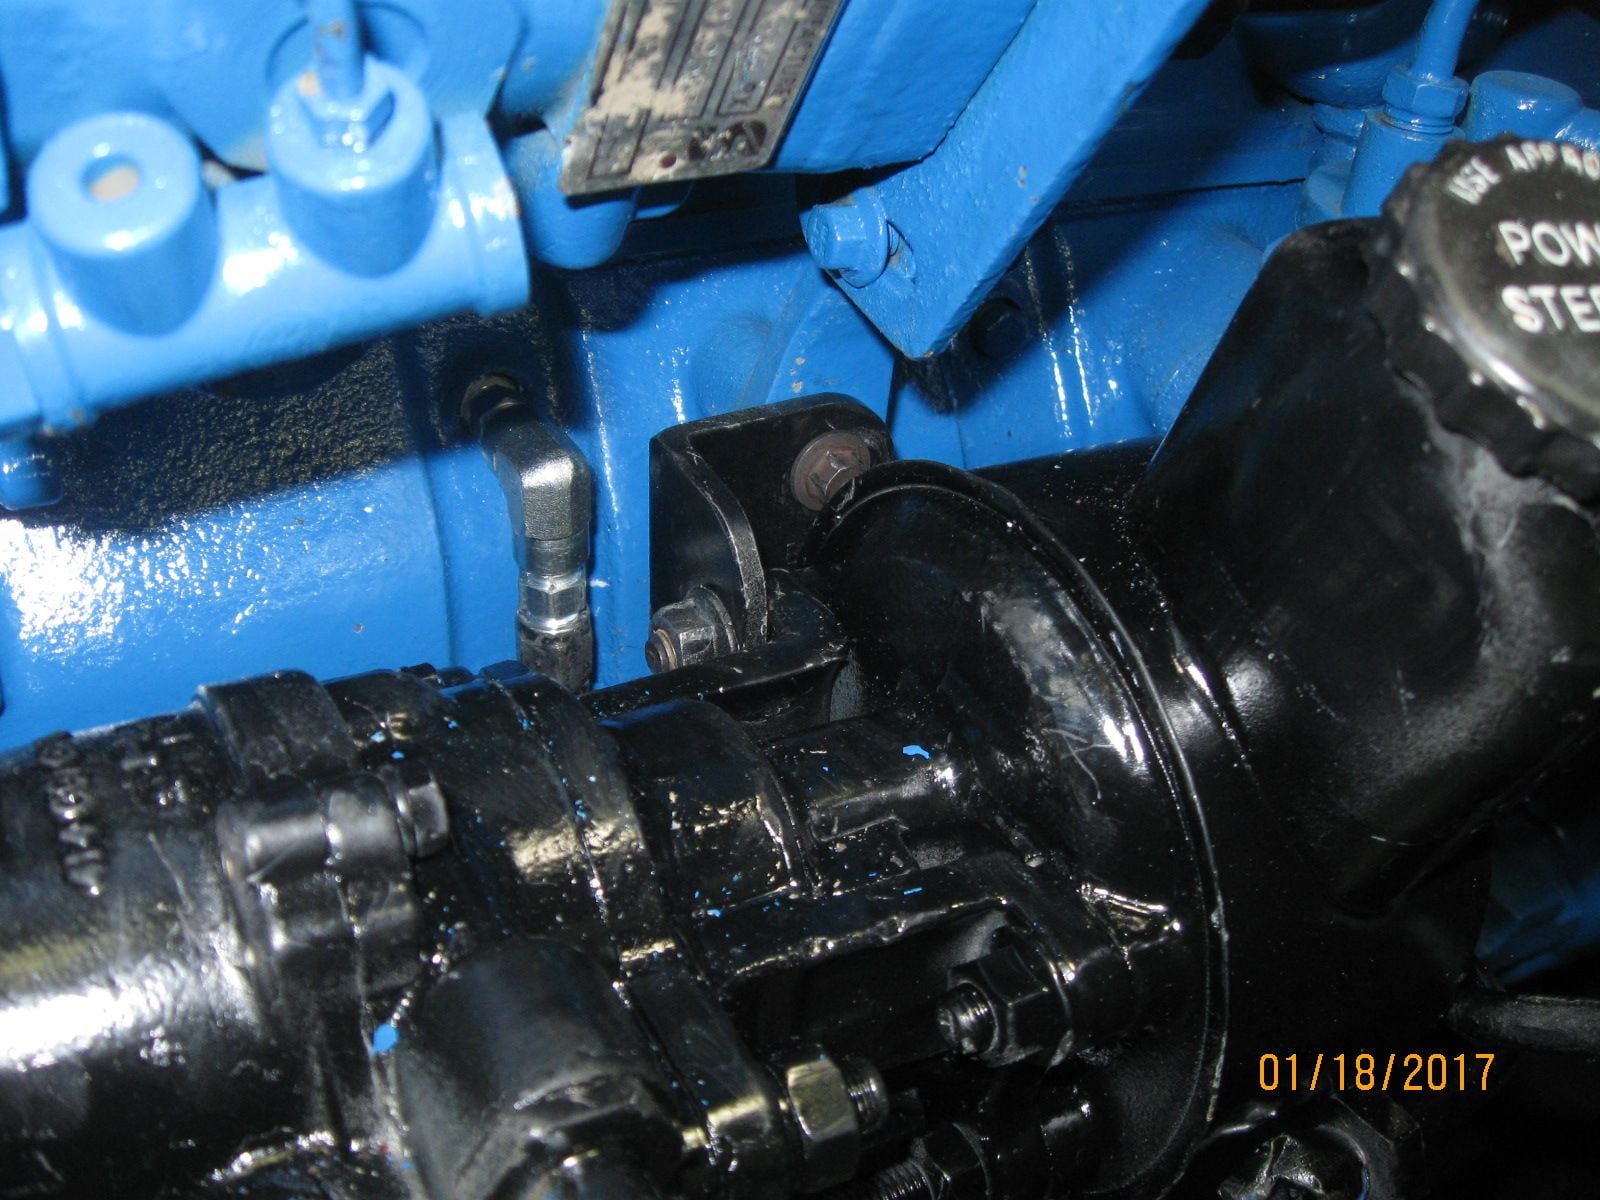
Then once toe pump is in place there is the angle bracket from the pump to the block.......tough to get a wrench on both of the bolts......I hope I never have to put a power steering pump on out in a parking lot at 20 below zero........would have been way easier to do this with the engine on a stand......LOL
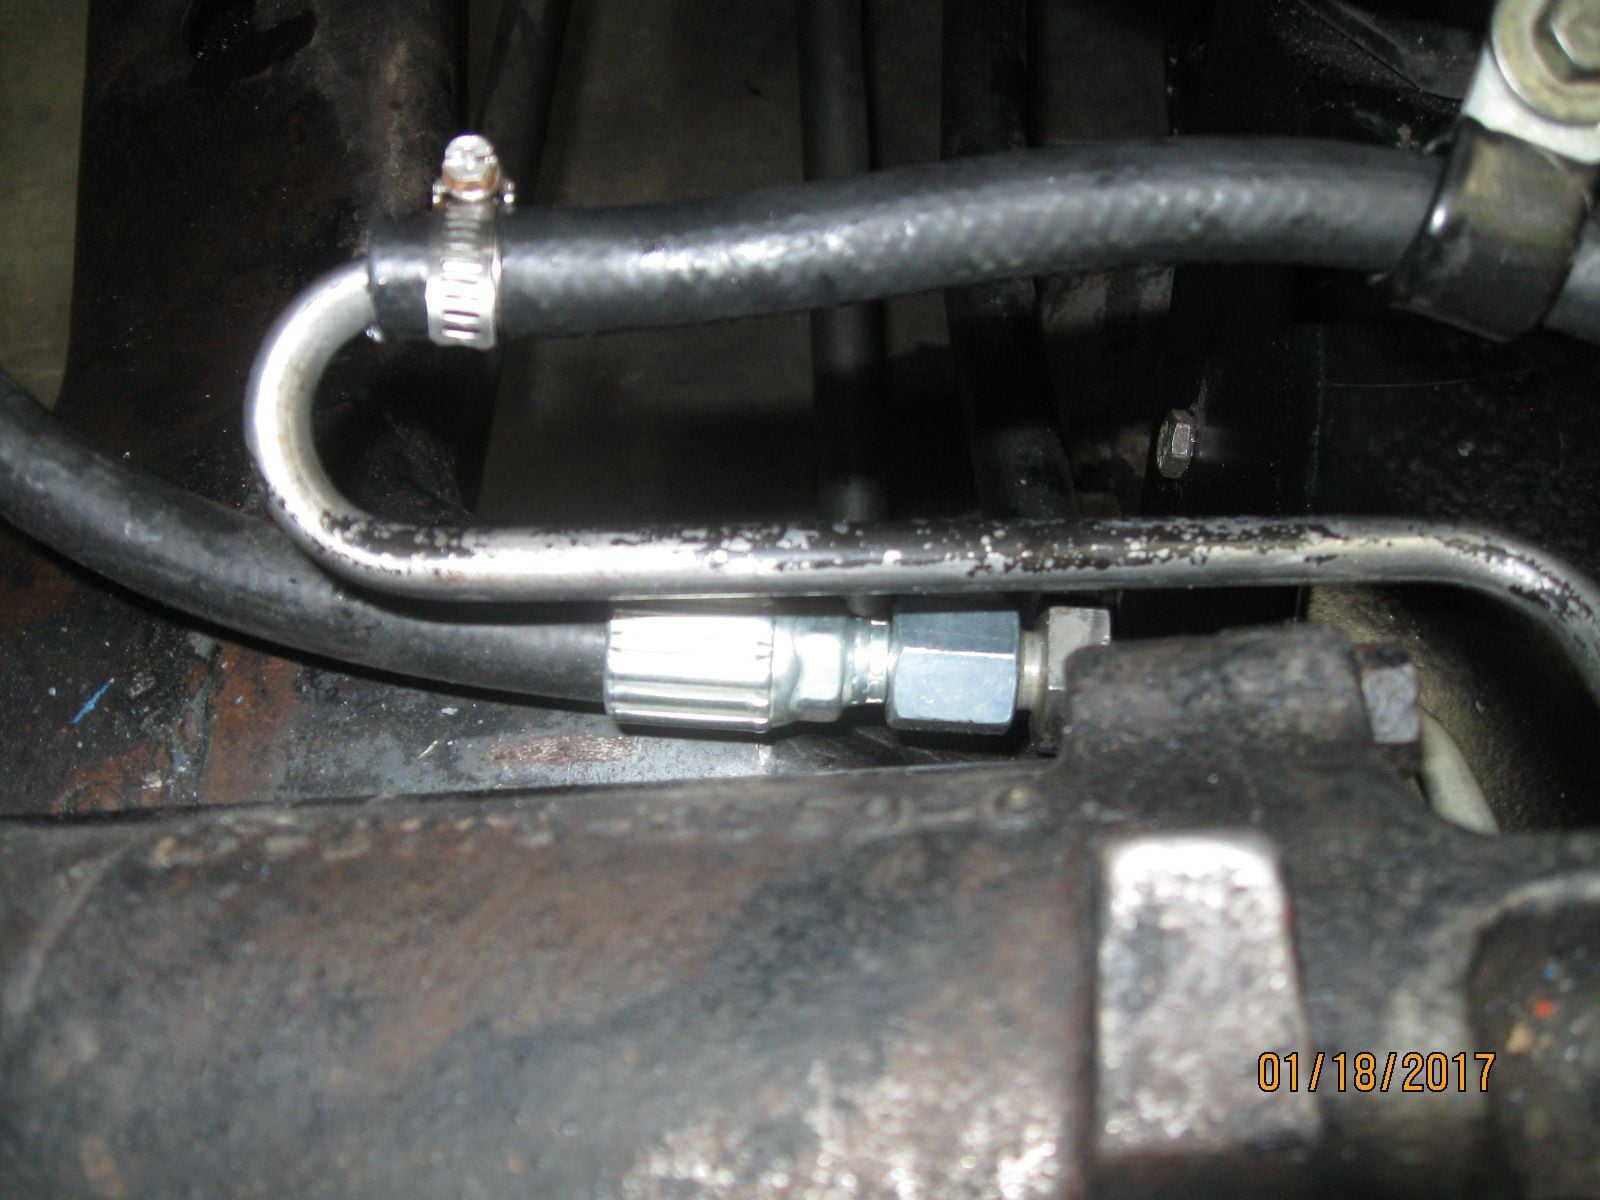
Here is the steering gear end of the pressure and return hoses for the PS
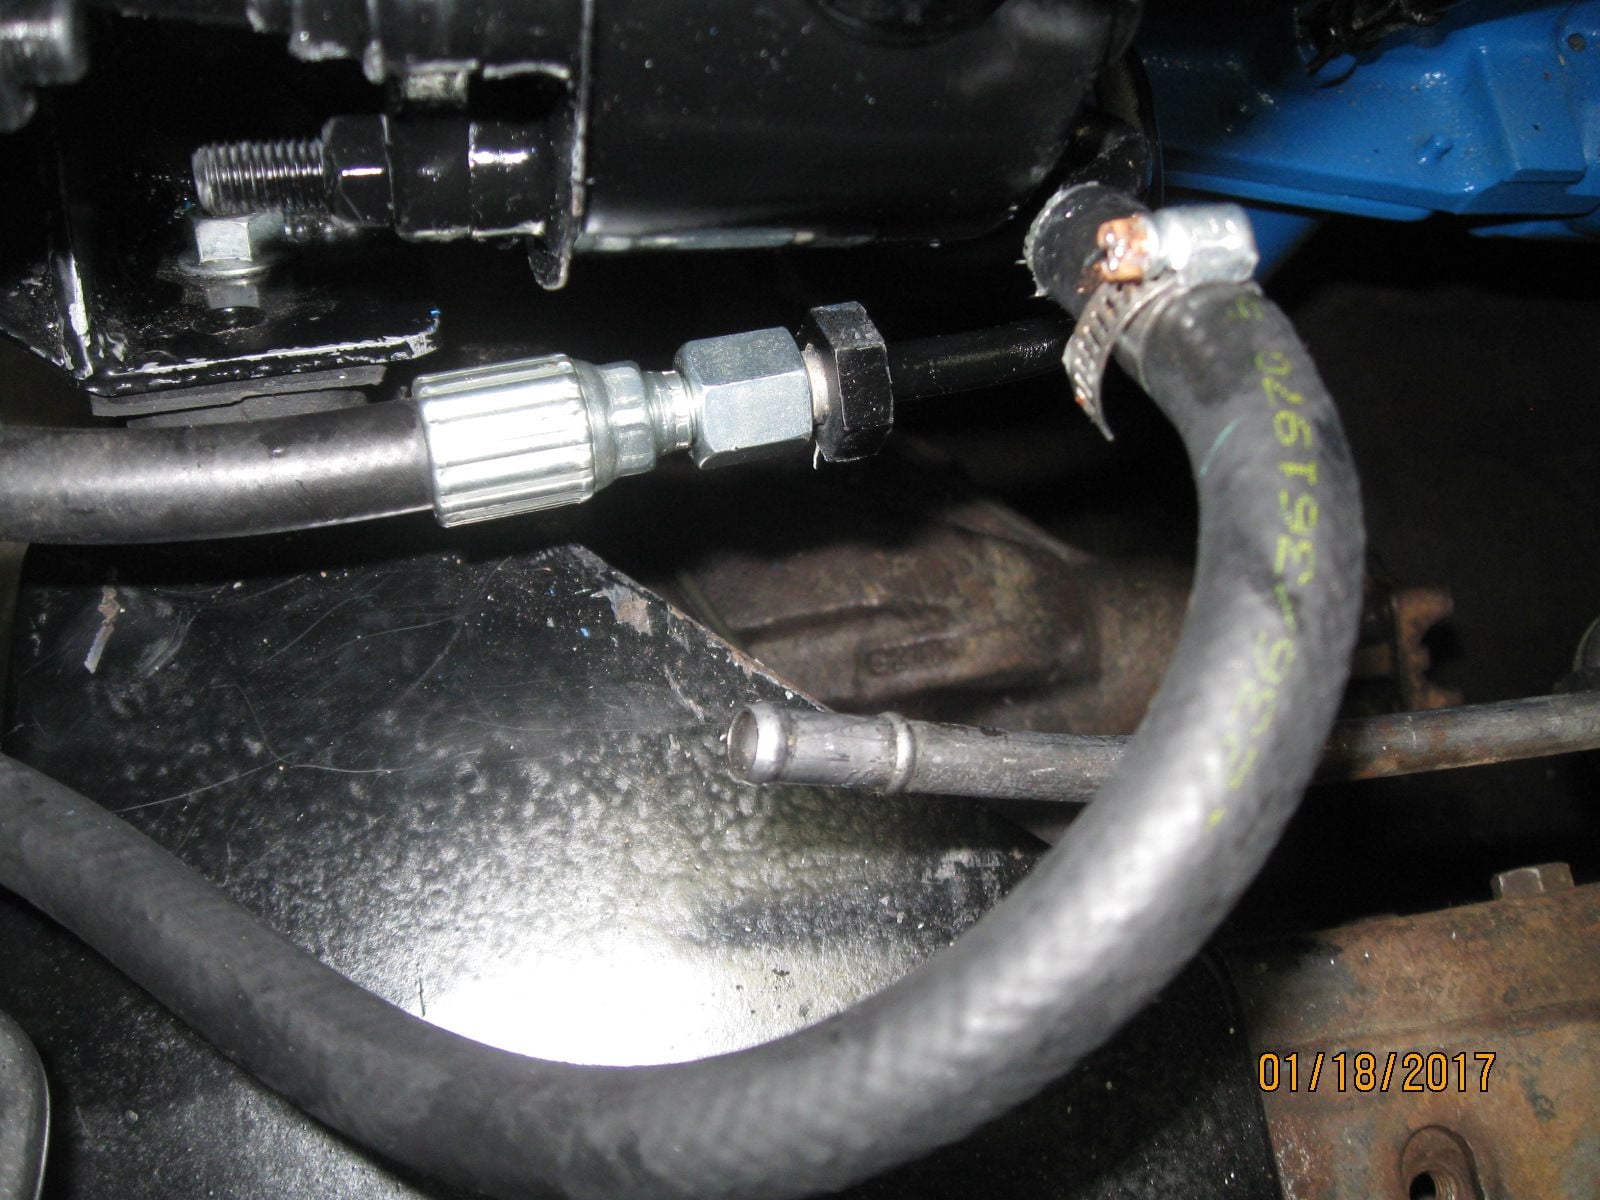
And the pump end....You can get an idea of how I brazed a #6 JIC fitting onto the original tube from the Dodge PS hose.....I did the same on the gear end using the original Dent hose

And here is the completed plumbing for the steering.......1/2 day of fumbling around right there in that one pic......but one more piece in the puzzle completed
#116
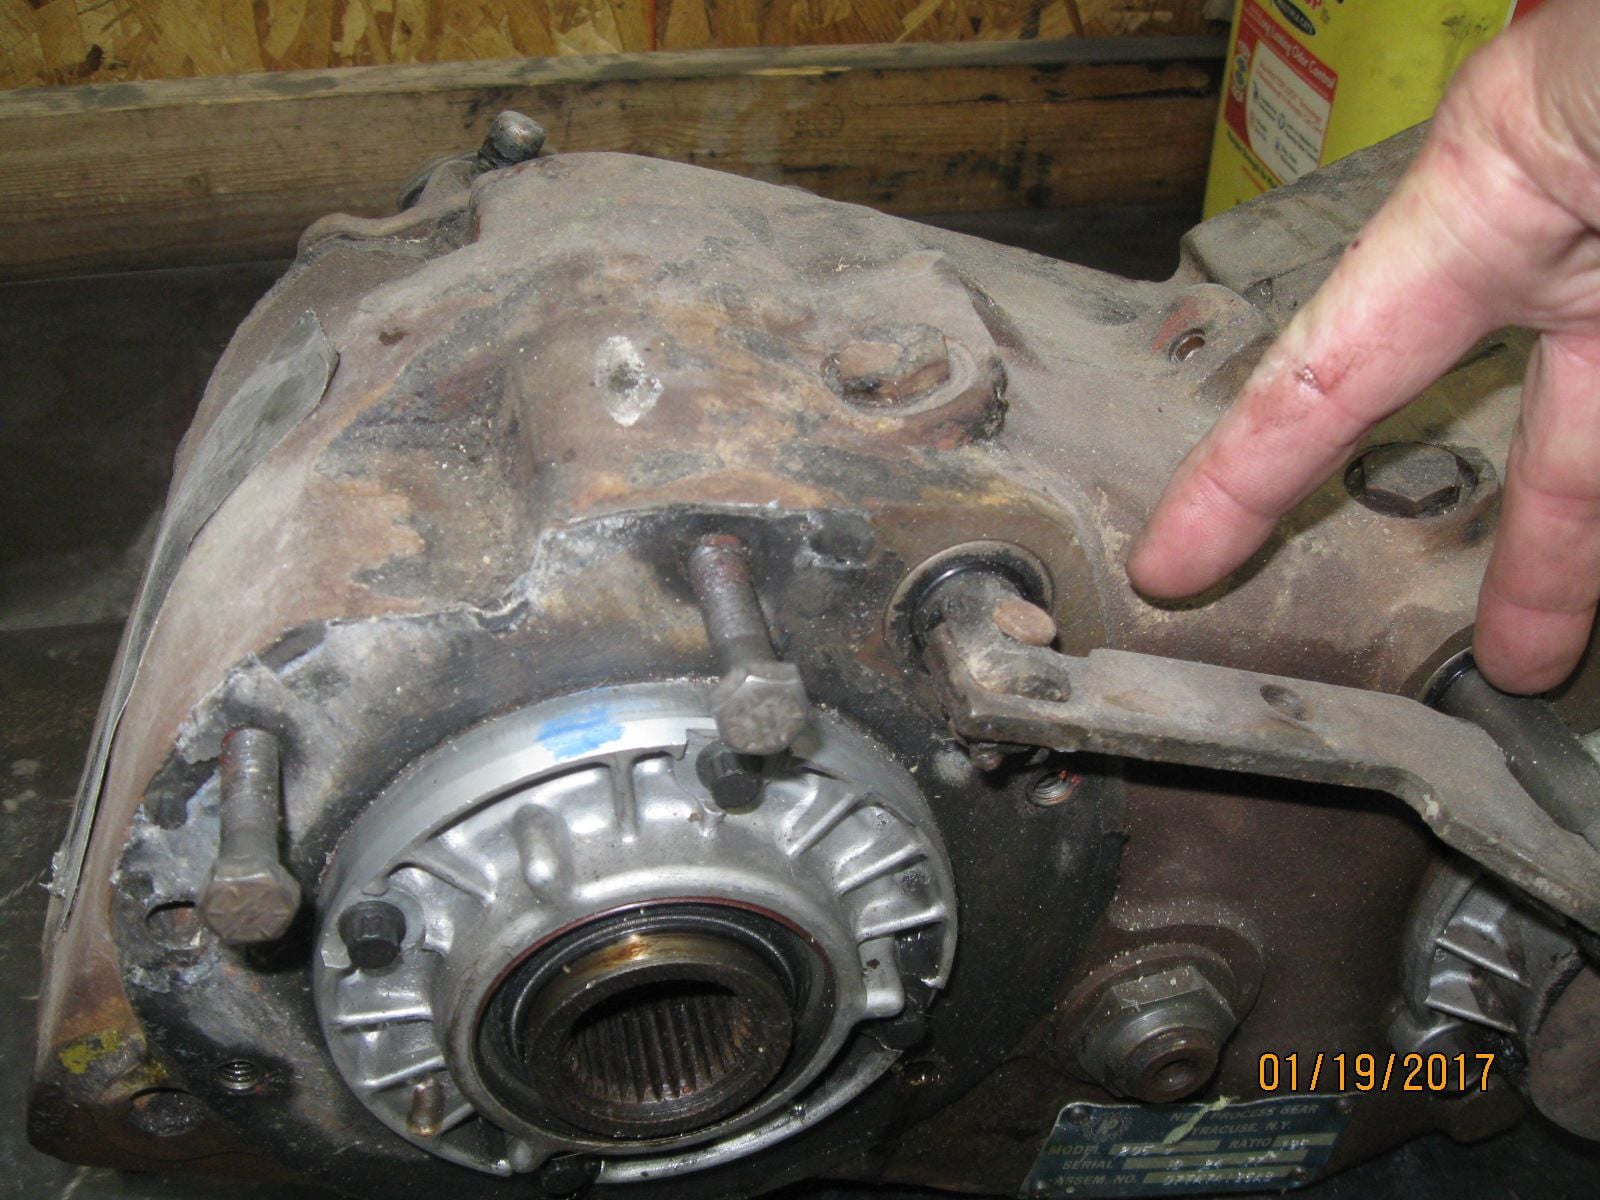
I made a bit of progress again today, Thought I'd throw this tidbit in for folks who aren't aware. Replaced the seals on the shift shafts on my 205 transfer case. If you have a leak on the TC that you cant find.......Look here!
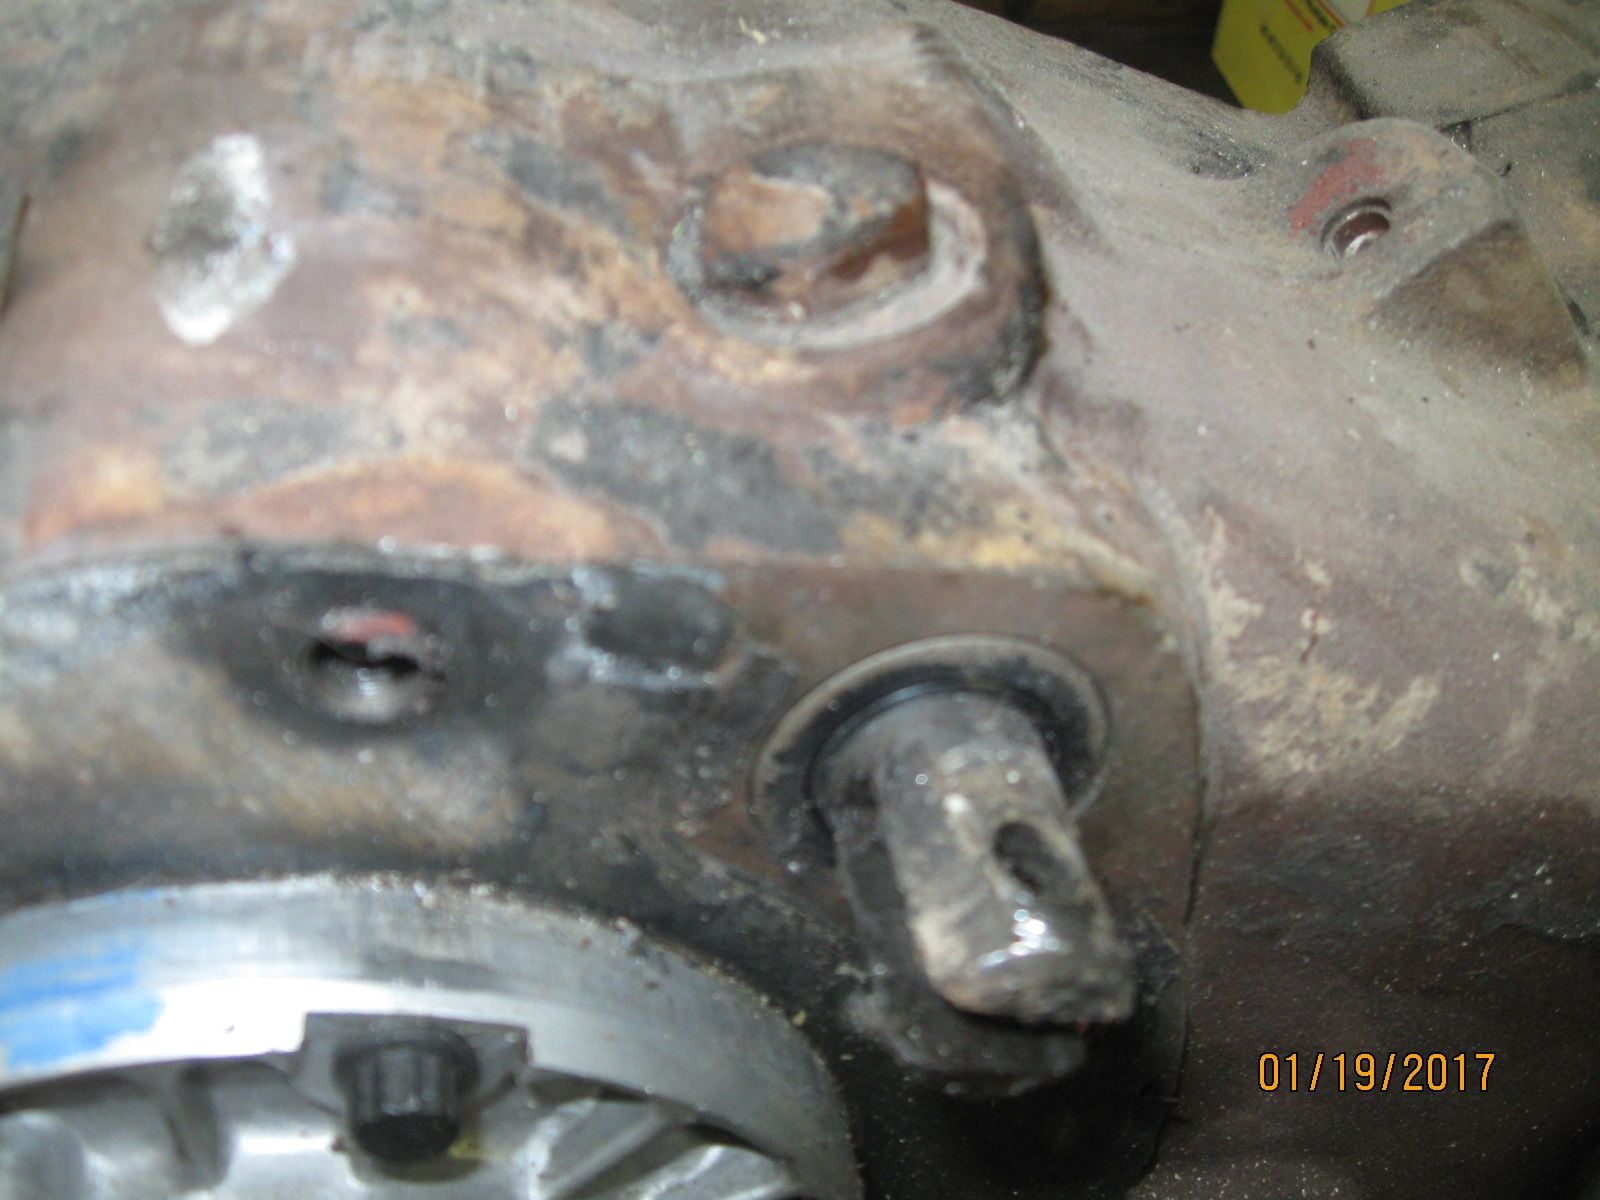
You have to pull the cotter pins and 2 clevis pins out of the cross linkage to remove said linkage to get to the seals.
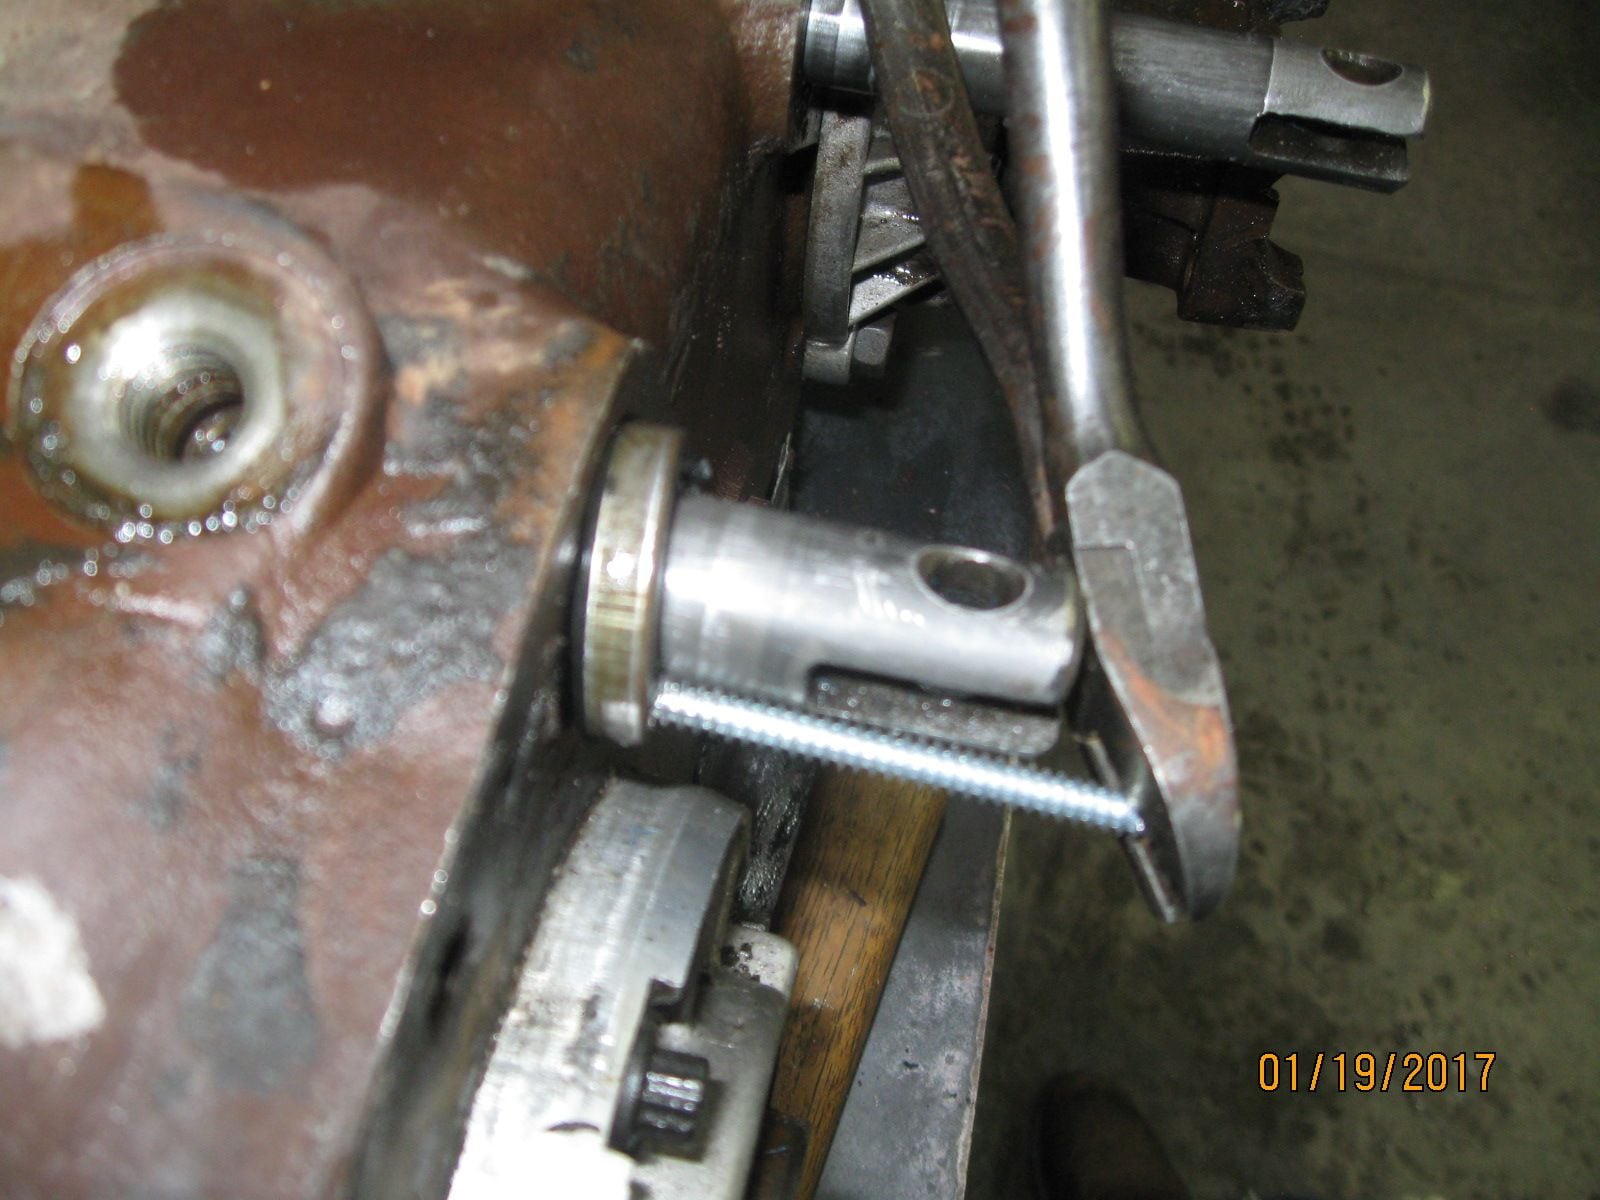
I used an awl to start a hole that I could thread a sheet metal screw into to pull the seals using a pair of dykes. Use a piece of pipe or a socket to drive the new seals in.
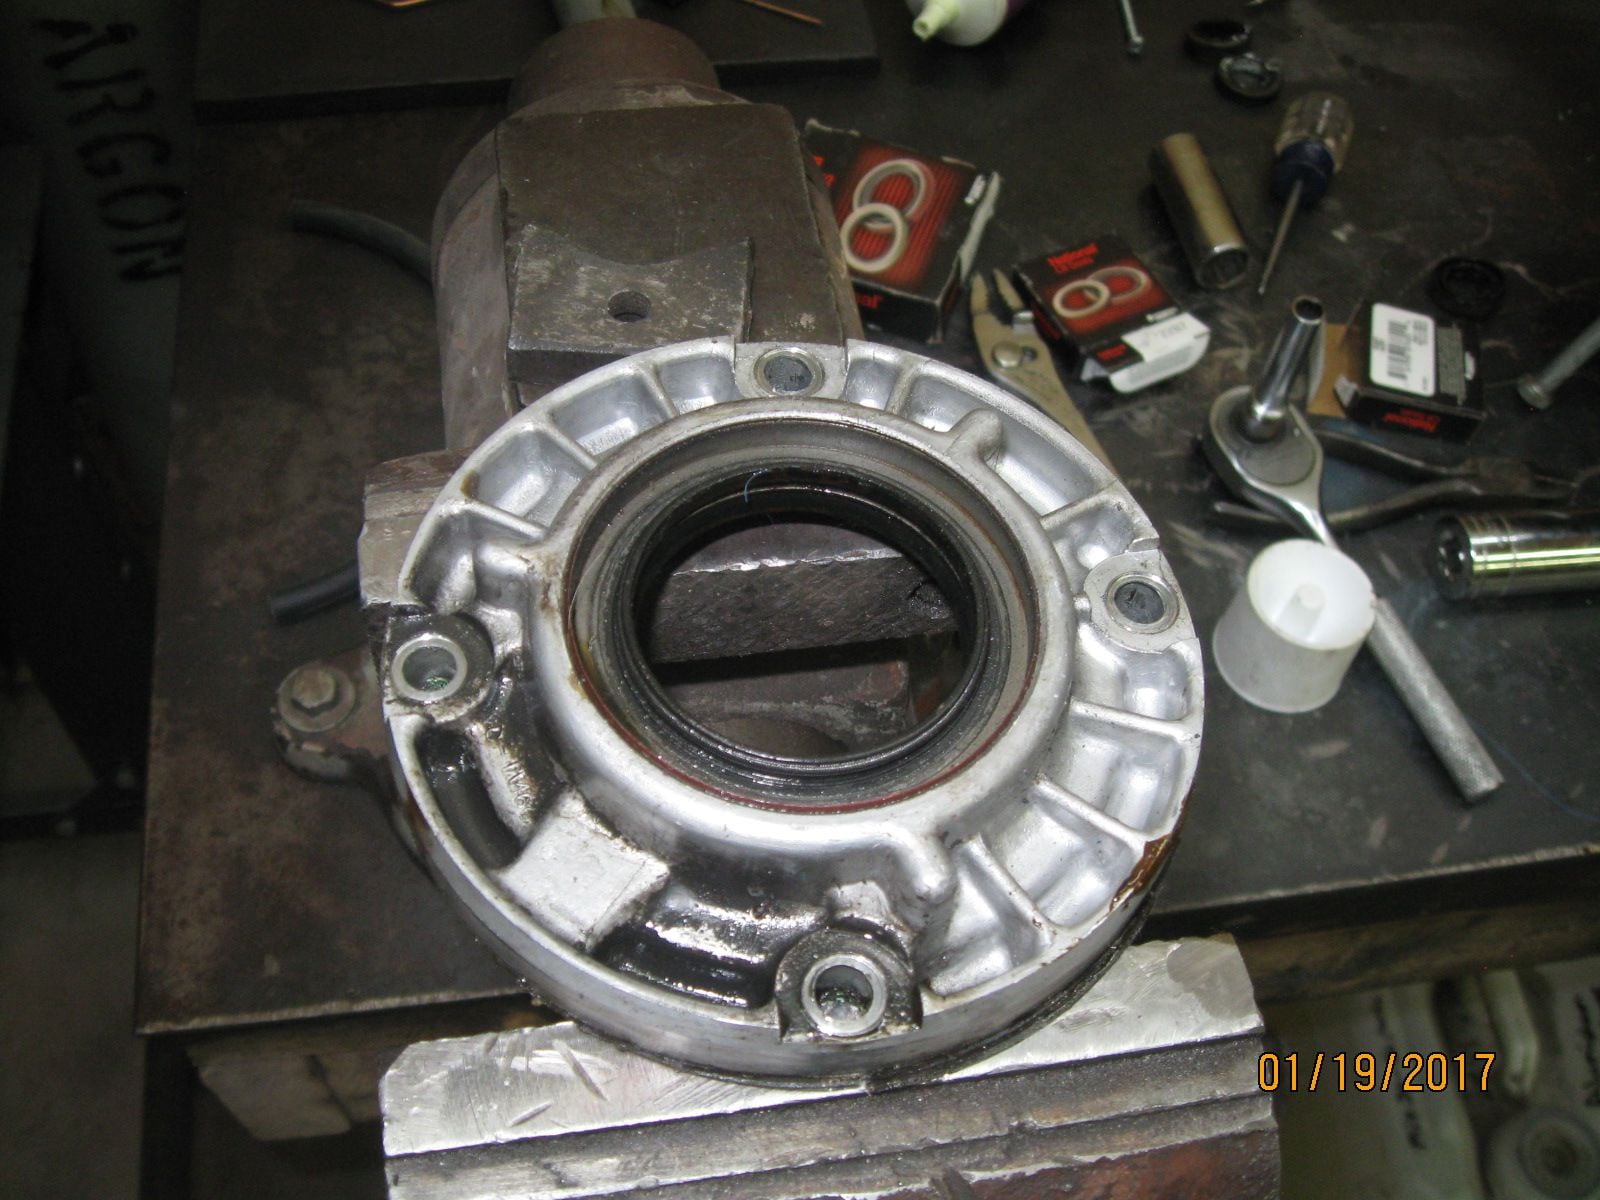
Figured while it was out, I might as well replace the input seal on the TC.......this is the bearing retainer removed.....makes it way easier to get the old seal out
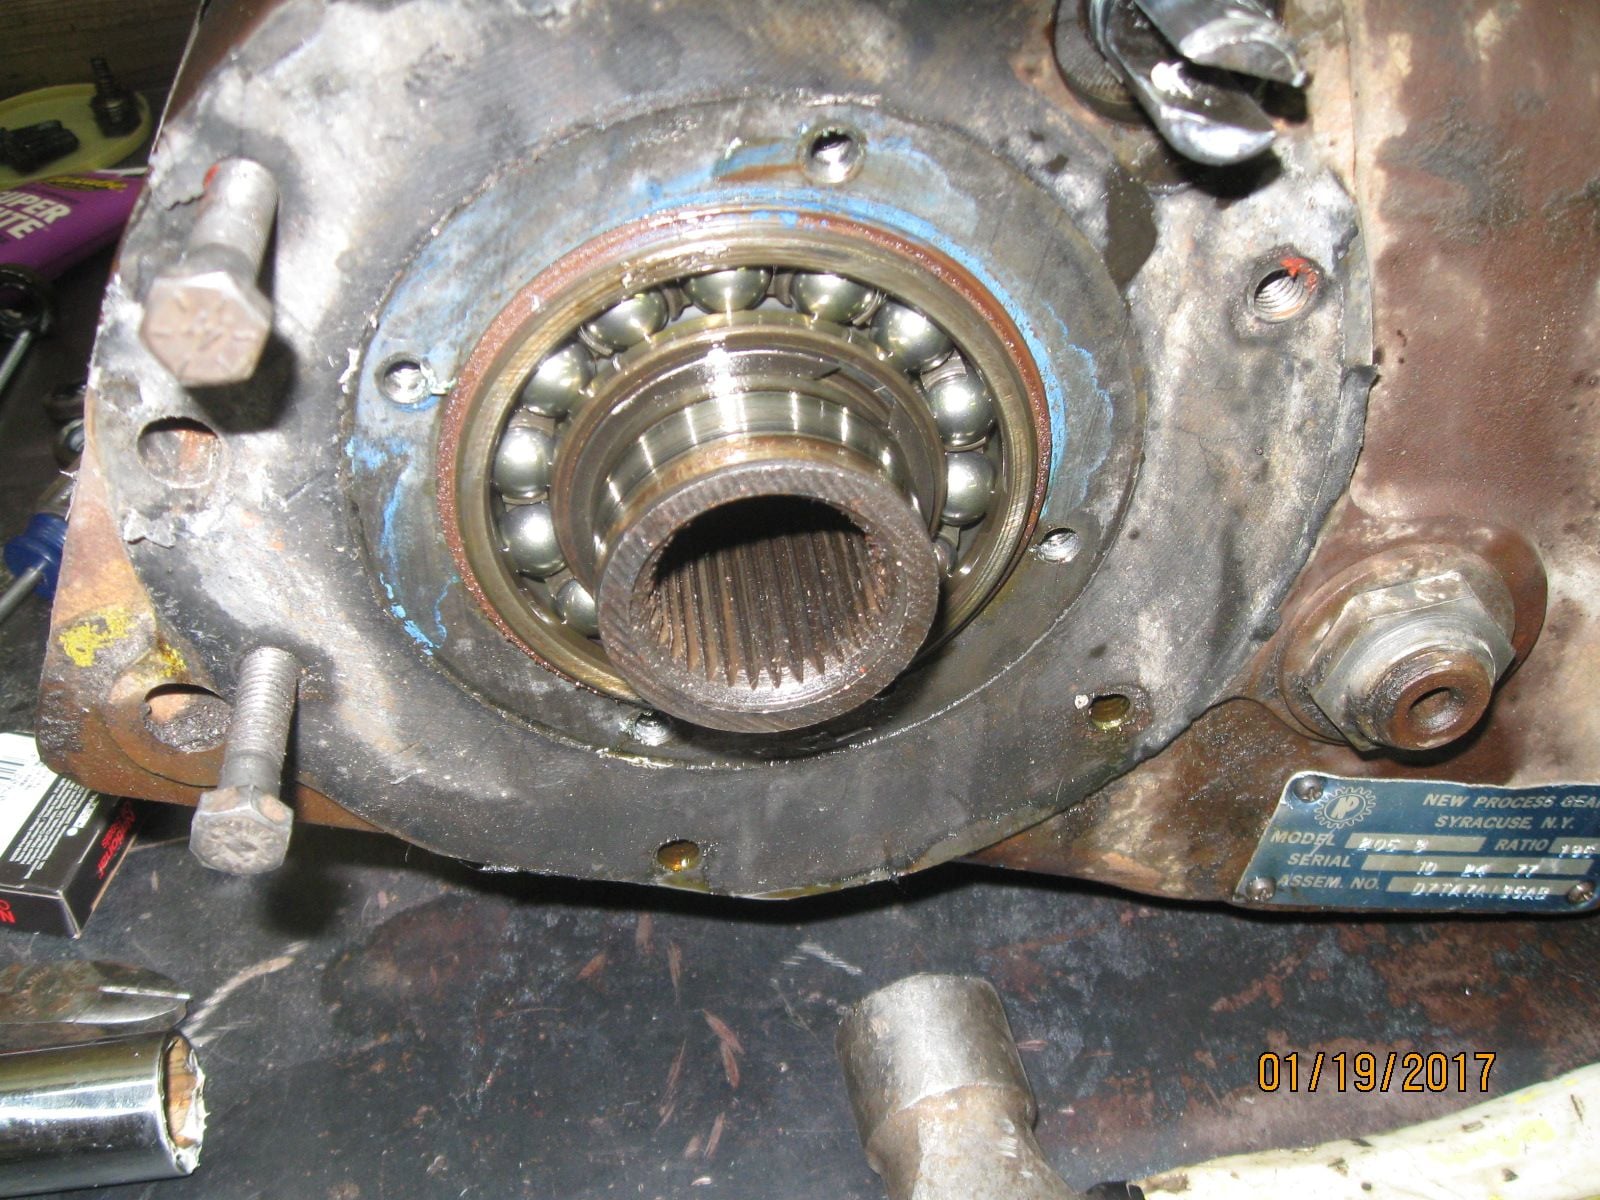
And this is what is under it. Just pay attention to which way is up when you remove the retainer, mine had a paint mark on it. there is a oil drainback slot in the retainer that needs to be on the bottom.
#117
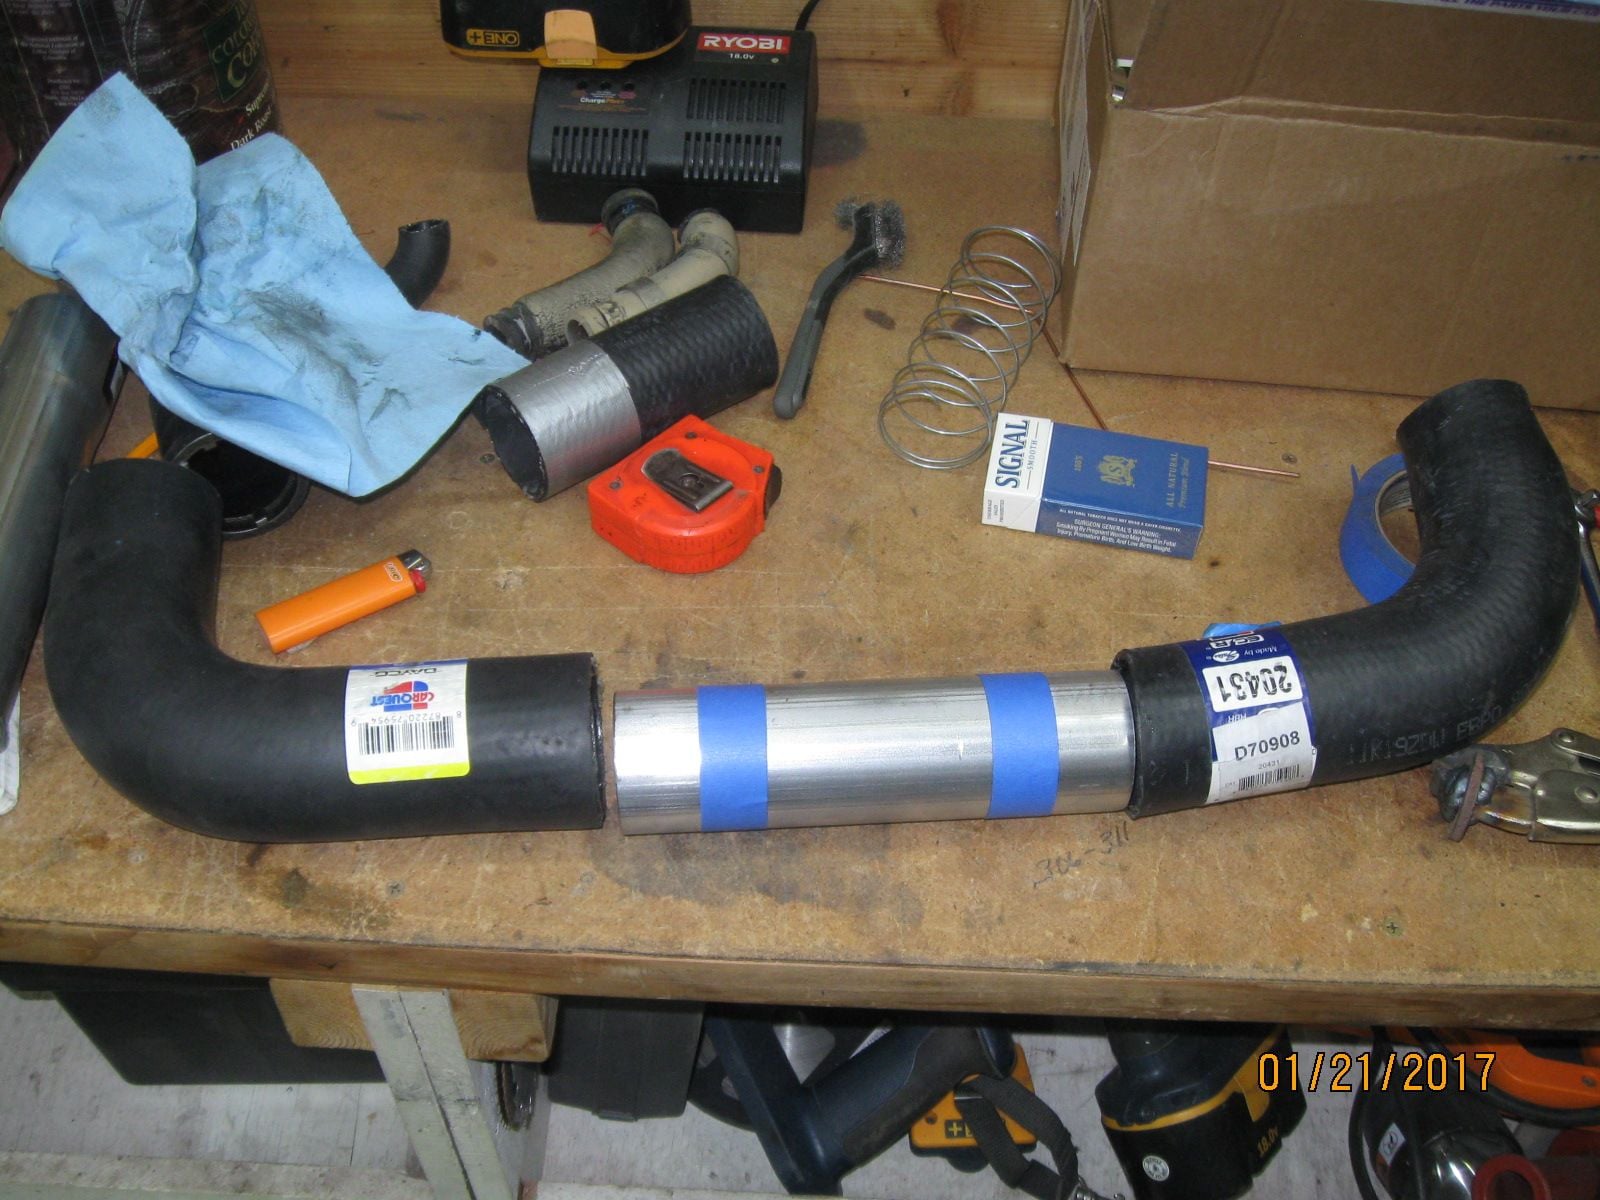
I also worked on figuring out and getting the radiator hoses put on today. This is what I came up with for the bottom after a trip to the parts house.
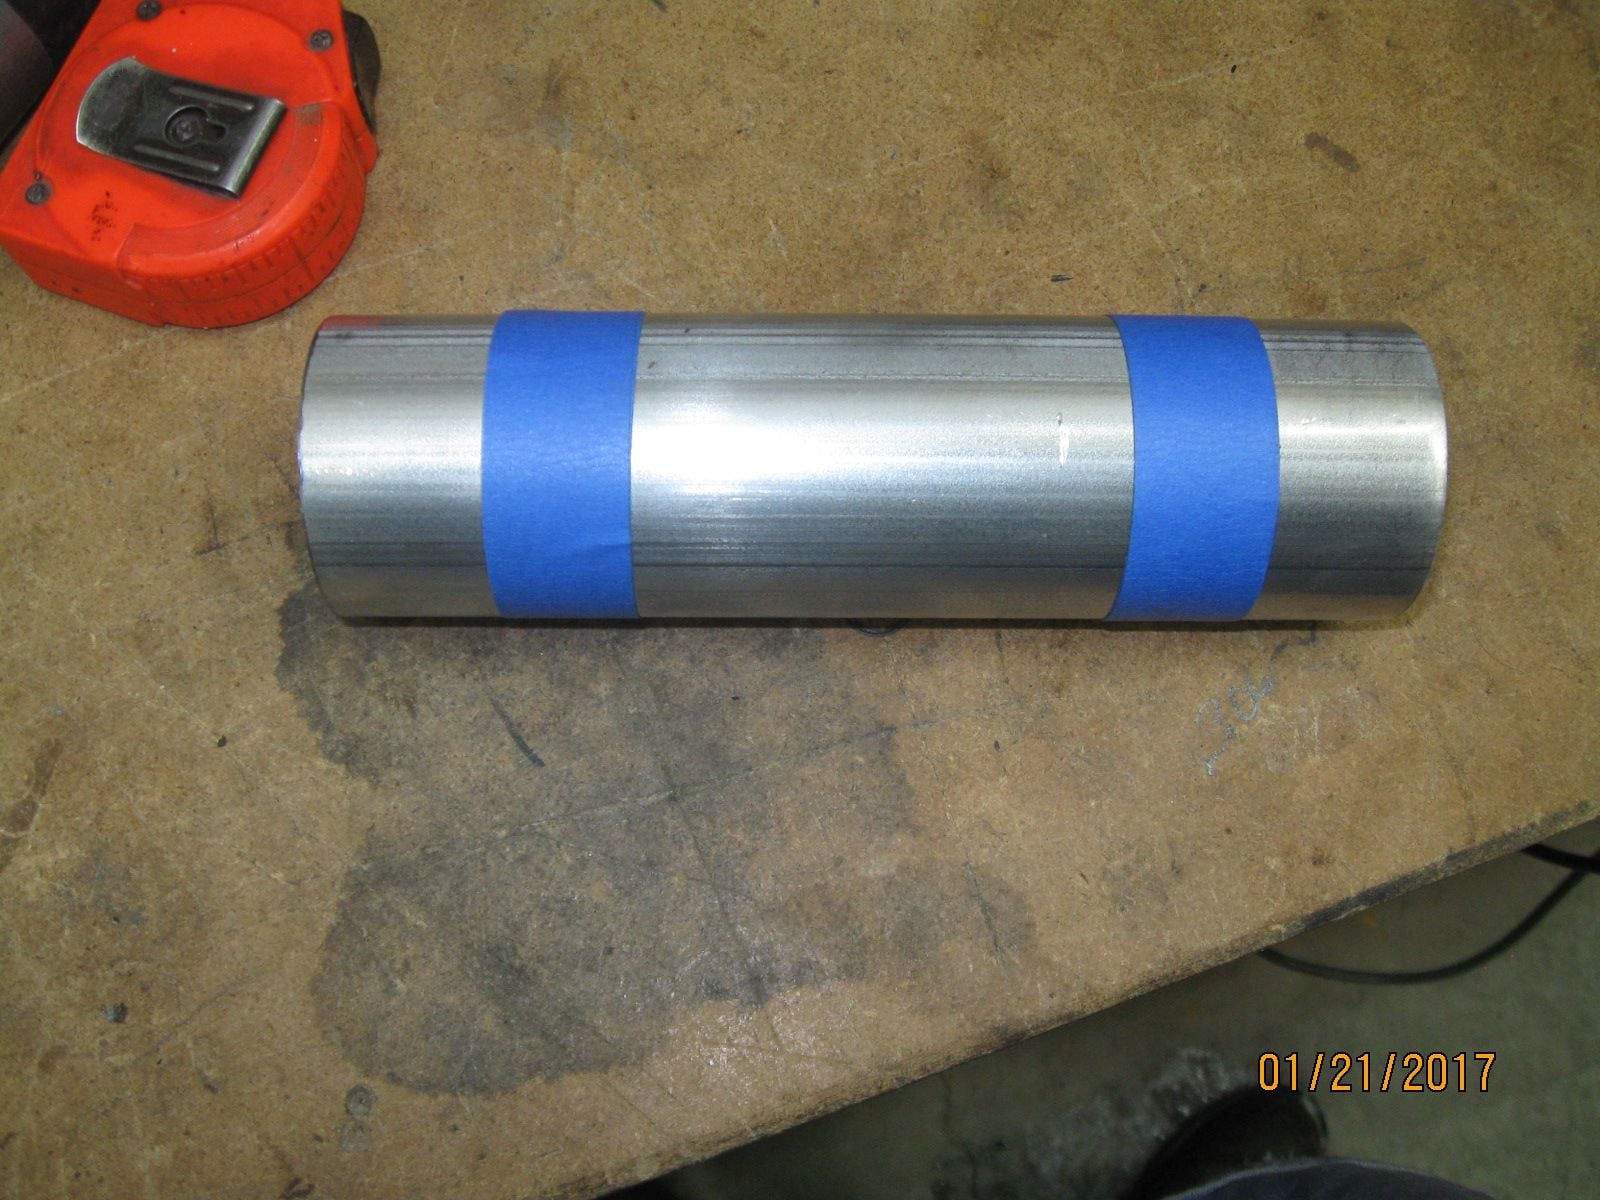
I have clamped hose to tubing with no bead rolled in the tube before but it always made me nervous that the hose may blow off the tube.....found a solution for that......
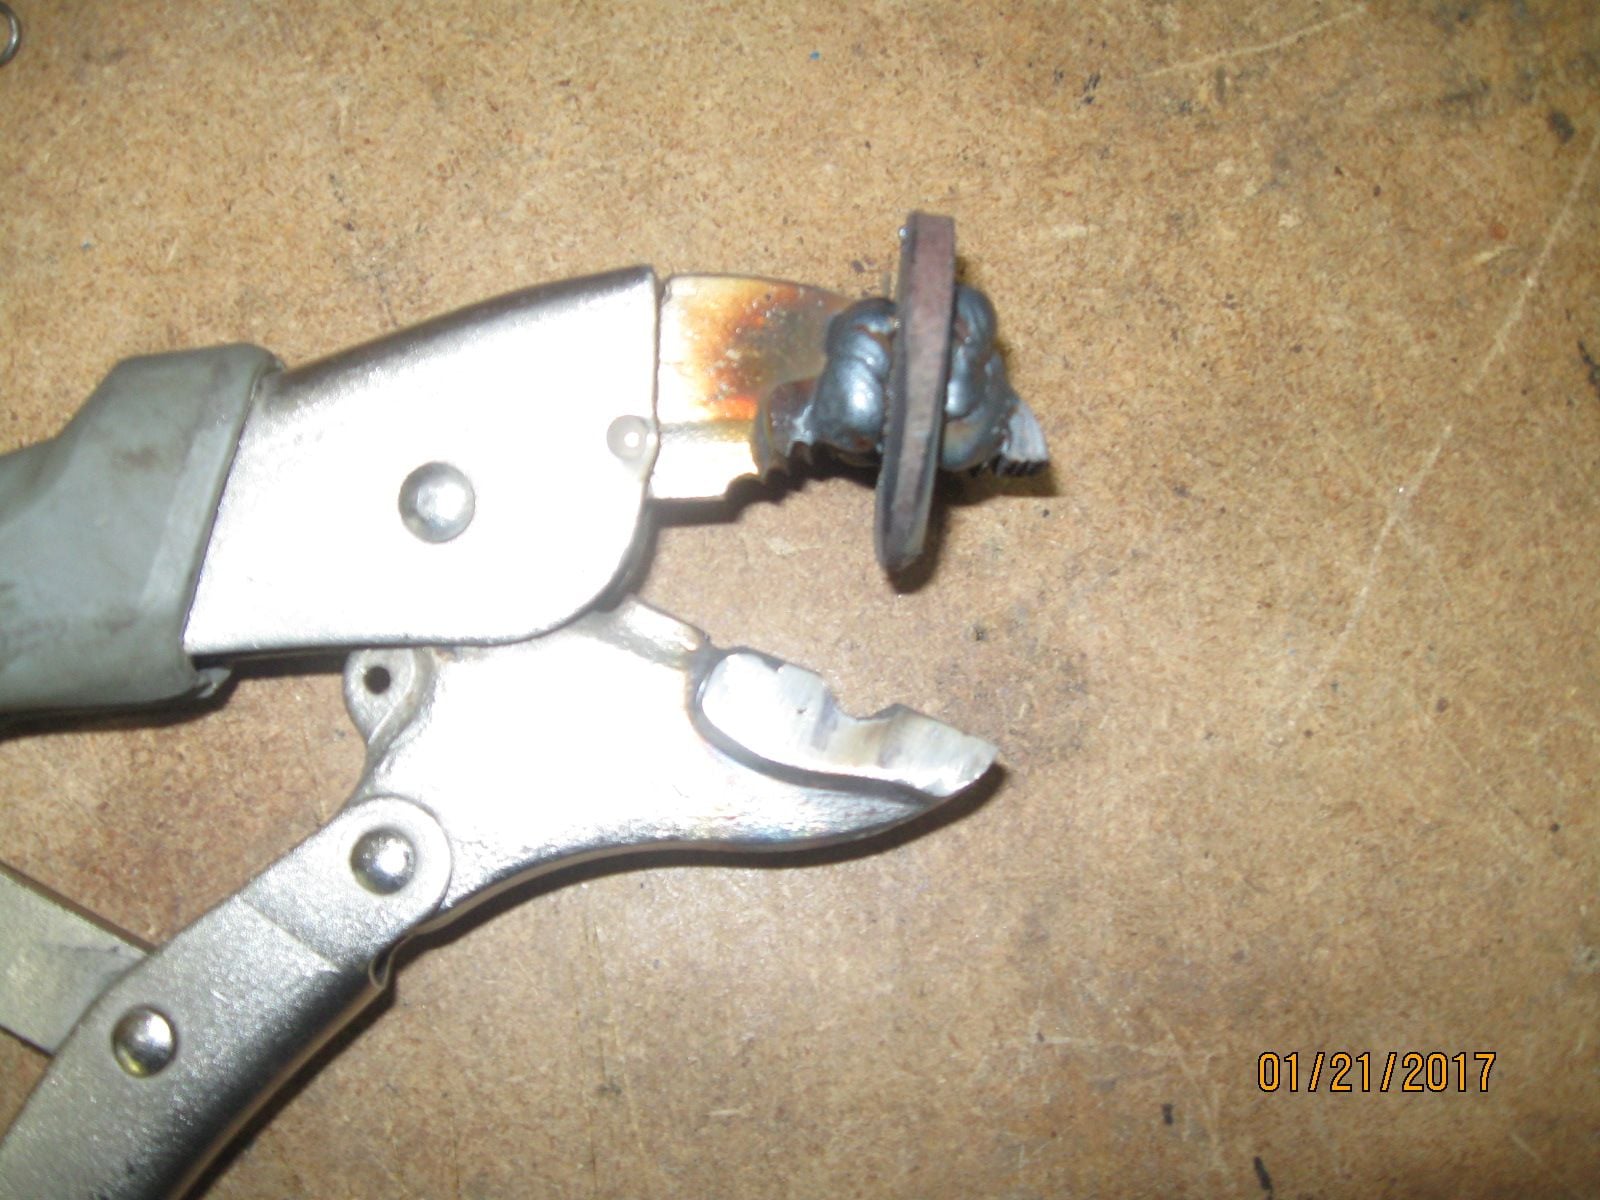
I wish I could take credit for this homemade tool but I cant.....found it on the interweb some time back......a cheap pair of vise grips, a 5/8" hard washer and a welder. The original I saw was prettier but mine works awesome.
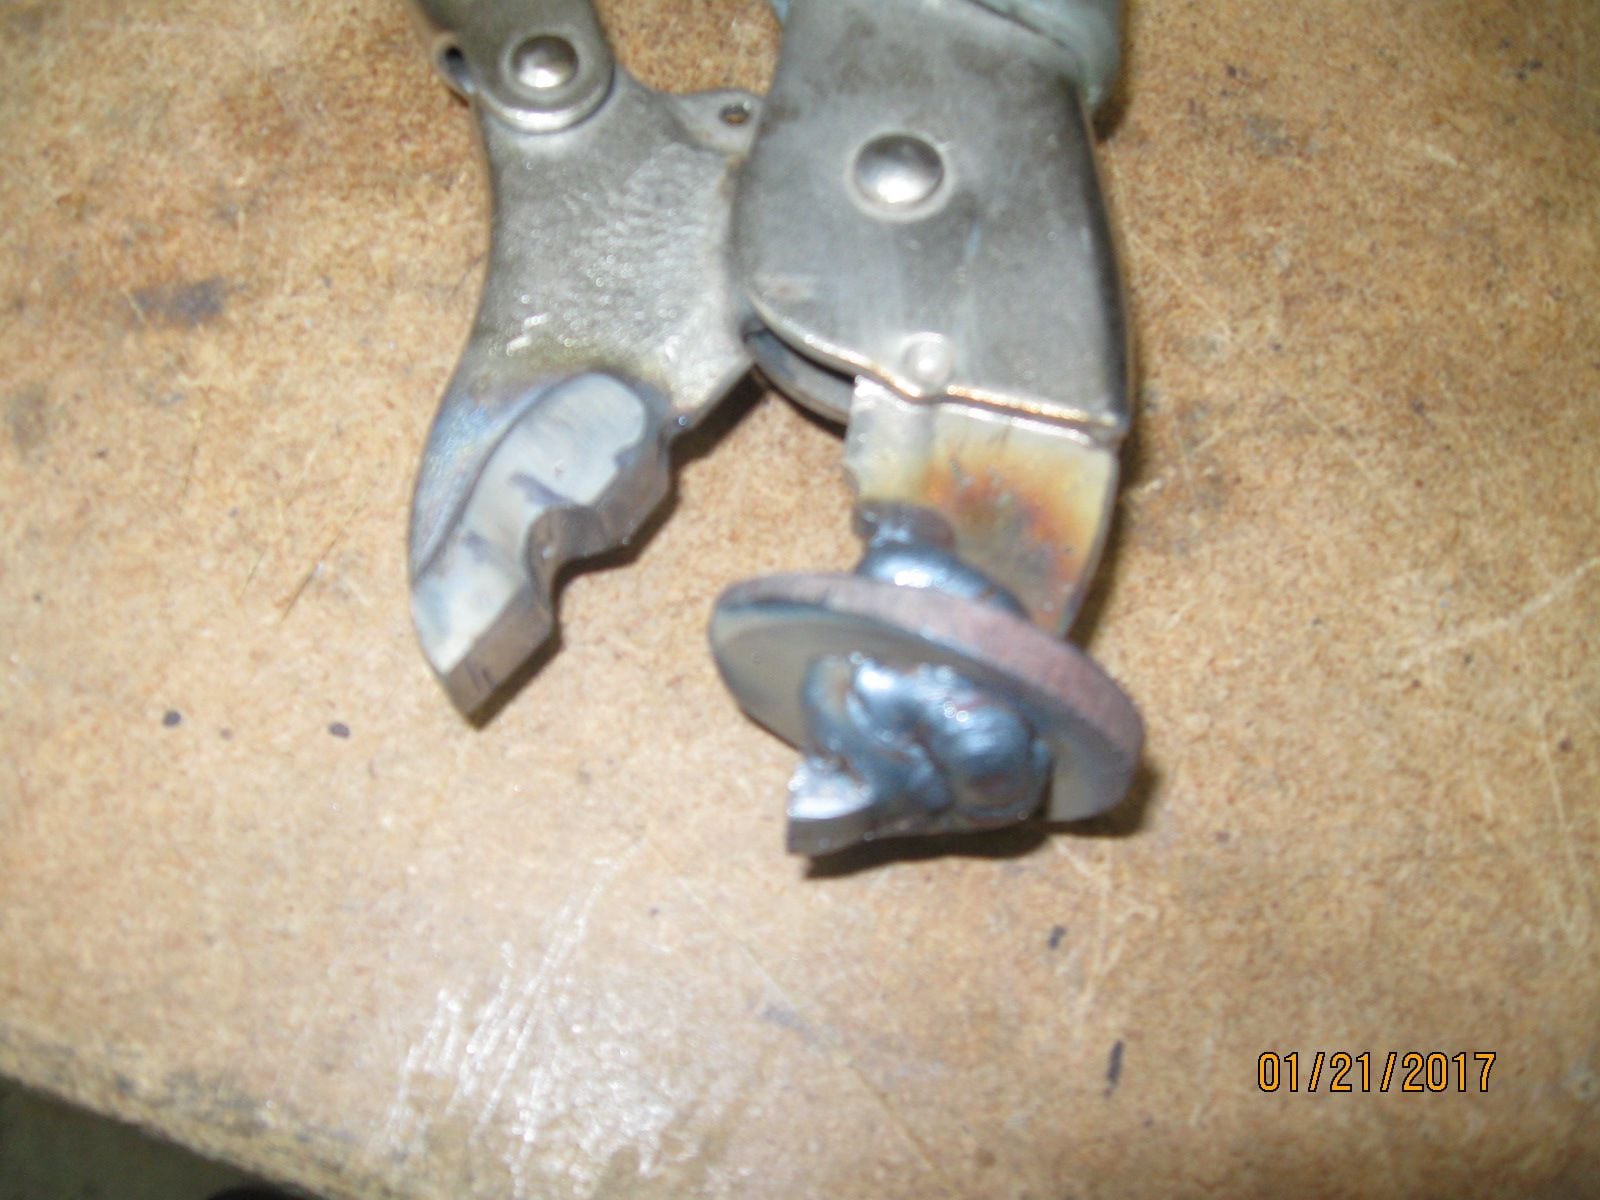
Ths was a pair of curved jaw vise grips. I welded the bottom jaw so it could be ground flat, then ground a groove in the bottom jaw, beveled the edge of the washer with a grinder and welded it on.
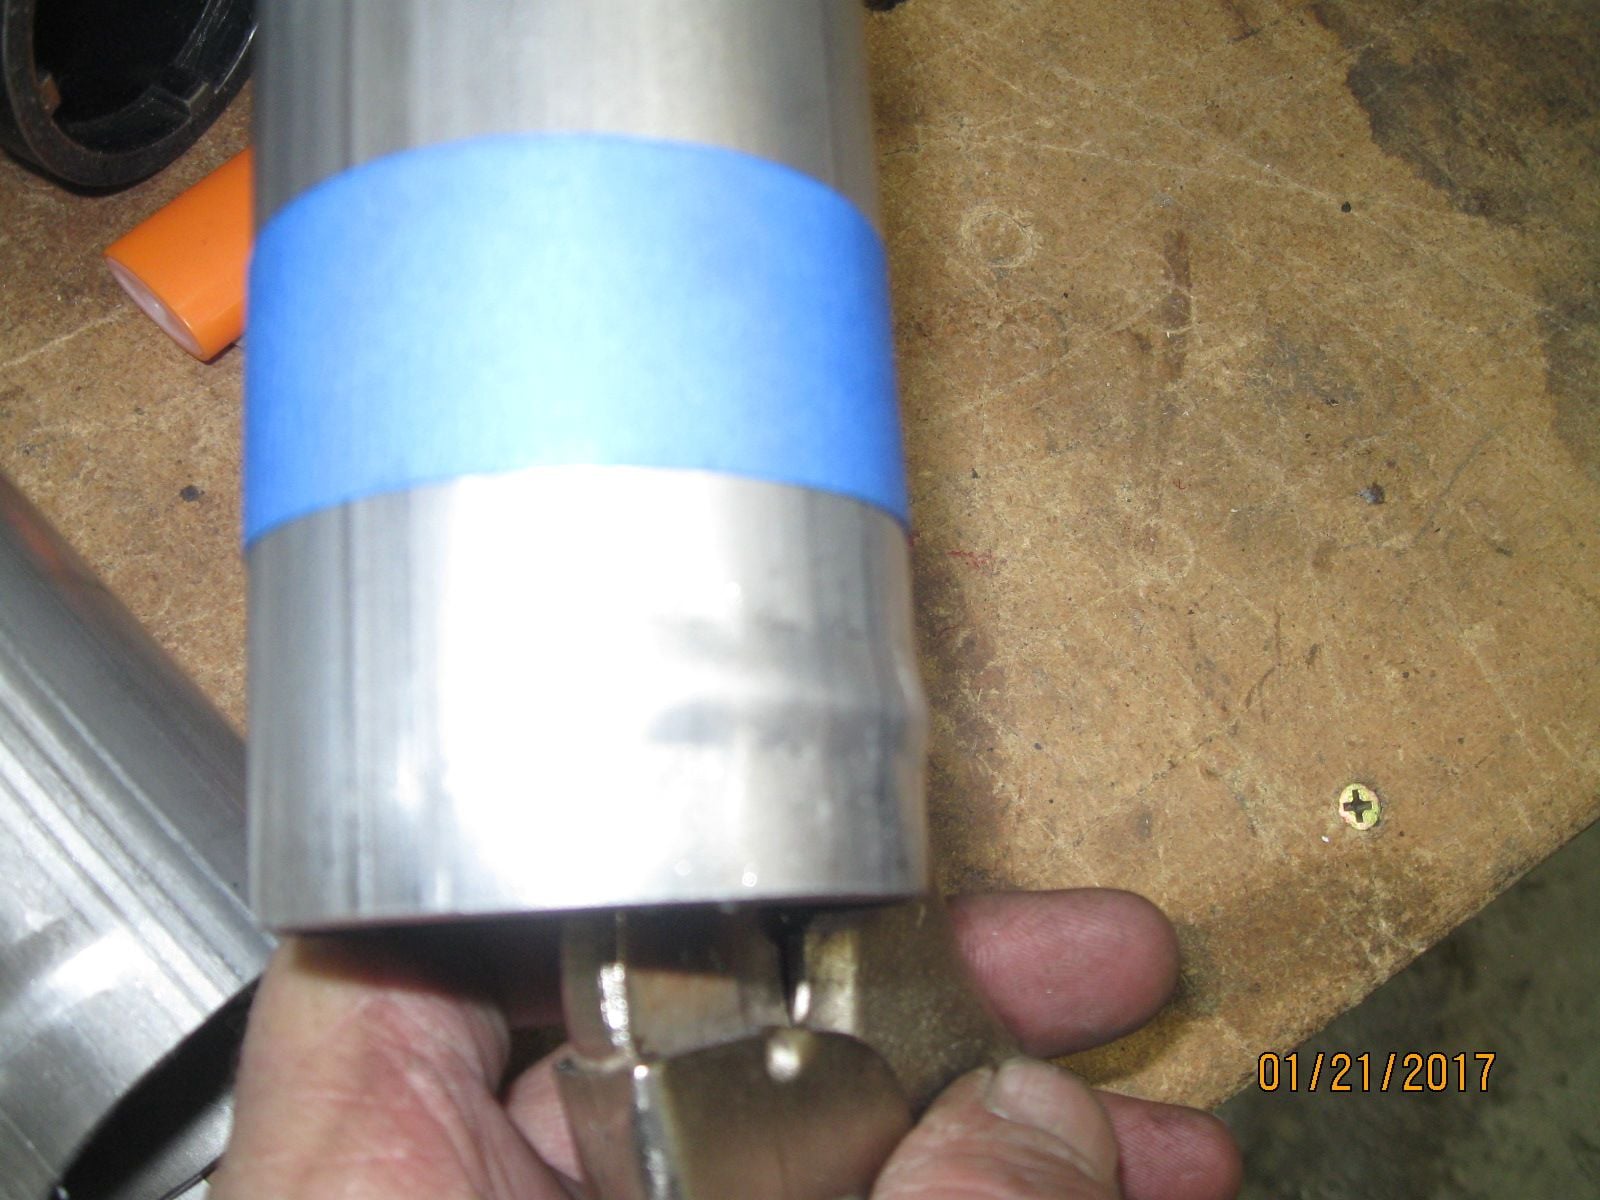
Here is the beginning of my first pass. Don't try to crimp it too hard. It takes two or three trips around to raise a nice bead. Tighten the vise grips a little each trip around. I only walked it ahead about 1/2 the width of the jaw each crimp. Then on my 2nd pass, overlapped the last crimps.....go slow, don't get in a hurry, have a beer......and ...........
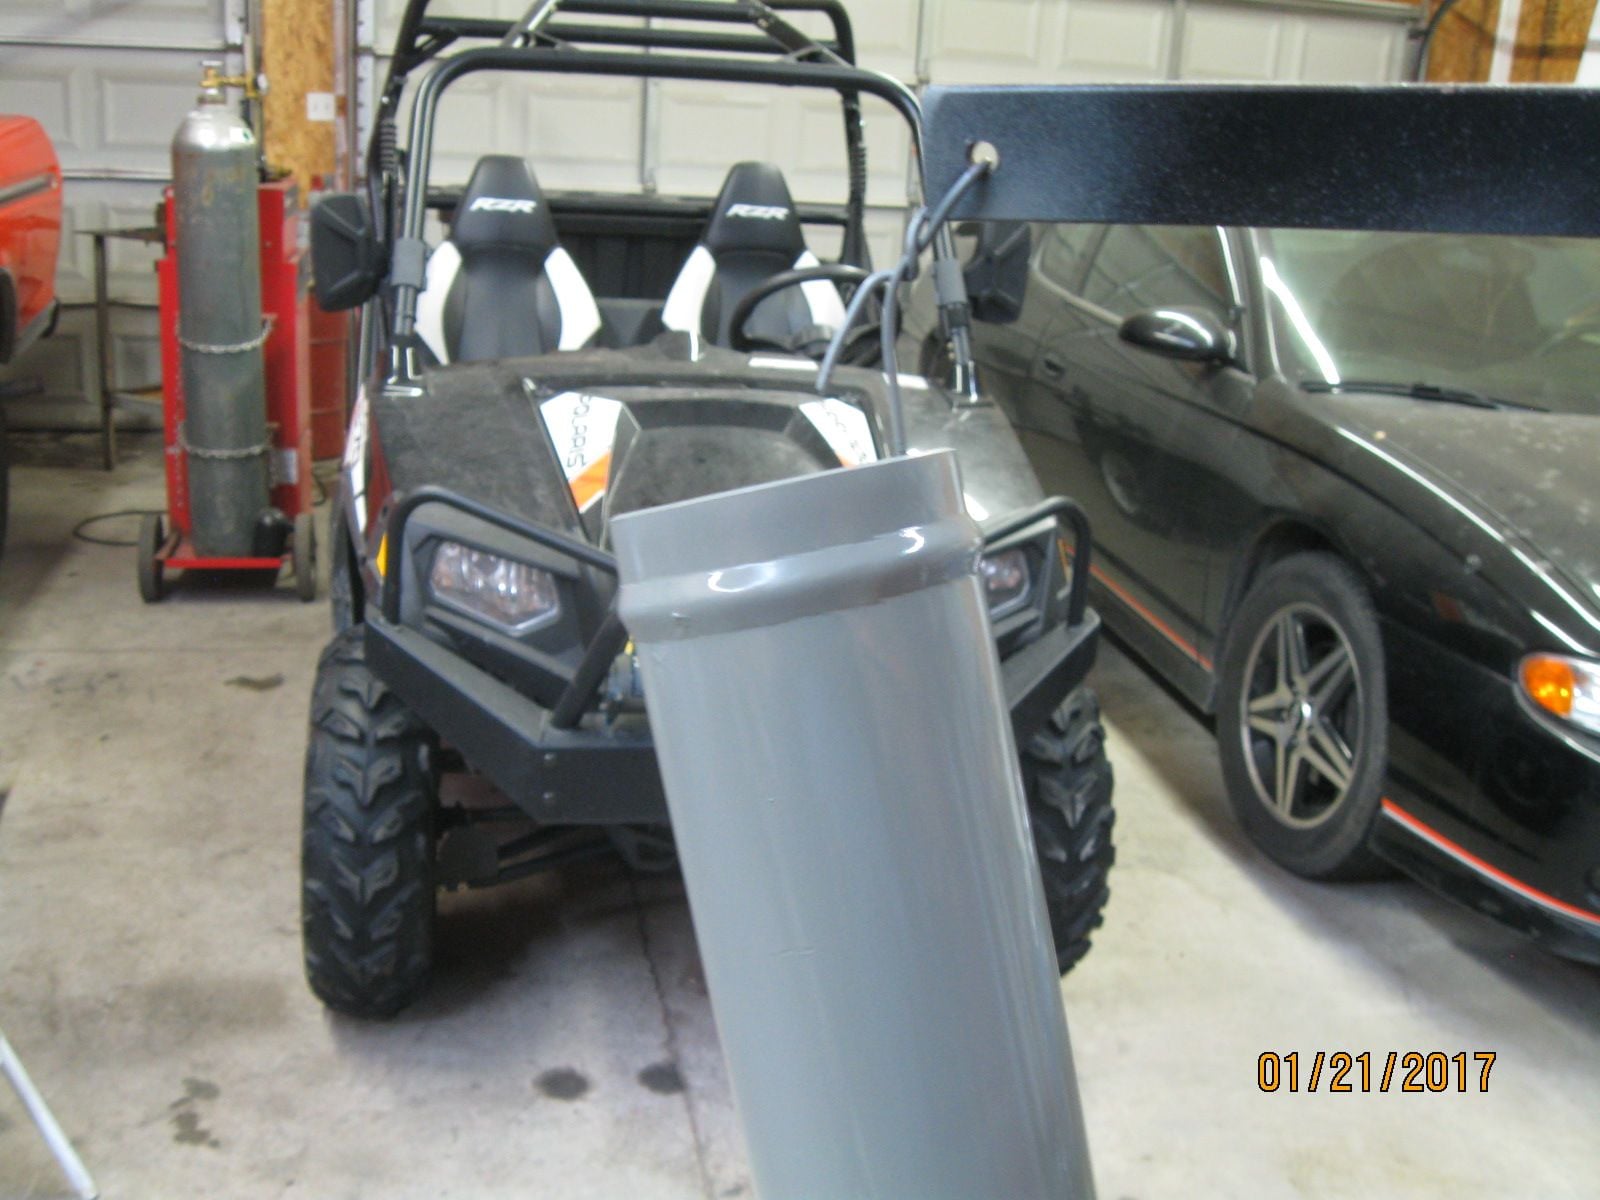
You will end up with a nice smooth even bead. In the previous pics you will notice the masking tape. I used it as a guide to keep my bead straight and even. I shot this pic while my primer was wet.......showed how nice the bead came out......No worries about blowing a hose off now!
#118
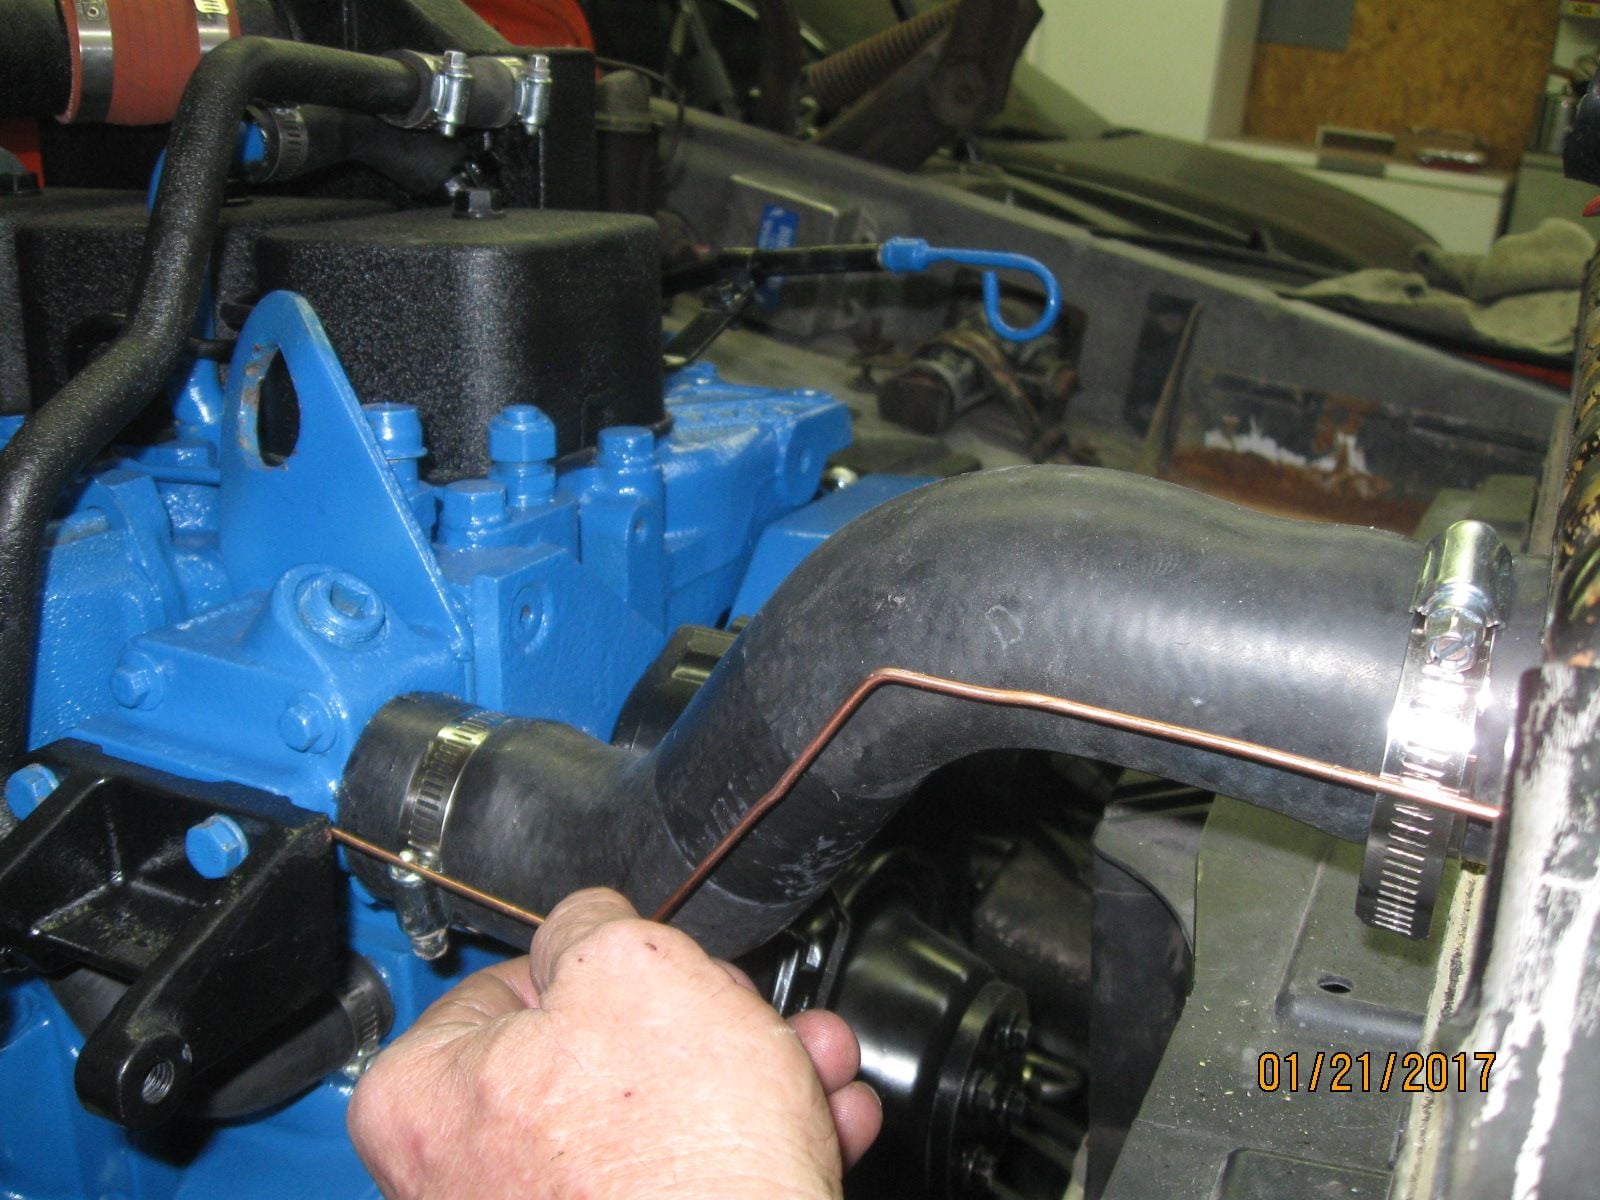
Just showing how by using a piece of stiff wire or welding rod, you can not only measure the length, but the shape too of a hose. I thought of showing this AFTER I had already bought the hose.
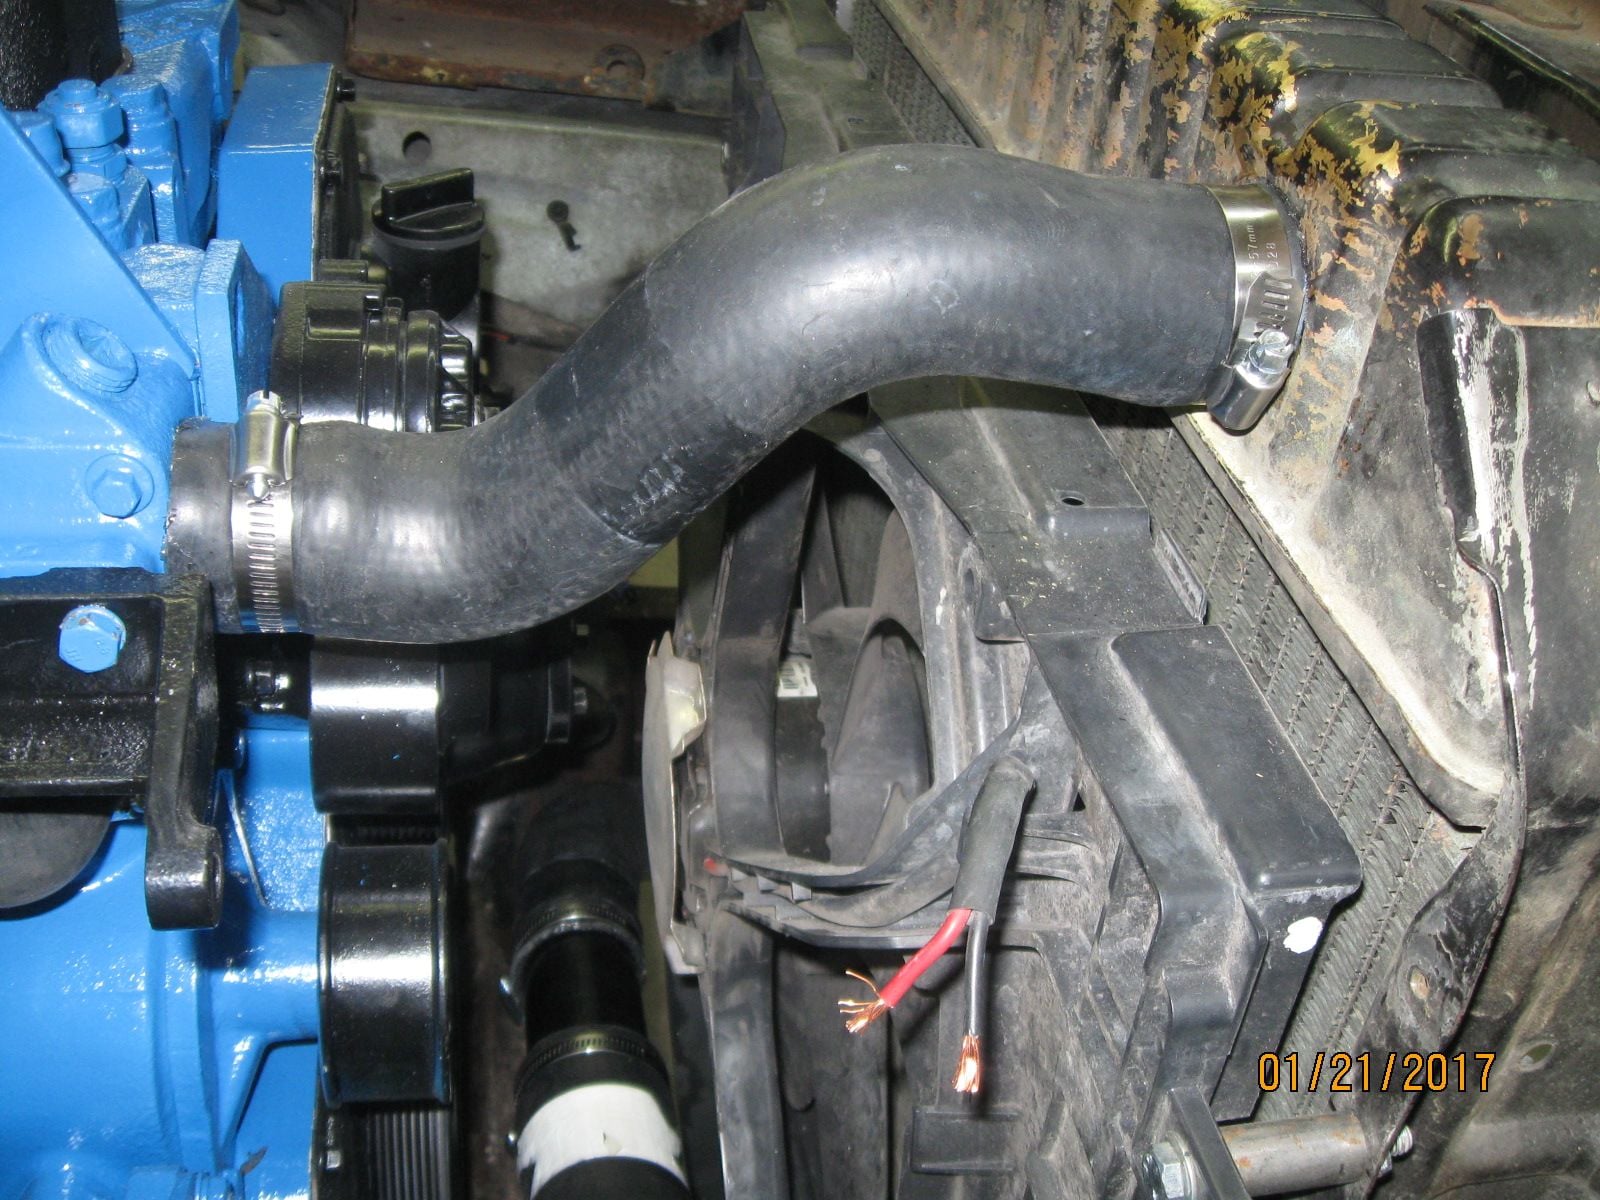
Here is how nice it turned out after using the wire to measure.
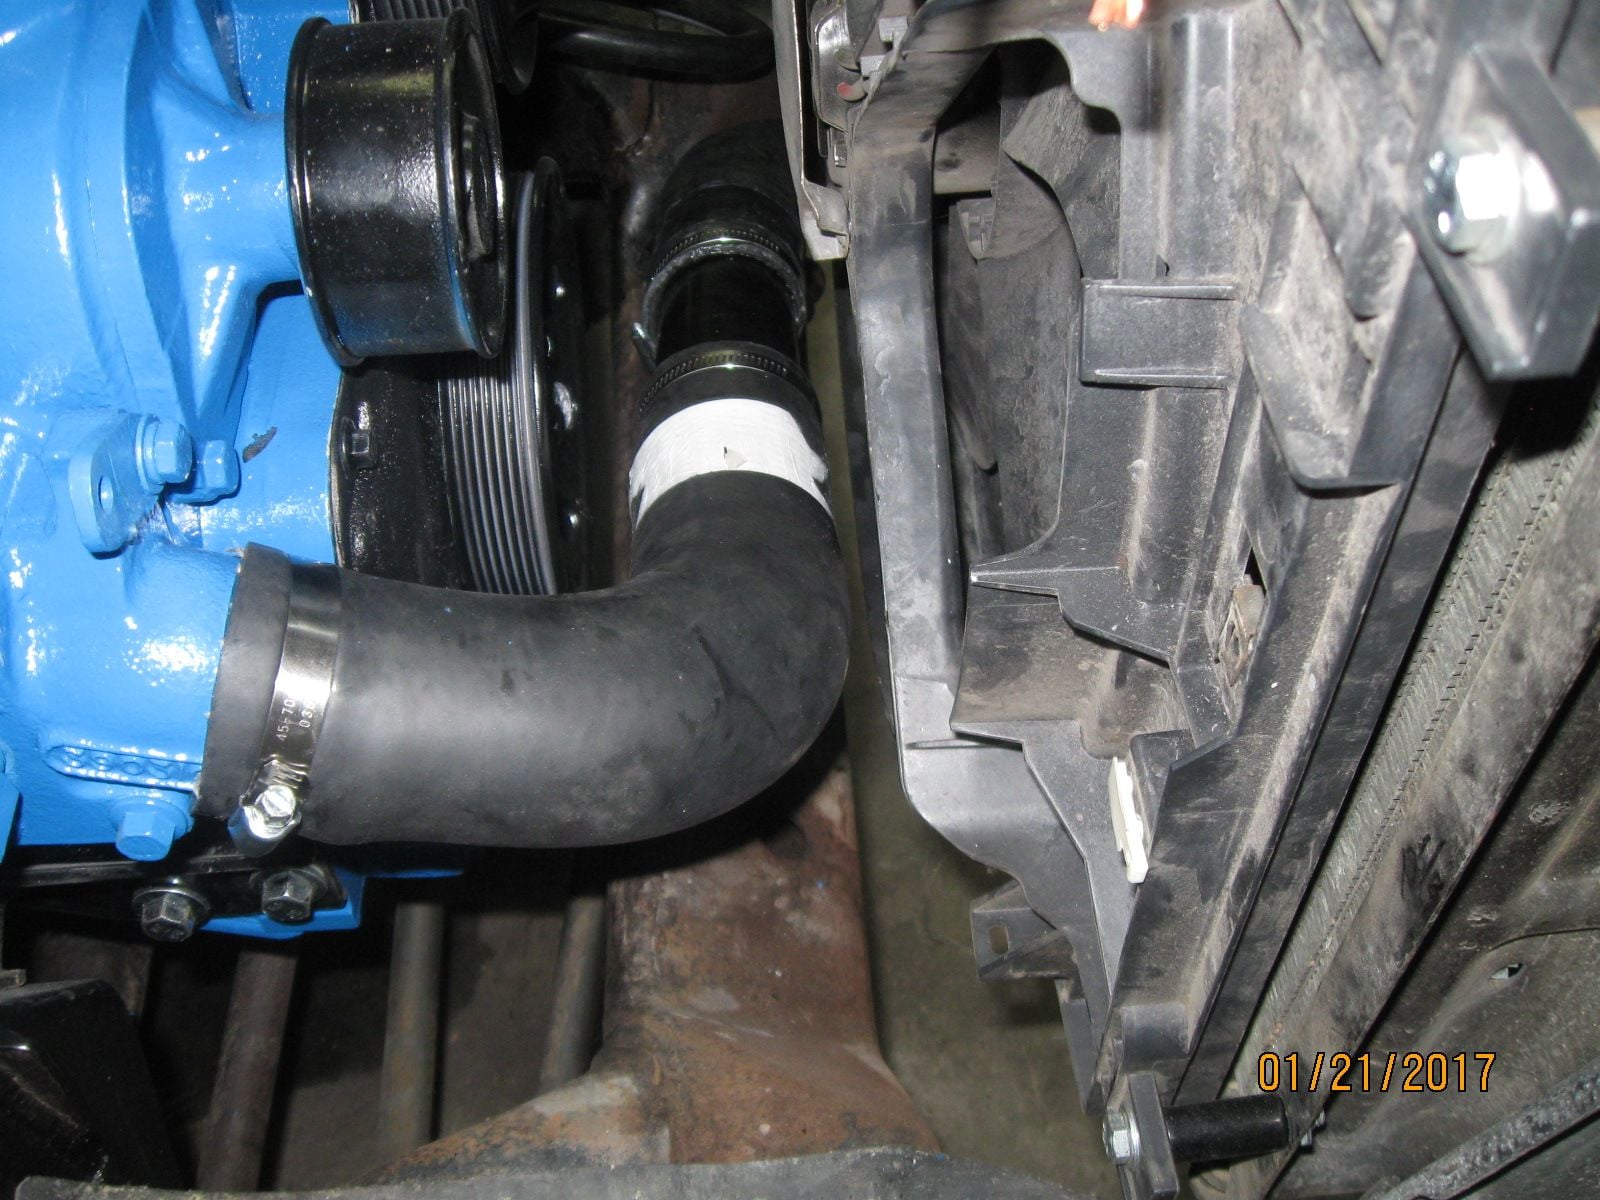
Here is the engine side of the lower hose that I made the beaded tube for
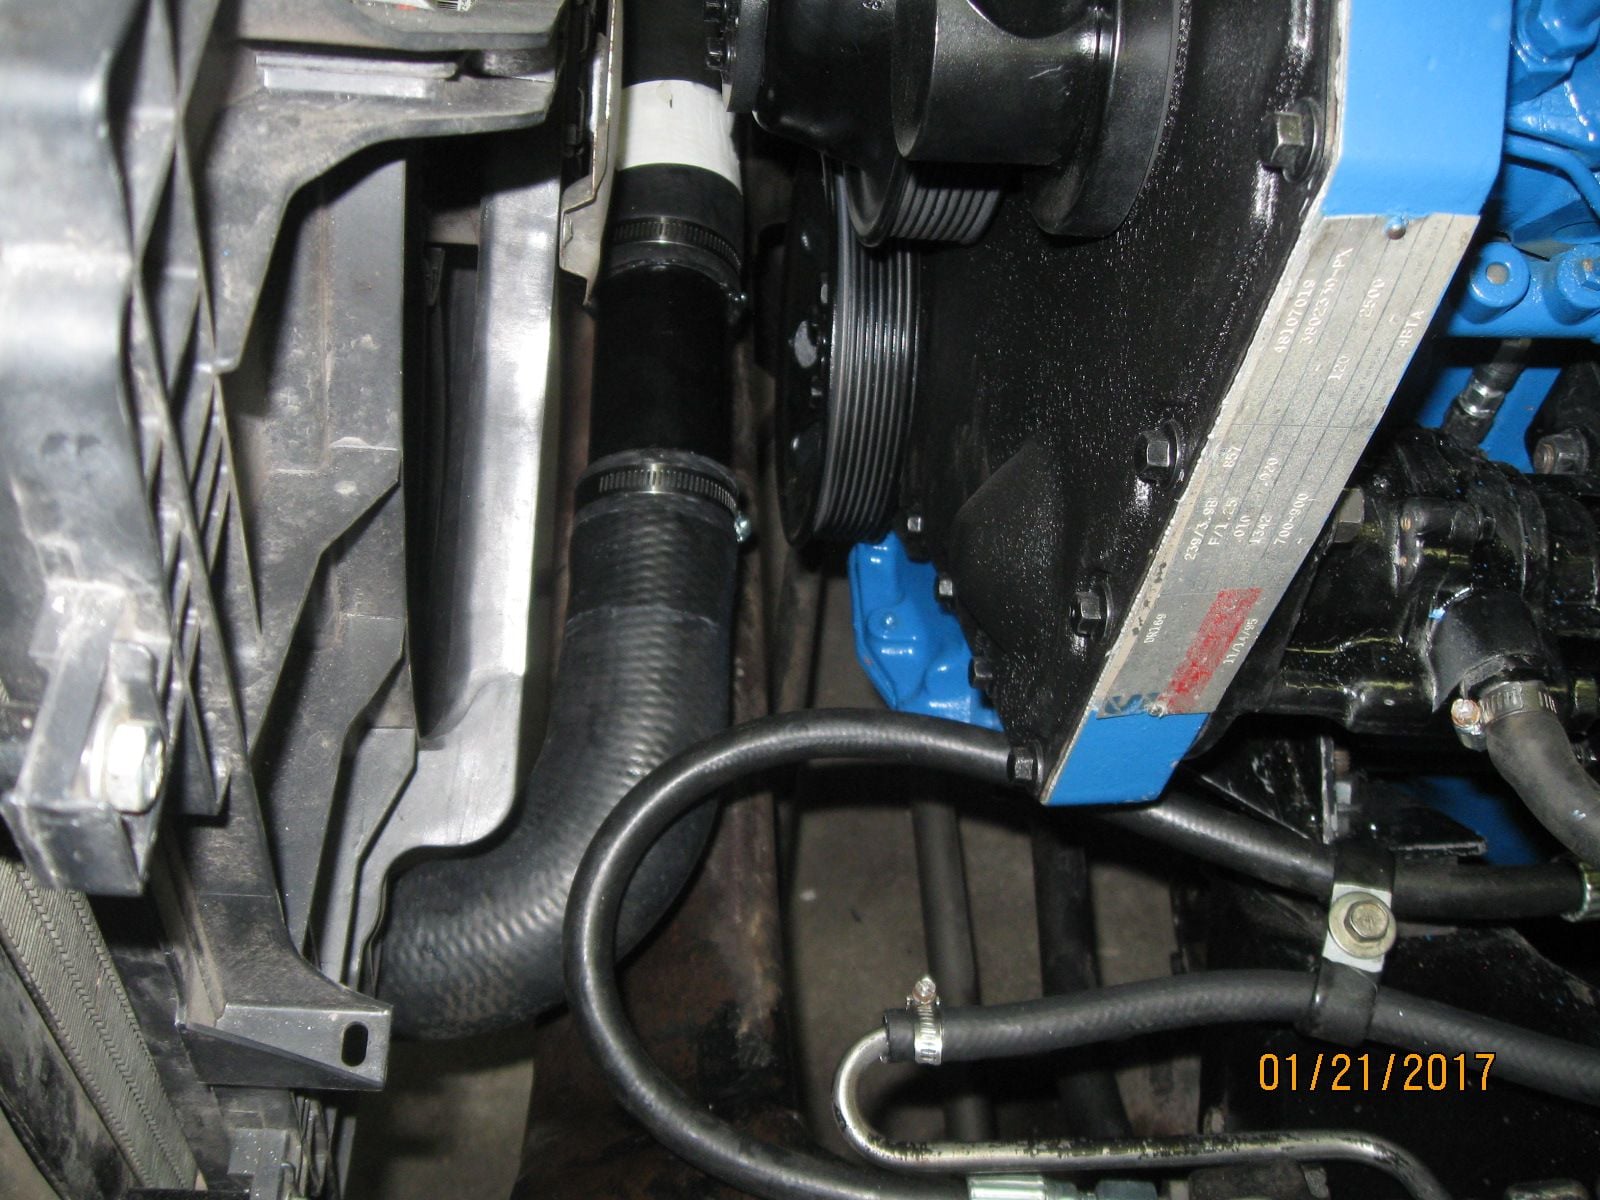
And here is the radiator end.....That's it for now.....doesn't look like much progress.....but it's still moving foreward...
#119
Nice. Love the bead roller tool, makes a bead that appears to be made with the real deal. When the 4bt was in my truck I didn't have beads on the lower crossover and worried for awhile that it would blow off. I was able to abscond some stainless tubing from a buddies dairy and make the crossover with it. That was a QUICK conversion. Pulled 400/4spd/205 and installed 4bt/5spd/1356, was driving it in 8 LONG days. It was kinda crude and wasn't complete, no hood, no fan, some wiring to do but it was a daily driver again.
#120
Yeah that was my original plan too.................have everything I needed sitting in the shop and fly thru it......but over time....that changed LOL.....I have just started looking at my shop time as vacation anymore......at least on this sort of project. I still have enough "got to get it done" stuff pop up that I'm not gonna rush this at this point. If my $$$ will hold out, I think I can have it running by the time I get called back to work in the spring.....Then on to finishing up the interior and a few other odds and ends....And on the bead roller......it made a way nicer bead than I expected. the first trip around the pipe I wondered,,,,,looked kinda rough but by the time I got around it twice.........looked like a factory bead.....I kinda threw the tool together quick because I was skeptical.......may have to go back and "pretty it up" now. The original post I saw.....the guy was using it on aluminum so I didn't even know if it was going to work on steel........


