
94 F350 semi-extreme Build with pics. *update 10-15-11* New Pro Comp Xtreme A/T Tires


#92
 03-02-2011, 05:43 AM
LOL! What really sucks is I found the leak right after I bought the thing and went to fill the tanks and drive it home. Got the tank just over half full and fuel just started pouring out. Figured I would just run the front tank down on the trip home and deal with it then. Nope, got on the highway and the front pump cr@pped out, so the entire trip was made on the rear tank, while I sloshed fuel out of the front tank every time I hit the brakes or a bump in the road, and then had to siphon out all the fuel that was left with a hose when I got home.
#93
03-03-2011, 08:35 PM
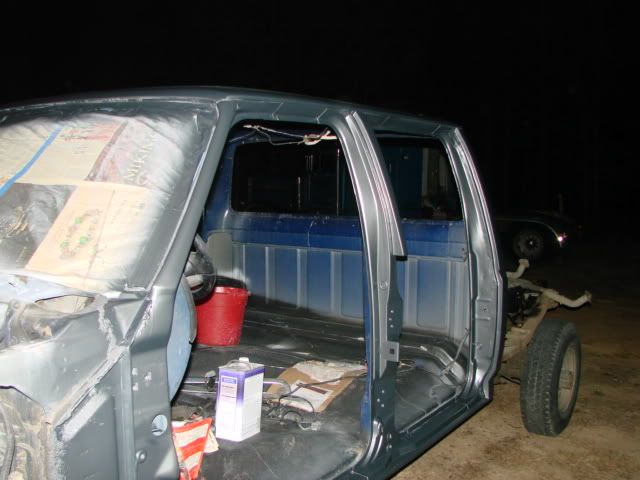
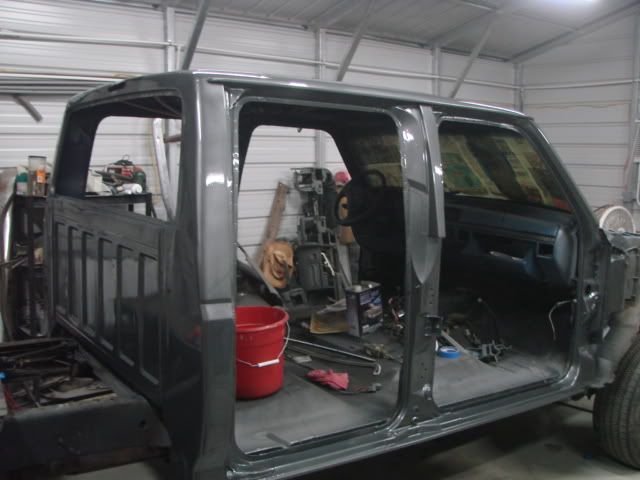
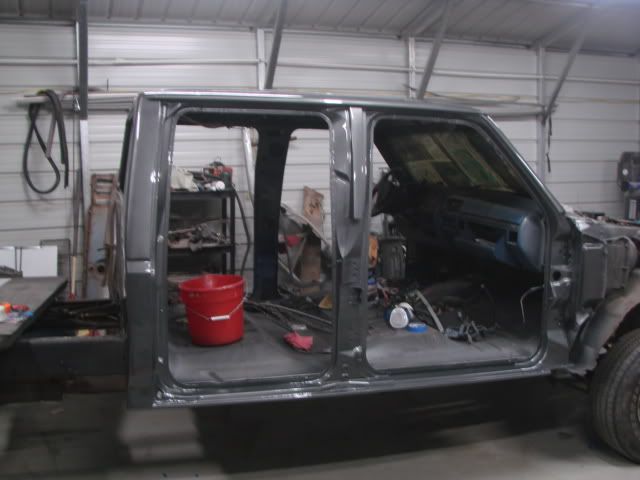
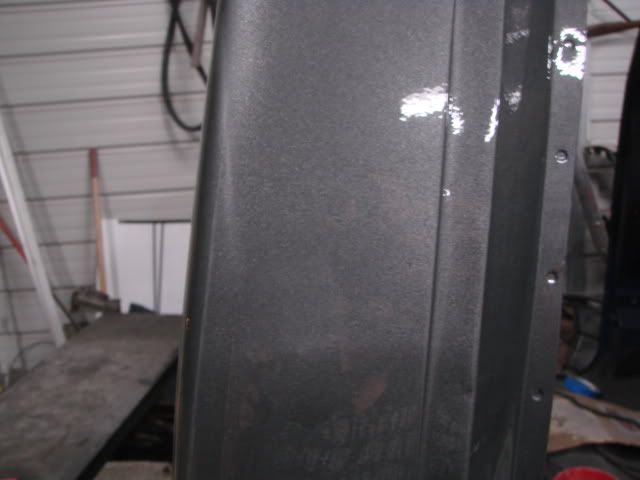
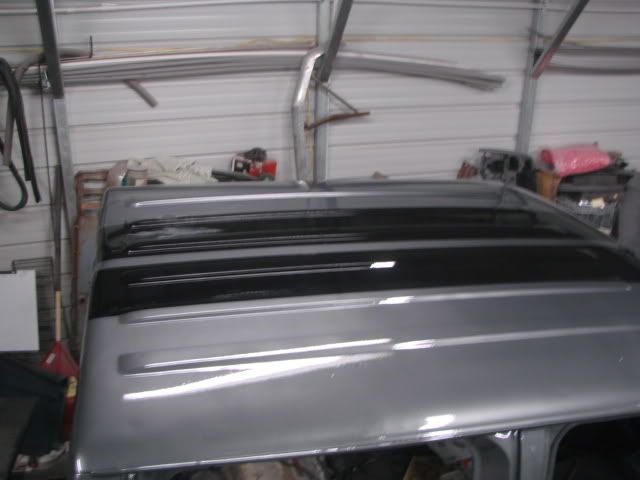
Cab is painted (d@mn! I forgot what a b!itch it is to paint the roof on a crewcab!!) Tomorrow, masking and painting the stripes, then the clear coat
Also, got the hood scoop ordered and on the way, should be here tomorrow from Atlanta, got the clear lenses for the Lund visor ordered, and the new radiator core support made it in from LMC today. Hopefully if things go well the next couple days, the cab will be done, the rear doors done, the old dash pulled and new one in, and motor either out, or just about ready to come out. Got a seminar all next week, so getting anything done next week is out.
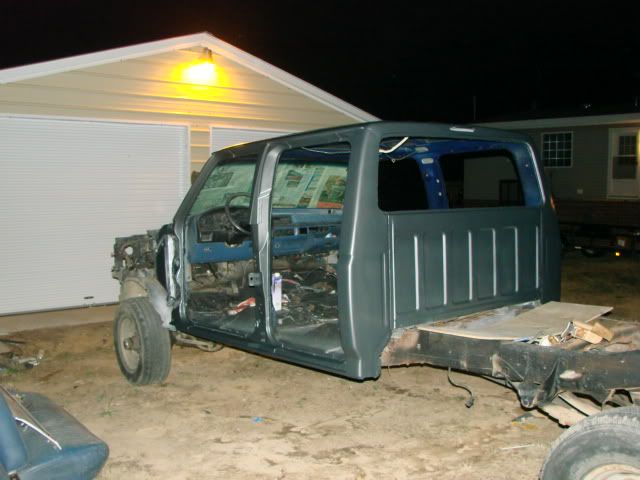

Also, got the hood scoop ordered and on the way, should be here tomorrow from Atlanta, got the clear lenses for the Lund visor ordered, and the new radiator core support made it in from LMC today. Hopefully if things go well the next couple days, the cab will be done, the rear doors done, the old dash pulled and new one in, and motor either out, or just about ready to come out. Got a seminar all next week, so getting anything done next week is out.
#94
03-03-2011, 11:21 PM
Elder User
Join Date: Apr 2009
Location: Reno Nevada
Posts: 627
Likes: 0
Received 0 Likes
on
0 Posts


#98
03-04-2011, 10:22 PM
#99
03-04-2011, 10:37 PM
Post Fiend
#100
03-04-2011, 10:40 PM
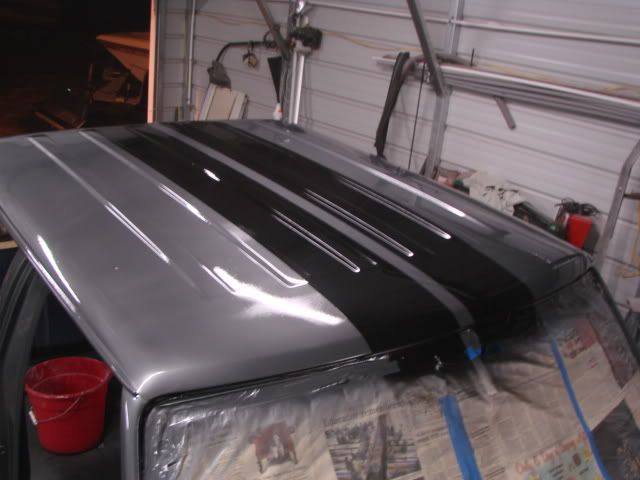
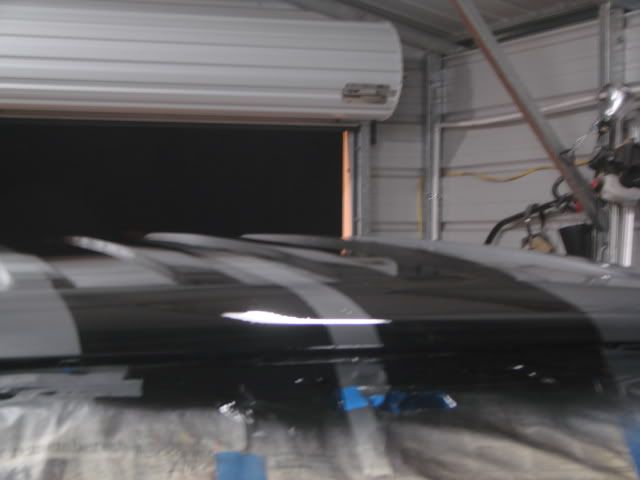
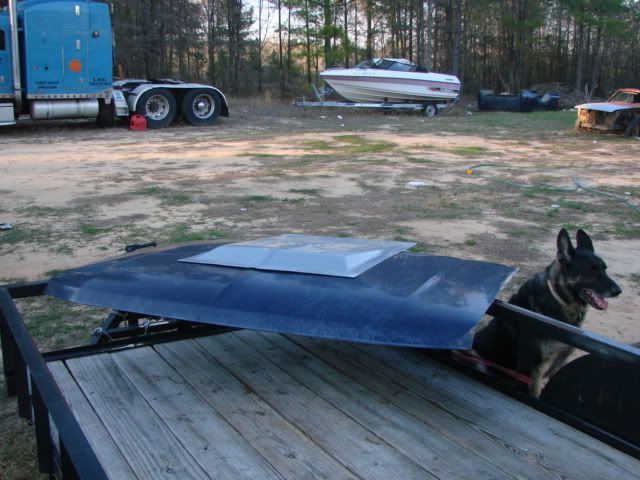
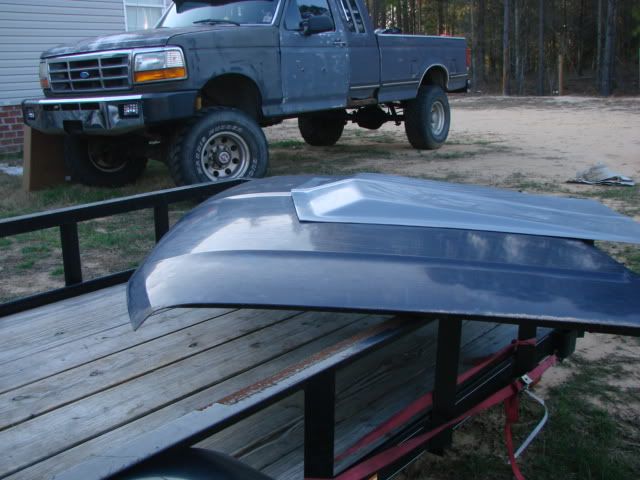
Sorta... it started out with the local supply shop I use giving me a quart of Subaru Black Pearl in Wandabase brand to try out my new guns with. Since I still had 3/4 of a quart left, Dad made the comment I could do some trim color with the Black Pearl on the Dark Smoke Metallic I was going to spray everything with. Then for Christmas, I got a gift certificate to Mustangs Unlimited out of Atlanta. My '67 is still a LOOOONG way from being even ready to order parts for. I still have to replace a quarter panel, add some floor supports and cut the roof off (making a '67 Shelby Convertible clone out of it, there was only one '67 GT500 Convert built and it was a special for Carroll himself) Anyways, one day while I was in the back yard, I was looking at the 'stang and noticed the line in the middle of the hood was nearly identical to the truck hood. Did some checking and measuring, and the scoop that they used on the Eleanor in the remake of Gone in 60 will go right on and match up perfectly. So, I pulled the specs for the Le Mans stripes up on the internet, did some more measuring and playing around, and now the end result. Shelby (Le Mans) stripes on the truck, and cashed in the gift certificate for the scoop.
#102
03-04-2011, 10:51 PM
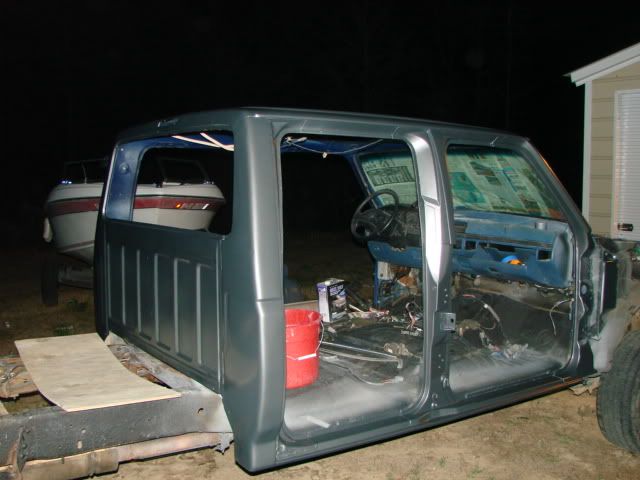
As for the stripes, it's an optical illusion from standing on a ladder and shooting the picture at an angle. The structural ridge in the roof disappears on the drivers side, but is visible on the passenger side.
True Shelby stripes actually taper at the front and rear and are wider in the middle. This was done since the hoods and roofs of the early Mustangs were so long the stripes appeared to get narrow further back if they did them the same width all the way across. In this case, I didn't worry about recreating the taper. The basic width and centering is 10" wide with a 2" gap in the middle, which is what Shelby stripes start and end with. To do them, I climbed up on the motor and dad got on the frame behind the cab. Using a template we made out of thin cardboard, we determined the centerline on the top of the cab, and then made reference marks at 1" from center and 11" from center, front and real giving us a 10" stripe with 2" gap. Once we had those marks, we used string to give us a straight line and then laid tape down next to the string. Took the string up, and then finished masking it all off. 1 hour later, the stripes are painted and I am throwing the old tape and paper in the trash. Let it finish drying all afternoon, then rolled into the garage this evening, wiped everything down with windex and then a tack cloth, and shot the clear.
#103
03-11-2011, 05:56 PM


#105
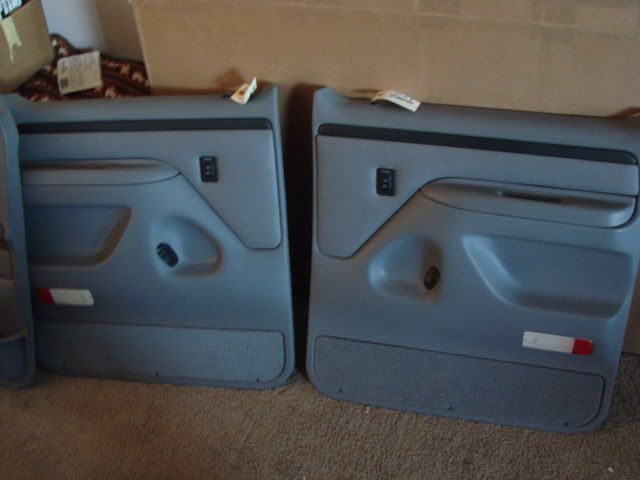
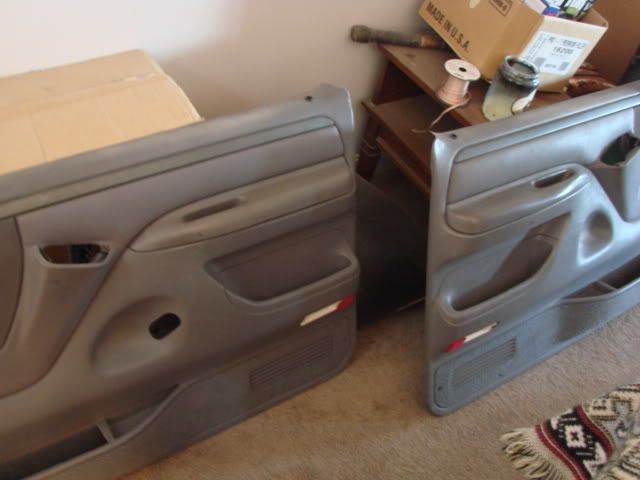
03-11-2011, 07:25 PM
It's not. I have a CC front PW/PL door panel (in blue), but I have given up finding the switch cover for a drivers side CC. It is so obsolete it isn't even funny. The switch cover for that panel is in good shape, has the power mirror control, so I am going to just go with the 2 switch setup on the drivers door, and then mount the front controls for the rear windows either on the front of the console, on the dash somewhere, or most likely on the radio/light control box. Since it will be big enough to accommodate the Ranger2950, the Yaesu fire radio, Code3 siren and a switch box for the cab lights and hide aways, I think I should be able to find room to mount a couple of window rocker switches in it somewhere.