94 F350 semi-extreme Build with pics. *update 10-15-11* New Pro Comp Xtreme A/T Tires

#65
 12-03-2010, 12:38 AM
Senior User
Join Date: Oct 2008
Location: Herman Nebraska
Posts: 179
Likes: 0
Received 0 Likes
on
0 Posts
#67
12-11-2010, 03:56 PM
Didn't do alot on it this week as end of year has been crazy, got the Raptor Bed Liner kit, but also managed to dislocate a rib  . Did a few years ago, and it will definately slow you down!!
Anyways, since I didn't feel up to masking, prepping, and scuffing the inside of the bed to do the liner, I decided to spend some time color sanding on some of the parts that are already painted. Color sanding is one of the things that really puts the finishing touch on a paint job and can even bring an old one back to life. Total cost for everything ran about $100, including 3M machine finish and 3M ultra fine machine finish polish, a couple of buff heads from Harbor Freight, a adjustable speed polisher, and some 1200grit wet dry sandpaper. Now, unless you have a totally perfect area to paint, you are going to end up having issues with dust, bugs, etc on the paint. Also, clear is very easy to end up with sags and/or runs at times. When this happens, this is where the color sanding comes to the rescue, in addition to really finishing the job off right.
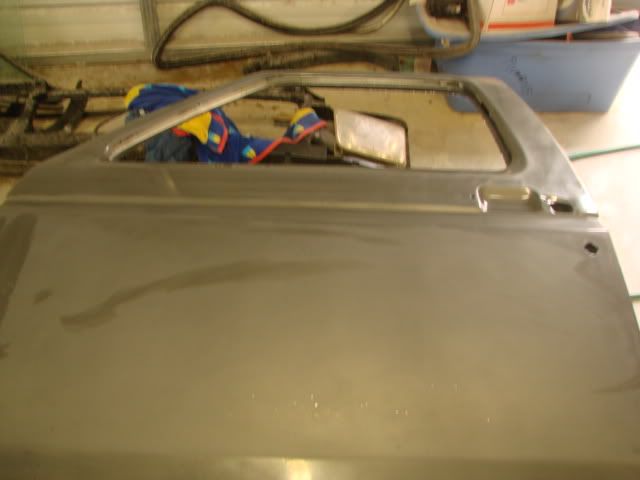
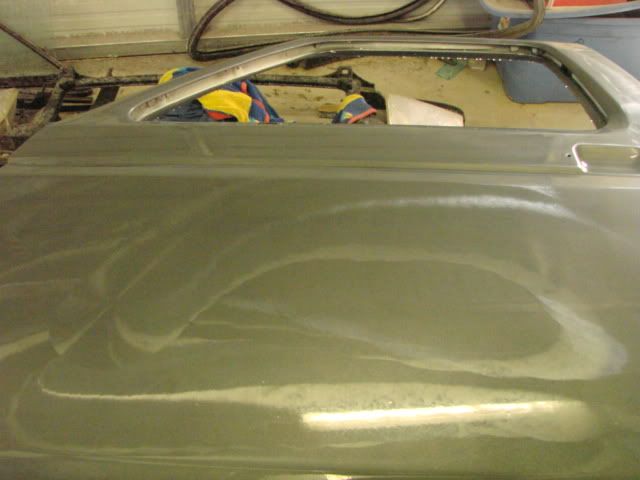
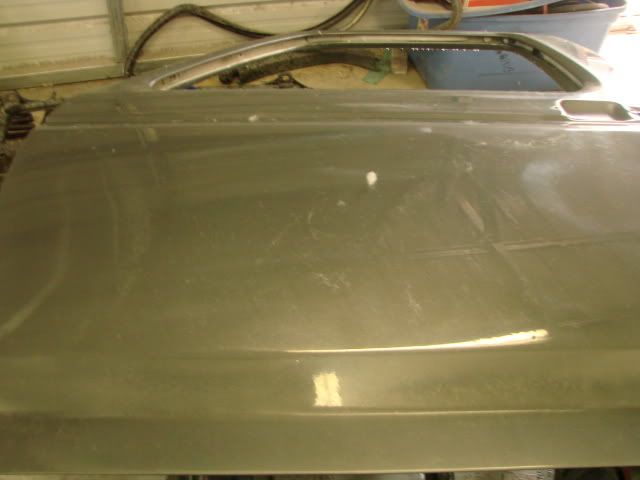
Here is the drivers door as it was when I finished painting it....
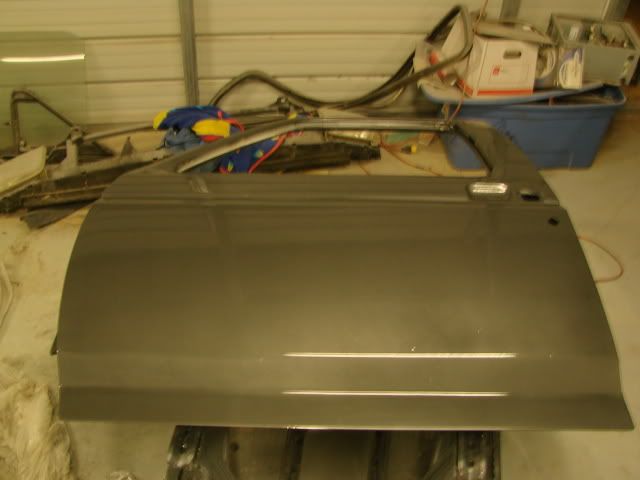
Now this has a nice gloss to it, BUT, as you can see here, while the shine is there, and it has a decent reflection, it doesn't have the "stick your hand in it still wet" look

And it had some dust speckling in it also, as well as a mild sag (doesn't show in the pic) on the front side.
First step is to get out a bucket and fill it with warm water and add a little soap after filling (the soap will act as a lubricant), grab some 1200g wet/dry paper and a sanding block
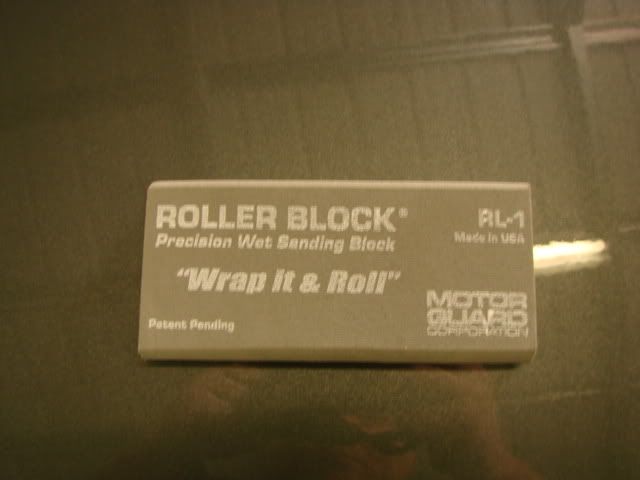
I personally like the Roller Block, as it's firm enough to provide good pressure, yet flexible enough to work and follow the contour of the door. You can do it by hand, without a block, but a block will provide better results and make it go faster.
Now following Mr Miyagi's advice, start sanding, make sure to keep the sandpaper wet with the soapy water. Wax On and Wax Off. Rinsing periodically to keep things clean. Also, wiping your hand across the surface can tell you things your eyes can't when it comes to getting things nice and smooth.
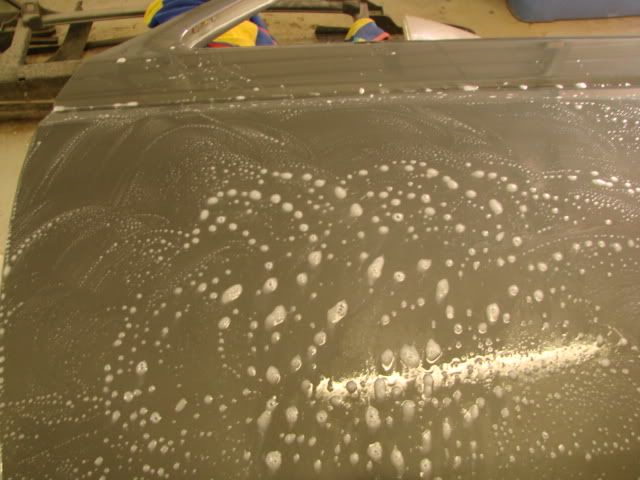
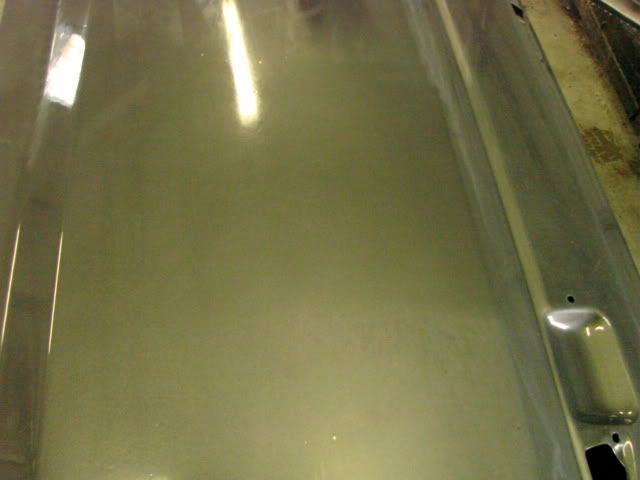
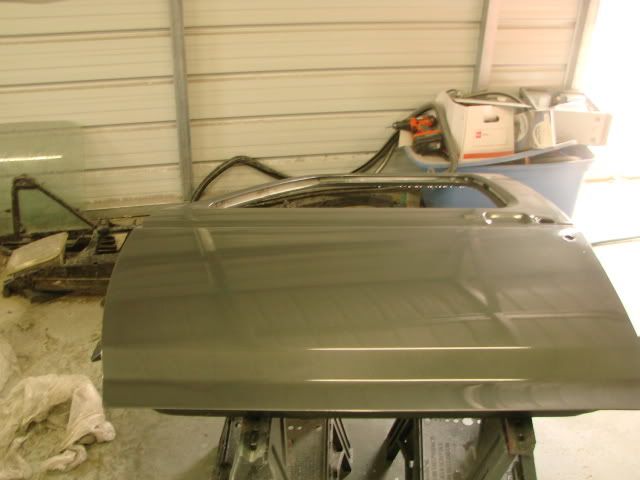
Once you are done wetsanding, rinse it clean and wipe dry with paper towel. It should now look like this, nice and dull.
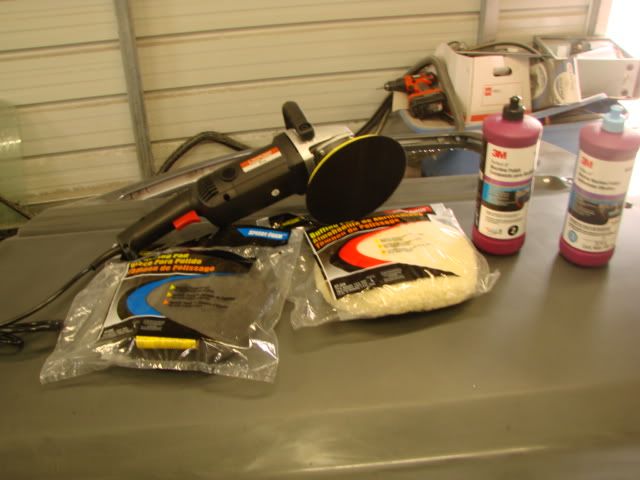
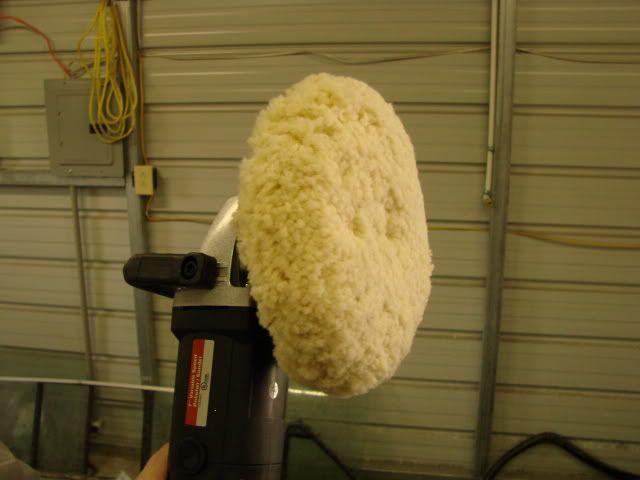
Now to bring it back to life. These are the tools needed, Adjustable speed polisher, a black foam buff head, and a 100% wool bonnet, along with the polishes
Starting with the black buff and #2 polish, spread some on the door, set the polisher at a medium speed and go to work, lazy figure eights, let the weight of the polisher be the only pressure on the pad. Anything more than that and you run the risk of starting to try and burn through. This is also one of the reasons I avoid using rubbing compound. If it needs rubbing compound, it needs sanded, and while the compound can easily heat and burn through with a polisher, 1200-1500g with soapy water won't burn through.
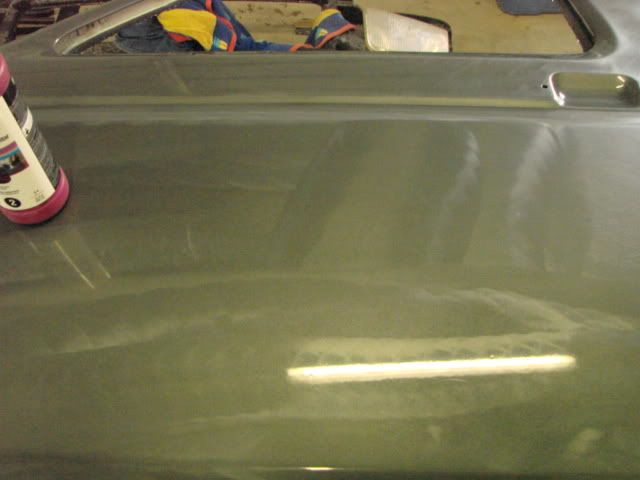
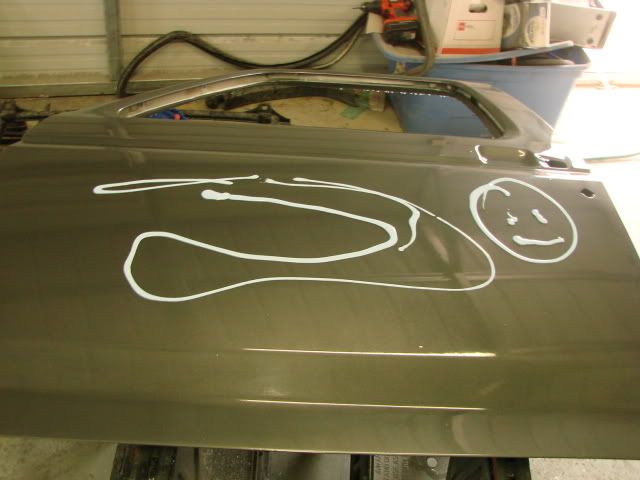
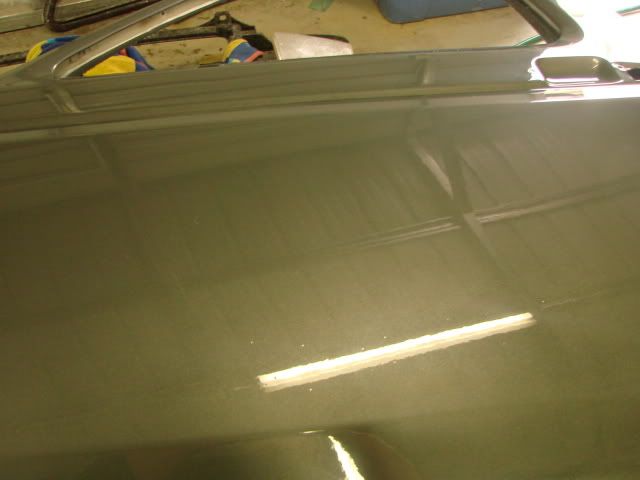
Here is the door, polished with number 2, I left a spot unpolished and just sanded by the door handle to show the difference
Fully polished with #2
And wiped off with a soft terry cloth towel

Now if you were just trying to scam someone on Ebay about whether or not something was a show-truck you could probably stop there... BUT... it can get even better!
#3 Polish "Ultra Fine" on the door
Polisher with wool bonnet (Note, I use the velcro back pads and bonnets, so there is no risk of metal getting near the paint)
Initially working the #3 polish
Finished with #3 polish and wiped off with a terry cloth towel
Here you can see the indentation for the door handle, which was not polished at all, and the area next to it, which was sanded and polished, while the indentation is shiny, it doesn't have the mirror finish of the rest of the door
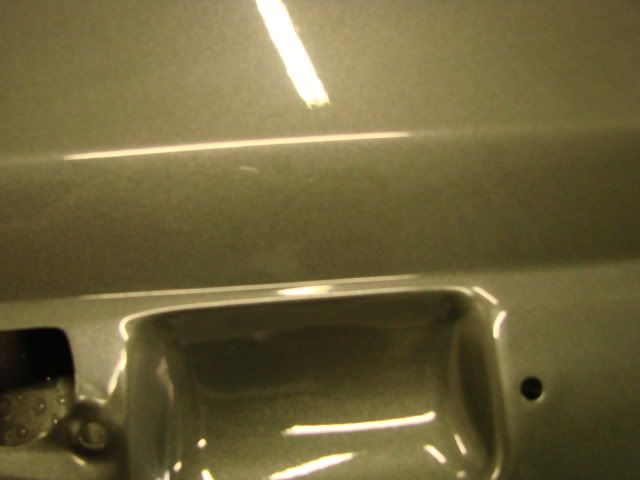
If you want to read backwards, you can actually read the lettering on the label in the paint now
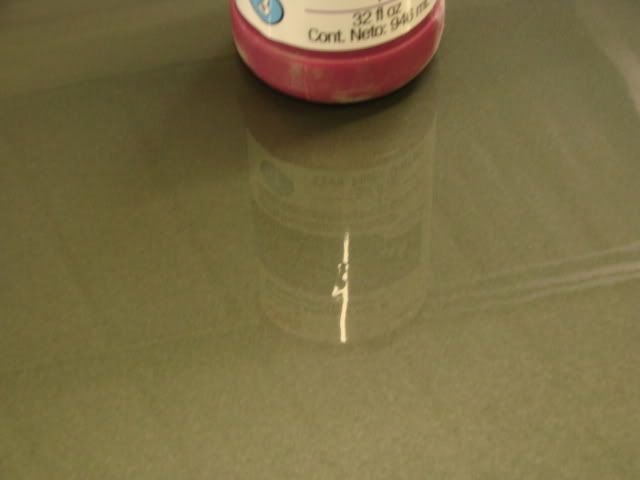
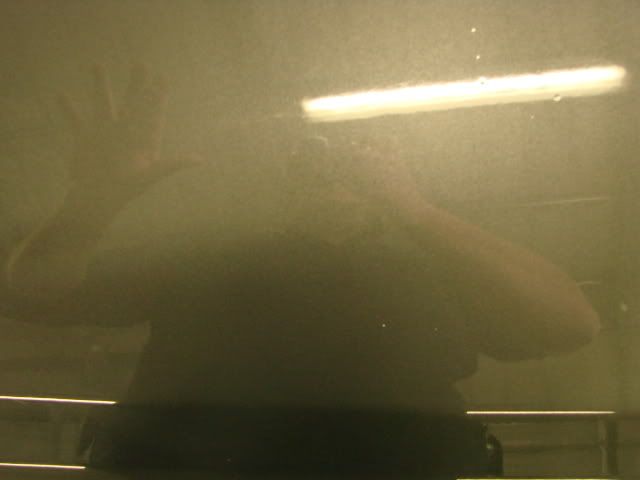
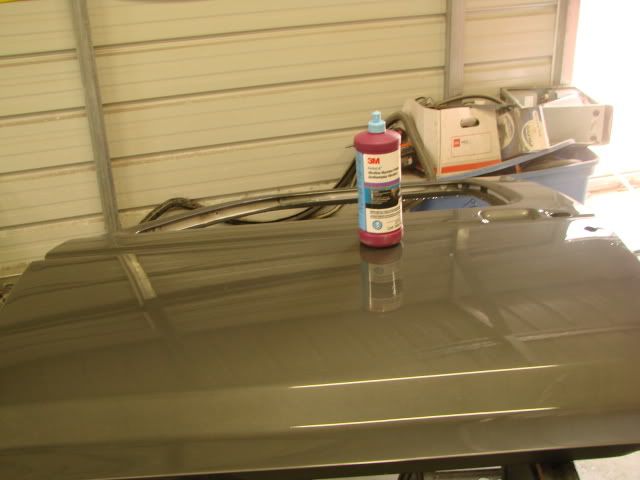
This one is with the flash to show how much reflection there is now
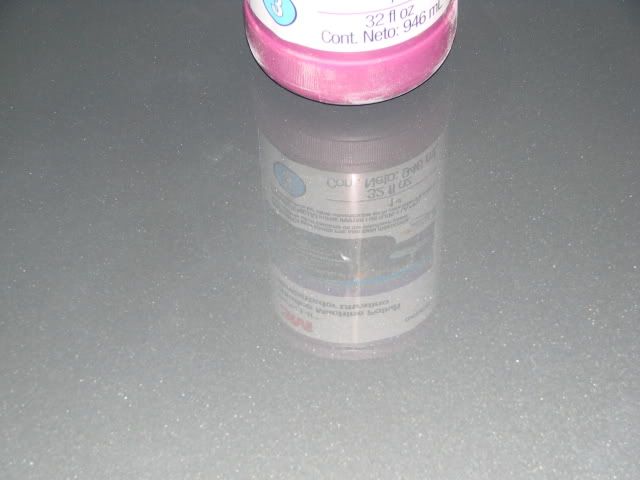
You can clearly see the reflection of the ceiling in the garage now..
Anyways, that's it for color sanding, now to go take 1000mg of motrin and start doing the same on the rest of the parts...
Hmmm... I wonder when I get done if I can pass this off to a certain ebay seller in texas as a total custom job with only 12,000 miles on the odometer.
. Did a few years ago, and it will definately slow you down!!Anyways, since I didn't feel up to masking, prepping, and scuffing the inside of the bed to do the liner, I decided to spend some time color sanding on some of the parts that are already painted. Color sanding is one of the things that really puts the finishing touch on a paint job and can even bring an old one back to life. Total cost for everything ran about $100, including 3M machine finish and 3M ultra fine machine finish polish, a couple of buff heads from Harbor Freight, a adjustable speed polisher, and some 1200grit wet dry sandpaper. Now, unless you have a totally perfect area to paint, you are going to end up having issues with dust, bugs, etc on the paint. Also, clear is very easy to end up with sags and/or runs at times. When this happens, this is where the color sanding comes to the rescue, in addition to really finishing the job off right.
Here is the drivers door as it was when I finished painting it....
Now this has a nice gloss to it, BUT, as you can see here, while the shine is there, and it has a decent reflection, it doesn't have the "stick your hand in it still wet" look
And it had some dust speckling in it also, as well as a mild sag (doesn't show in the pic) on the front side.
First step is to get out a bucket and fill it with warm water and add a little soap after filling (the soap will act as a lubricant), grab some 1200g wet/dry paper and a sanding block
I personally like the Roller Block, as it's firm enough to provide good pressure, yet flexible enough to work and follow the contour of the door. You can do it by hand, without a block, but a block will provide better results and make it go faster.
Now following Mr Miyagi's advice, start sanding, make sure to keep the sandpaper wet with the soapy water. Wax On and Wax Off. Rinsing periodically to keep things clean. Also, wiping your hand across the surface can tell you things your eyes can't when it comes to getting things nice and smooth.
Once you are done wetsanding, rinse it clean and wipe dry with paper towel. It should now look like this, nice and dull.
Now to bring it back to life. These are the tools needed, Adjustable speed polisher, a black foam buff head, and a 100% wool bonnet, along with the polishes
Starting with the black buff and #2 polish, spread some on the door, set the polisher at a medium speed and go to work, lazy figure eights, let the weight of the polisher be the only pressure on the pad. Anything more than that and you run the risk of starting to try and burn through. This is also one of the reasons I avoid using rubbing compound. If it needs rubbing compound, it needs sanded, and while the compound can easily heat and burn through with a polisher, 1200-1500g with soapy water won't burn through.
Here is the door, polished with number 2, I left a spot unpolished and just sanded by the door handle to show the difference
Fully polished with #2
And wiped off with a soft terry cloth towel
Now if you were just trying to scam someone on Ebay about whether or not something was a show-truck you could probably stop there... BUT... it can get even better!
#3 Polish "Ultra Fine" on the door
Polisher with wool bonnet (Note, I use the velcro back pads and bonnets, so there is no risk of metal getting near the paint)
Initially working the #3 polish
Finished with #3 polish and wiped off with a terry cloth towel
Here you can see the indentation for the door handle, which was not polished at all, and the area next to it, which was sanded and polished, while the indentation is shiny, it doesn't have the mirror finish of the rest of the door
If you want to read backwards, you can actually read the lettering on the label in the paint now
This one is with the flash to show how much reflection there is now
You can clearly see the reflection of the ceiling in the garage now..
Anyways, that's it for color sanding, now to go take 1000mg of motrin and start doing the same on the rest of the parts...
Hmmm... I wonder when I get done if I can pass this off to a certain ebay seller in texas as a total custom job with only 12,000 miles on the odometer.
#68
12-11-2010, 11:46 PM
#69
12-12-2010, 01:00 AM

Tuned
Join Date: Nov 2010
Location: amarillo TX
Posts: 256
Likes: 0
Received 0 Likes
on
0 Posts
#70
12-12-2010, 01:44 AM
Post Fiend
Man that paint looks really nice!! I wish I knew someone with the skills that you have with paint, but unfortunately I don't. My OBS needs some body work and paint. I would love to get that nice mirror finish that you got, but I have never done any body work or any of that stuff before. Keep up the great work!
#71
12-19-2010, 07:01 AM
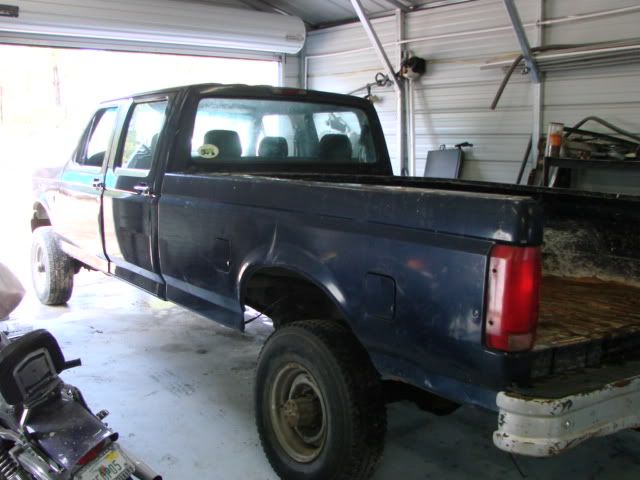
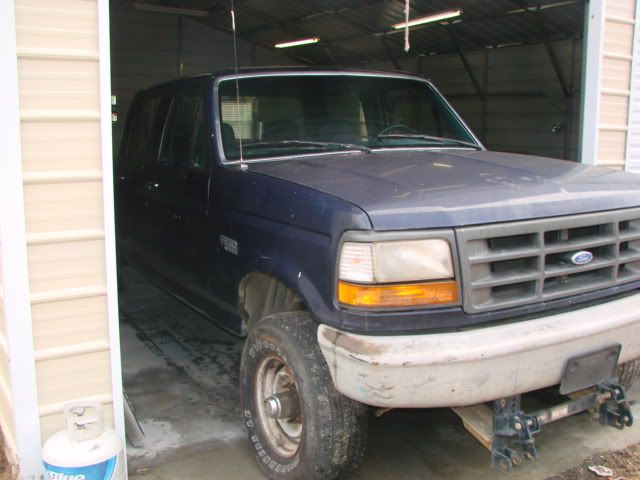
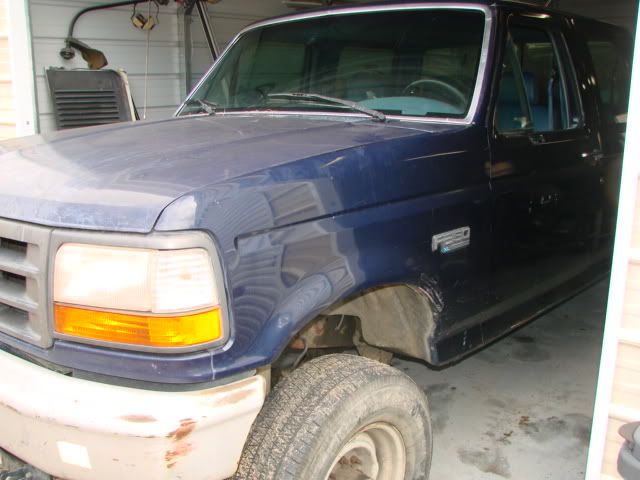
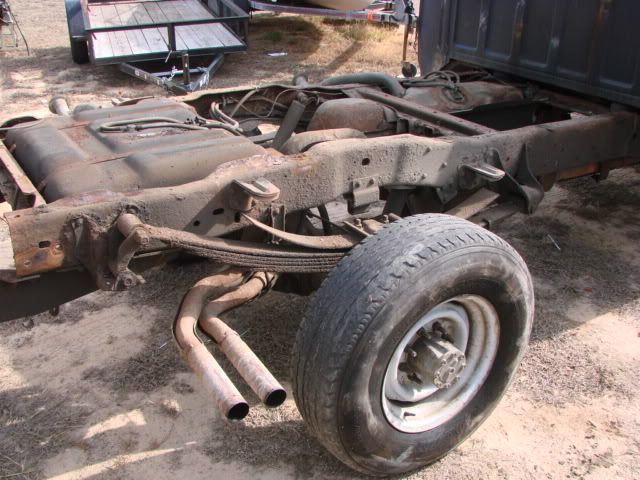
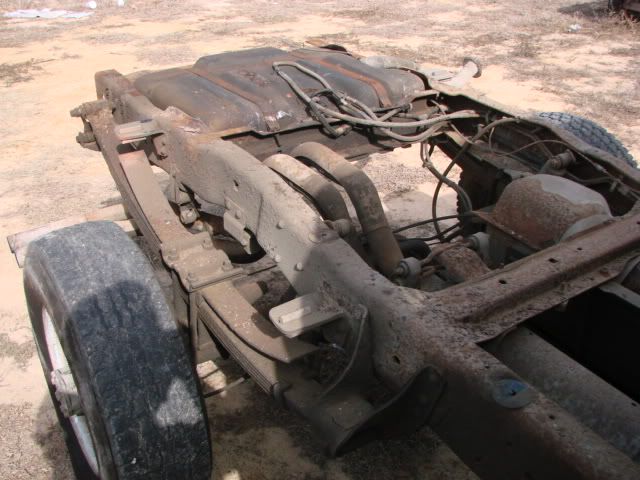
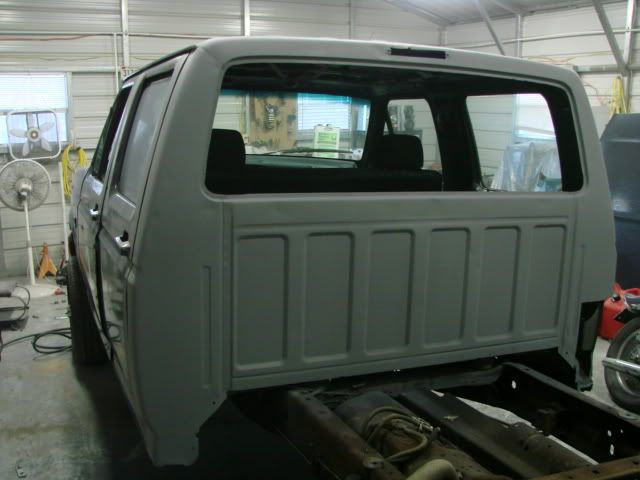
Ok, I did get the 94 F350 Crew Cab, so I will be taking the parts so far, along with the goodies from the F250 (motor, trans, wheels, stereo, etc) and using them on the 94.
The base vehicle
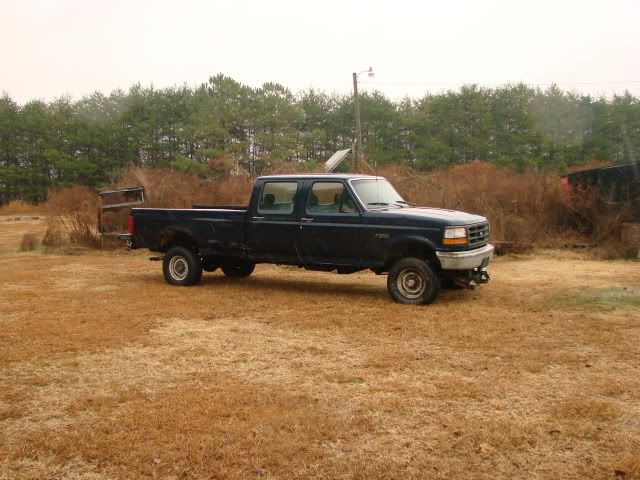
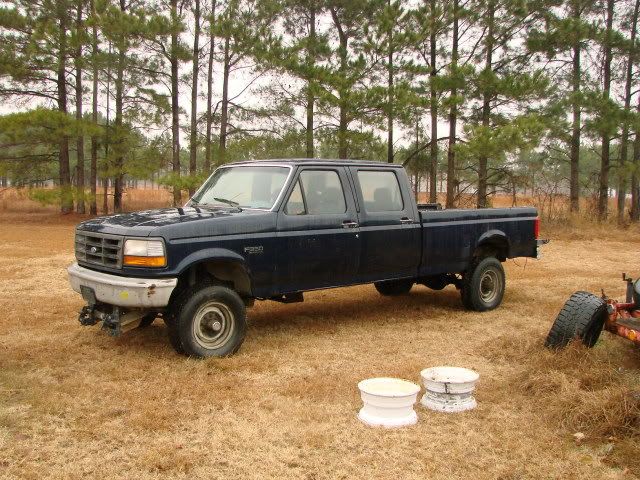
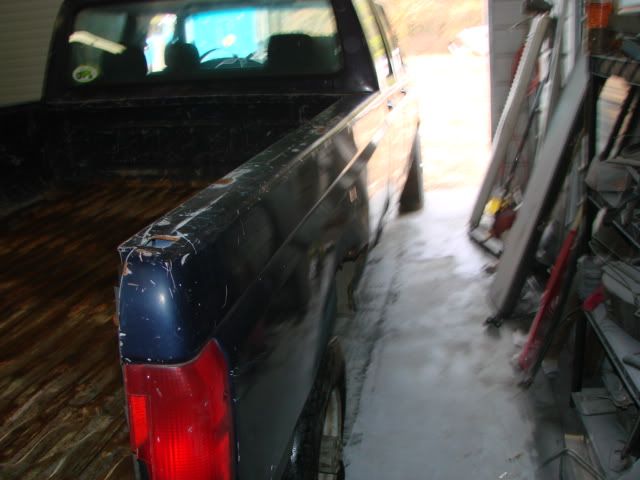
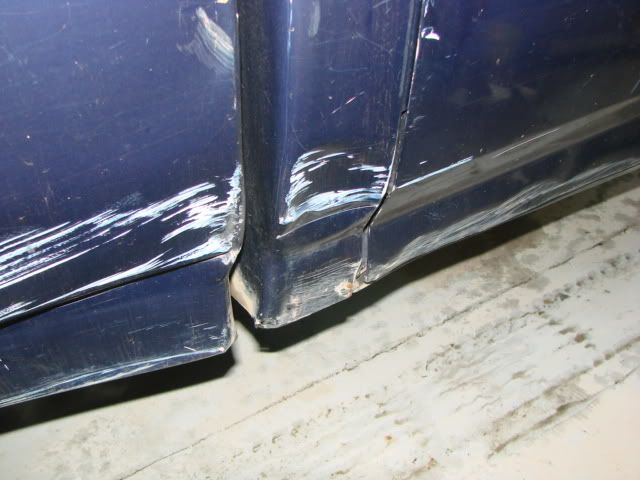
The bed and fenders are a little dinged up, and the vinyl interior has seen better days, but the cab and rear doors are rust free, so thats the main thing. The rest of the parts I got for the F250 will go right on here to replace the dinged parts.
More to come soon.........
The base vehicle
The bed and fenders are a little dinged up, and the vinyl interior has seen better days, but the cab and rear doors are rust free, so thats the main thing. The rest of the parts I got for the F250 will go right on here to replace the dinged parts.
More to come soon.........
#72
12-19-2010, 07:59 AM
Tuned
Join Date: Nov 2010
Location: amarillo TX
Posts: 256
Likes: 0
Received 0 Likes
on
0 Posts
#74
12-19-2010, 09:47 AM

Senior User
Join Date: May 2009
Location: Moyock
Posts: 359
Likes: 0
Received 0 Likes
on
0 Posts
#75
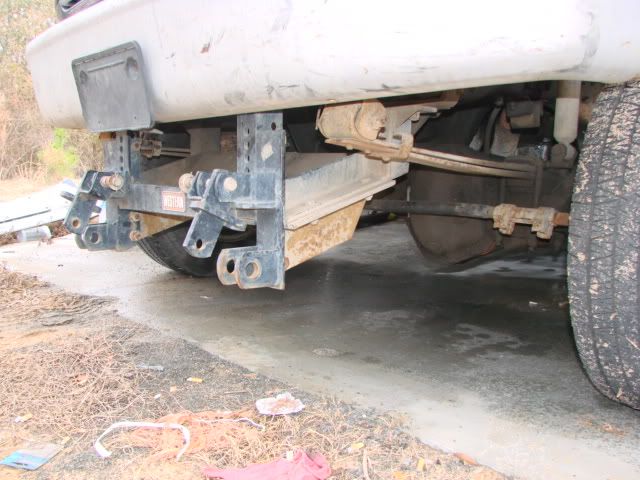
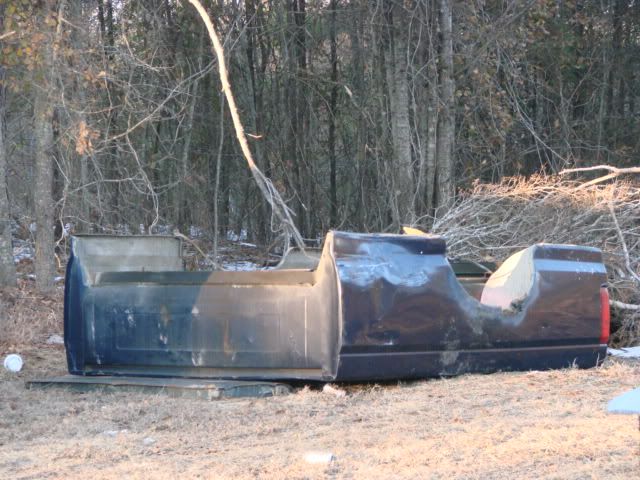
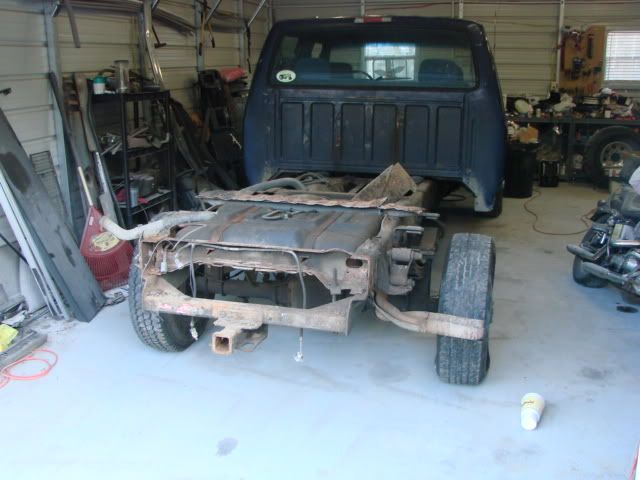
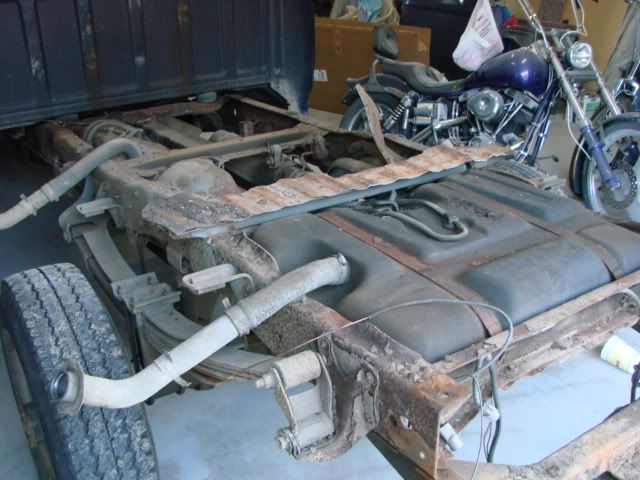
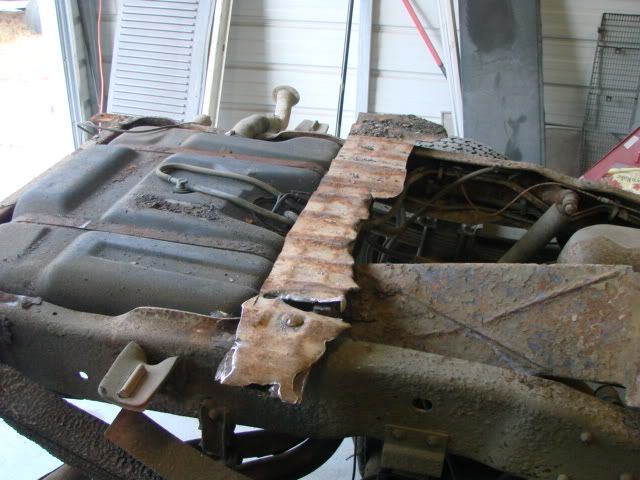
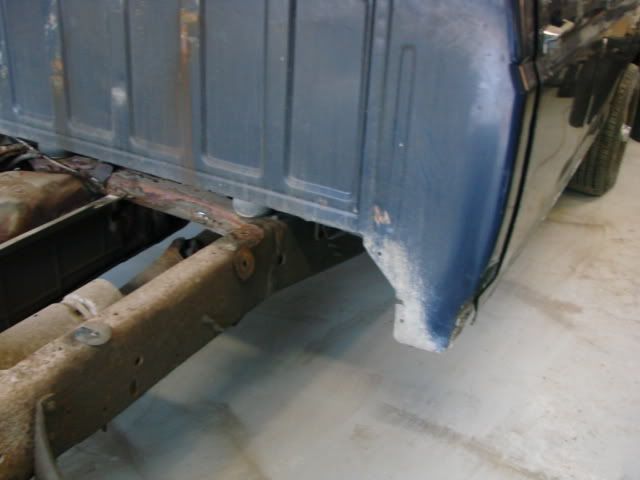
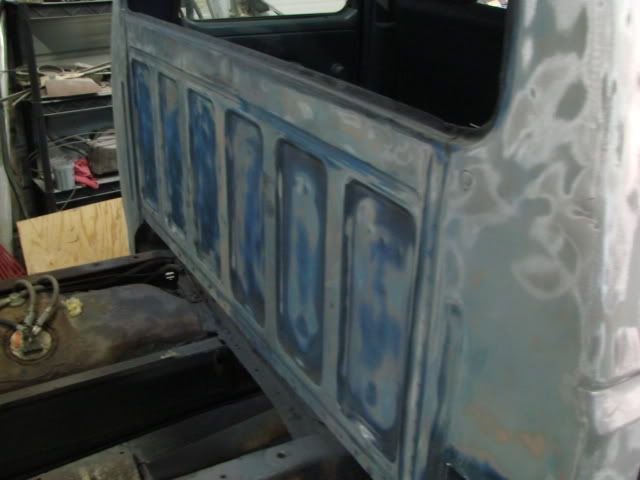
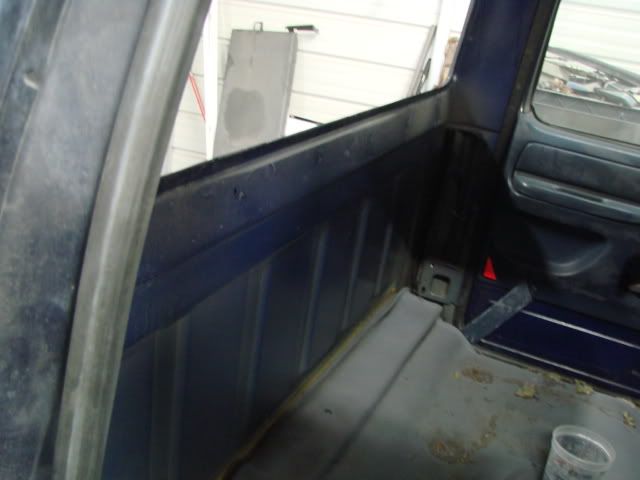
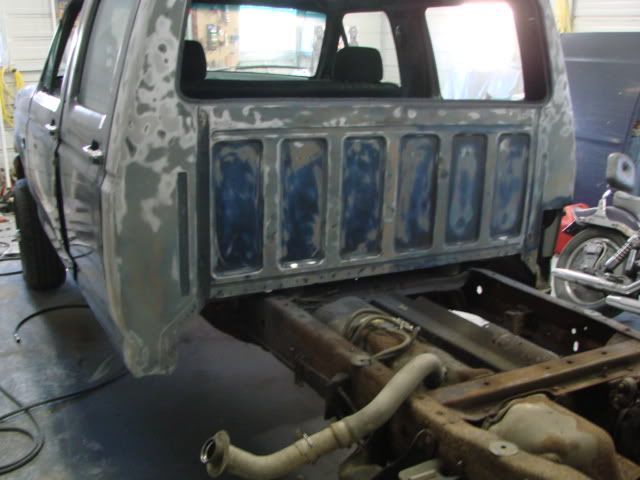
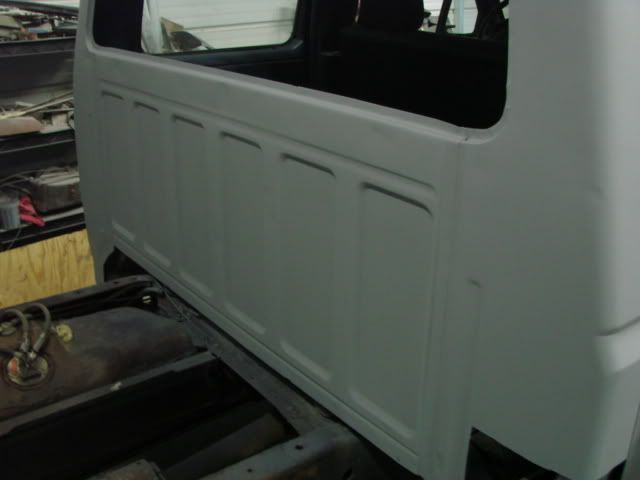
01-30-2011, 10:00 AM
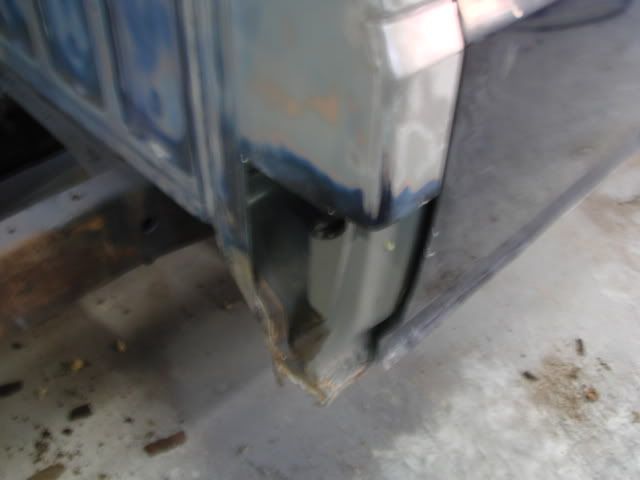
Just some pictures updating... interior is pulled out and got the bed off the F350 (had to cut part of it off with the sawzall) got the dent cut out on the right side of the cab, and got the cab sanded and primed. This week going to try and get the cab corner/rocker installed and get the front clip off and pull the motor, then its final prep and paint the cab, coat the frame and start bolting on the already finished body panels and pull the 460 out of the F250 so it can head for its new home.