Titan Tank Installation
#1
 10-18-2010, 11:28 AM


Titan Tank Installation
Yesterday my nephew helped me install the new 52 gallon Titan replacement fuel tank in my 2011 F350. We used the service pit in my Dad's huge garage for easier access. I will say the instructions, except for the description of how to get the fuel lines disconnected, are excellent. Overall the installation took about 2 hours of actual work.
I had about 12 gallons of fuel in the original tank when we started. We followed the instructions step by step so I will not reprint them here.
The highlights:
Using the pit to ease access, we disconnected the fuel fill and vent lines from the tank.
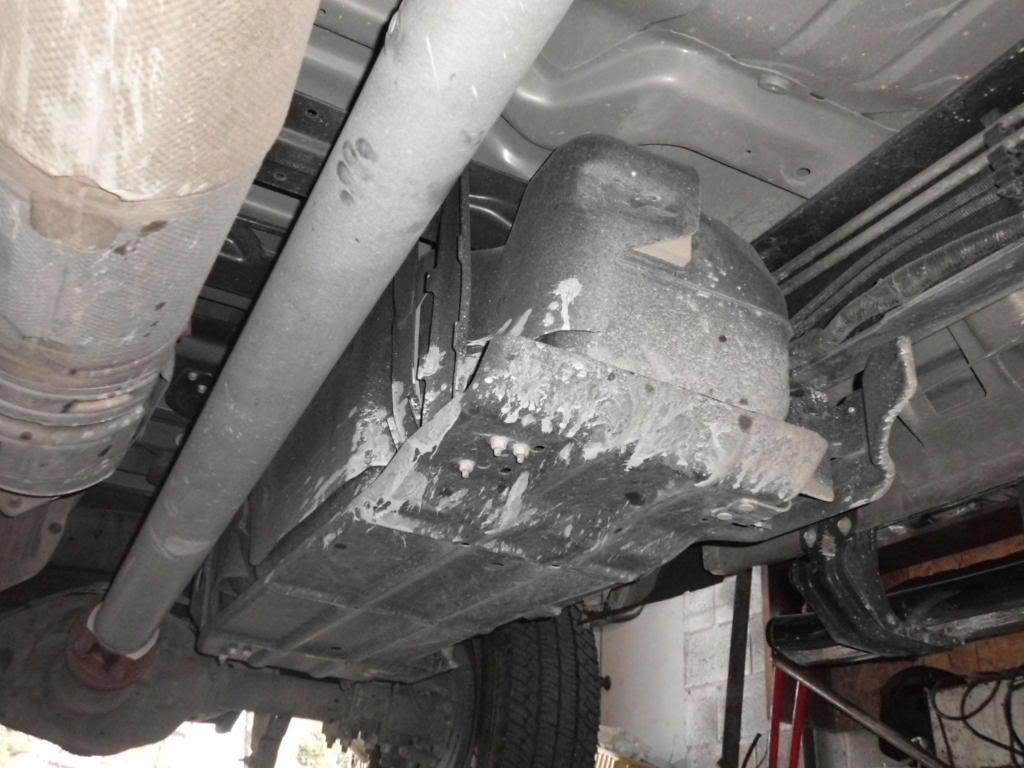
We removed the FX4 skid plate. You can not reuse it. It did not matter to me. I do not off road the truck
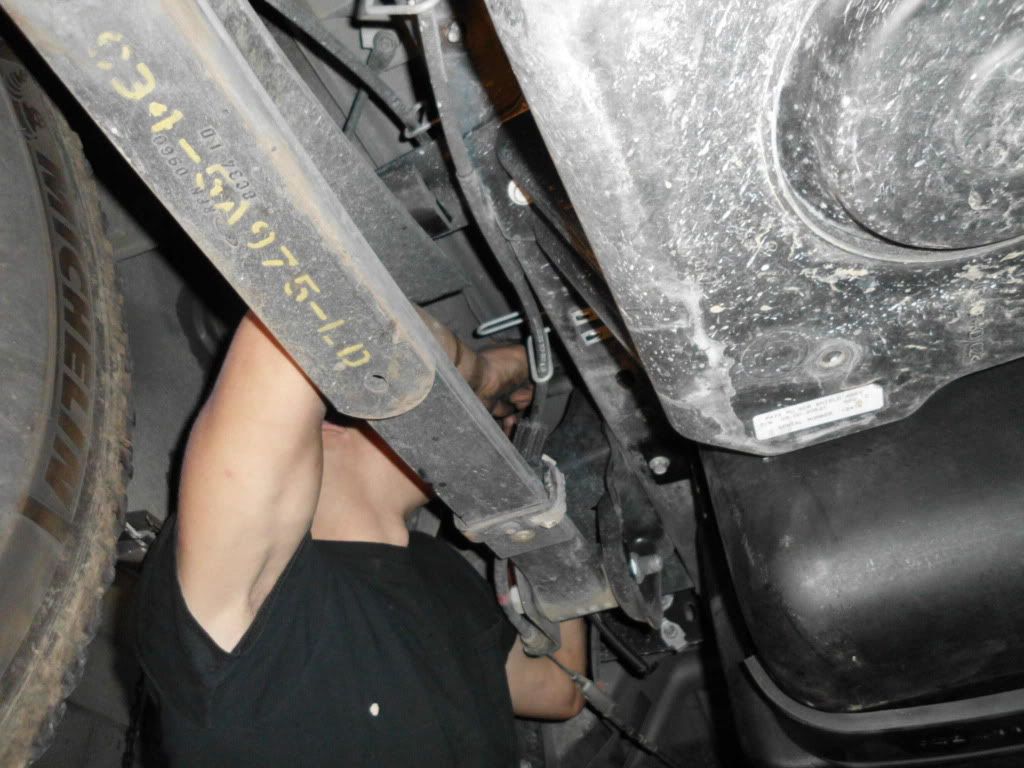
Following the instructions we removed the mounting brackets and the front tank strap. We loosened the rear strap enough to lower the front of the tank enough to get at the electrical connector for the fuel sending unit and the fuel line disconnects. We set the tank front down on a 6 foot length of 4x4 we set across the pit. Remember the fuel is still in the tank. The electrical was easy but the Chinese puzzle for the fuel disconnects was a PITA. Brian kept at it until they came loose.
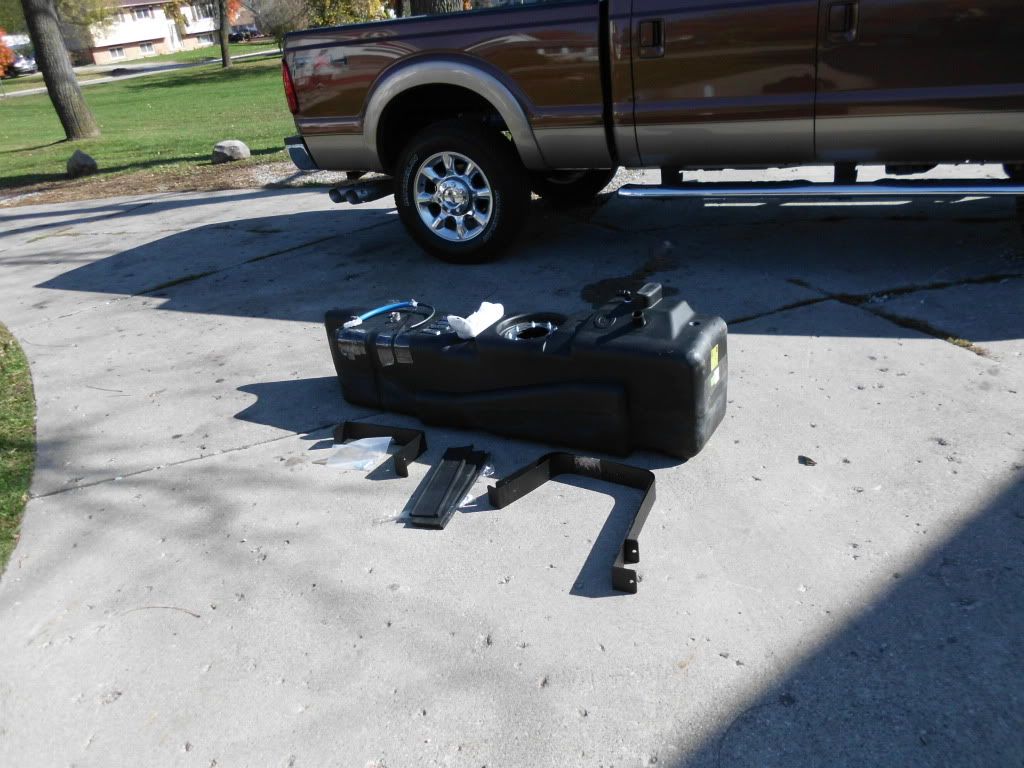
After releasing the electrical and fuel fittings, we loosened the rear tank strap enough to slide the tank forward and out of the rear strap. We set the tank on the garage floor.
Again, following the excellent instructions, we switched the fuel pump/sending unit
to the new tank. Being careful to orient or clock the fp/su correctly we tightened up the top flange nuts. We installed the fill tube and the vent setup per instructions. There is a vacuum breaker vent tube that is supplied and it gets spliced into the vent per the instructions.
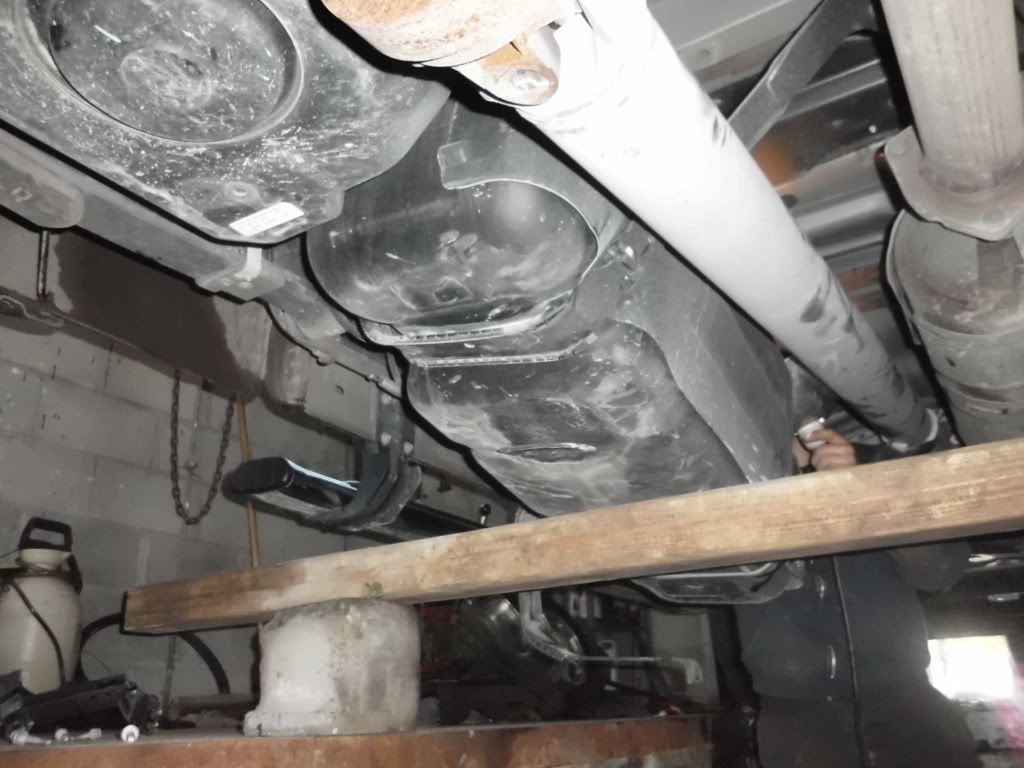
Next we installed the front and center mounting straps. Unfortunately, they are not the nice hinged type that Ford used but they work fine. We raised the new tank up onto that 4x4 again, routed the fill and vent tubes up towards the fill door and re-connected the electrical and fuel lines. We then slipped the rubber bumpers into the straps and hung the tank. You need to be sure the tank sits back in the mounts far enough so the front of the tank does not rub on the trasnfer case skid plate. I slit a 6" piece of 3/4" blue silicon and slipped it onto the skid plate for insurance.
We tightened the mounting bolts for the rear and center tank mount straps. We did not need the shims that come with the kit.
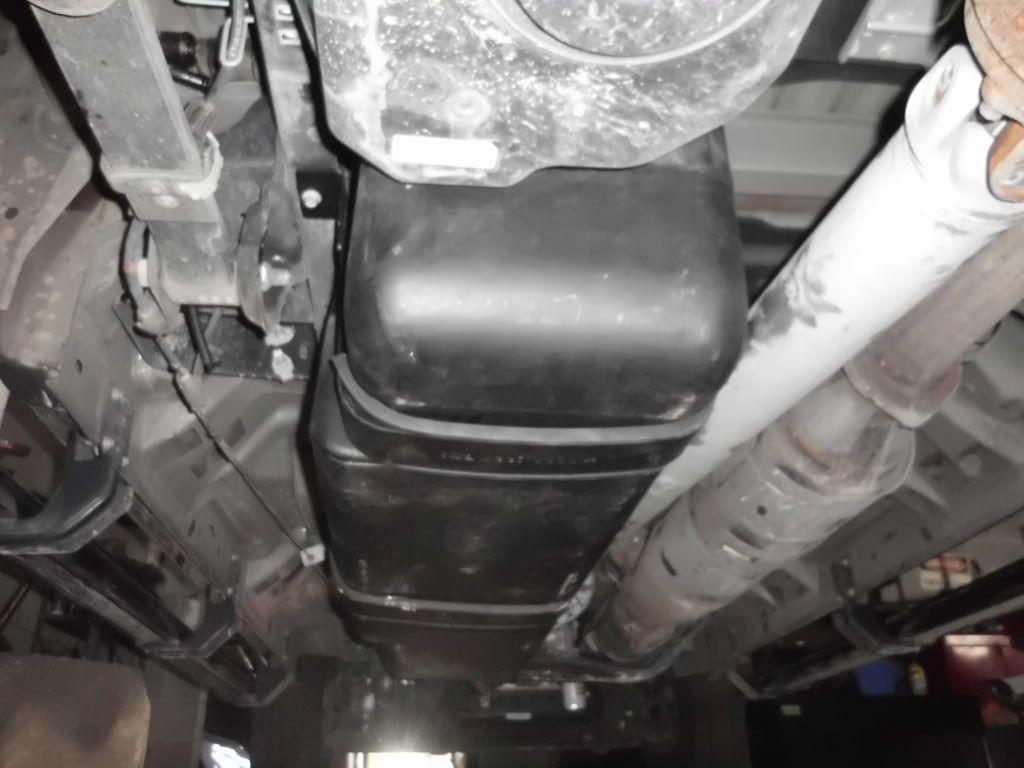
We assembled the 2 piece front mount that comes in the kit per the instructions. Again, all went together as described in the instructions. When completely strapped in, the tank is very solid.
Brian sat up under the fender and hooked up the fuel fill and vent tubes. He zip tied the new vacuum vent tube as high as possible in the fender well. This completed the actual tank install.
We pumped the fuel out of the OEM tank, bled the water collector and there was none, primed the engine by turning the key on and off a few times and started her up. Every thing worked perfectly, I filled the tank, no leaks. Done
After all is said and done, this was an easy job. It would be more difficult with out the service pit but doable. I attached some pictures of the install. I am not Epiccowlick but I managed to get them attached.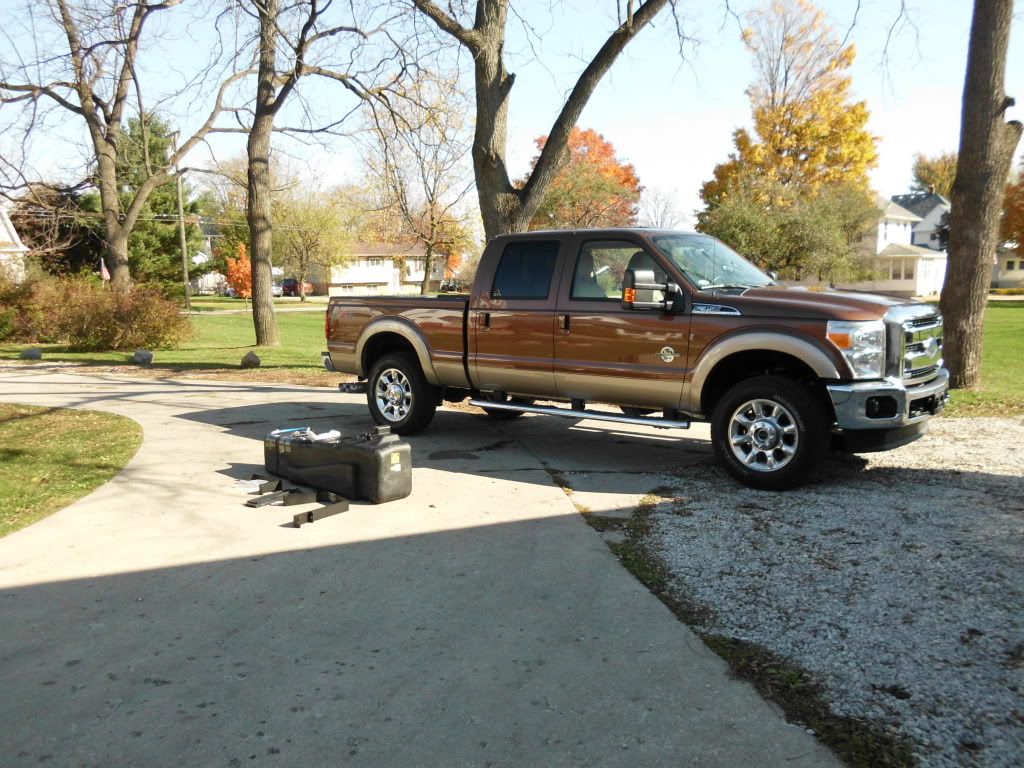
I had about 12 gallons of fuel in the original tank when we started. We followed the instructions step by step so I will not reprint them here.
The highlights:
Using the pit to ease access, we disconnected the fuel fill and vent lines from the tank.
We removed the FX4 skid plate. You can not reuse it. It did not matter to me. I do not off road the truck
Following the instructions we removed the mounting brackets and the front tank strap. We loosened the rear strap enough to lower the front of the tank enough to get at the electrical connector for the fuel sending unit and the fuel line disconnects. We set the tank front down on a 6 foot length of 4x4 we set across the pit. Remember the fuel is still in the tank. The electrical was easy but the Chinese puzzle for the fuel disconnects was a PITA. Brian kept at it until they came loose.
After releasing the electrical and fuel fittings, we loosened the rear tank strap enough to slide the tank forward and out of the rear strap. We set the tank on the garage floor.
Again, following the excellent instructions, we switched the fuel pump/sending unit
to the new tank. Being careful to orient or clock the fp/su correctly we tightened up the top flange nuts. We installed the fill tube and the vent setup per instructions. There is a vacuum breaker vent tube that is supplied and it gets spliced into the vent per the instructions.
Next we installed the front and center mounting straps. Unfortunately, they are not the nice hinged type that Ford used but they work fine. We raised the new tank up onto that 4x4 again, routed the fill and vent tubes up towards the fill door and re-connected the electrical and fuel lines. We then slipped the rubber bumpers into the straps and hung the tank. You need to be sure the tank sits back in the mounts far enough so the front of the tank does not rub on the trasnfer case skid plate. I slit a 6" piece of 3/4" blue silicon and slipped it onto the skid plate for insurance.
We tightened the mounting bolts for the rear and center tank mount straps. We did not need the shims that come with the kit.
We assembled the 2 piece front mount that comes in the kit per the instructions. Again, all went together as described in the instructions. When completely strapped in, the tank is very solid.
Brian sat up under the fender and hooked up the fuel fill and vent tubes. He zip tied the new vacuum vent tube as high as possible in the fender well. This completed the actual tank install.
We pumped the fuel out of the OEM tank, bled the water collector and there was none, primed the engine by turning the key on and off a few times and started her up. Every thing worked perfectly, I filled the tank, no leaks. Done
After all is said and done, this was an easy job. It would be more difficult with out the service pit but doable. I attached some pictures of the install. I am not Epiccowlick but I managed to get them attached.
#3
10-18-2010, 12:25 PM
Senior User
Join Date: Oct 2010
Location: Winfield, WV
Posts: 314
Likes: 0
Received 0 Likes
on
0 Posts
#4
10-18-2010, 01:45 PM
The new tank is 6 inches or so deeper than the OEM tank and a bunch longer. I did not measure this though. Here is my thinking on the skid plate. I bought my truck off the dealership floor. It had the FX$ package on it. It was the only option on the truck that I would NOT place on a truck custom ordered by me. I needed a truck that week. I do not off road the truck. The 4x4 choice is for Michigan wintertime road hazards, not off roading. Seeing that I would not have ordered skid plates to begin with, I did not want to spend another $100 on a skid plate for the new tank. I was choking a little just buying the tank. I guess time will tell if it was the wrong choice. Installing this tank sure makes one wonder why Ford put that ridiculous little 26 gallon tank on the truck to begin with.
Regards
Regards
#5
10-18-2010, 02:18 PM
Post Fiend
Join Date: Apr 2004
Location: North of Salt Lake City
Posts: 5,159
Likes: 0
Received 26 Likes
on
24 Posts
The new tank is 6 inches or so deeper than the OEM tank and a bunch longer. I did not measure this though. Here is my thinking on the skid plate. I bought my truck off the dealership floor. It had the FX$ package on it. It was the only option on the truck that I would NOT place on a truck custom ordered by me. I needed a truck that week. I do not off road the truck. The 4x4 choice is for Michigan wintertime road hazards, not off roading. Seeing that I would not have ordered skid plates to begin with, I did not want to spend another $100 on a skid plate for the new tank. I was choking a little just buying the tank. I guess time will tell if it was the wrong choice. Installing this tank sure makes one wonder why Ford put that ridiculous little 26 gallon tank on the truck to begin with.
Regards
Regards
Come to think of it, you could probably have one fabricated pretty easily. If you know anyone with a shear and a brake, it would be about $25 worth of 1/8th steel. Of course you can't factor in the value of your time to make it.

#7
10-18-2010, 05:12 PM
Rick, thank you for the info, procedure and photos! Great job. I assume this same tank system will working on a 2011 F250 as well. I would love to have the extra fuel capacity when towing my 5th wheel camper.
I assume this won't affect the truck warranty, right? (I have never done mods to one of my trucks before....)
-Chris
I assume this won't affect the truck warranty, right? (I have never done mods to one of my trucks before....)
-Chris
Trending Topics

#10
10-18-2010, 07:48 PM
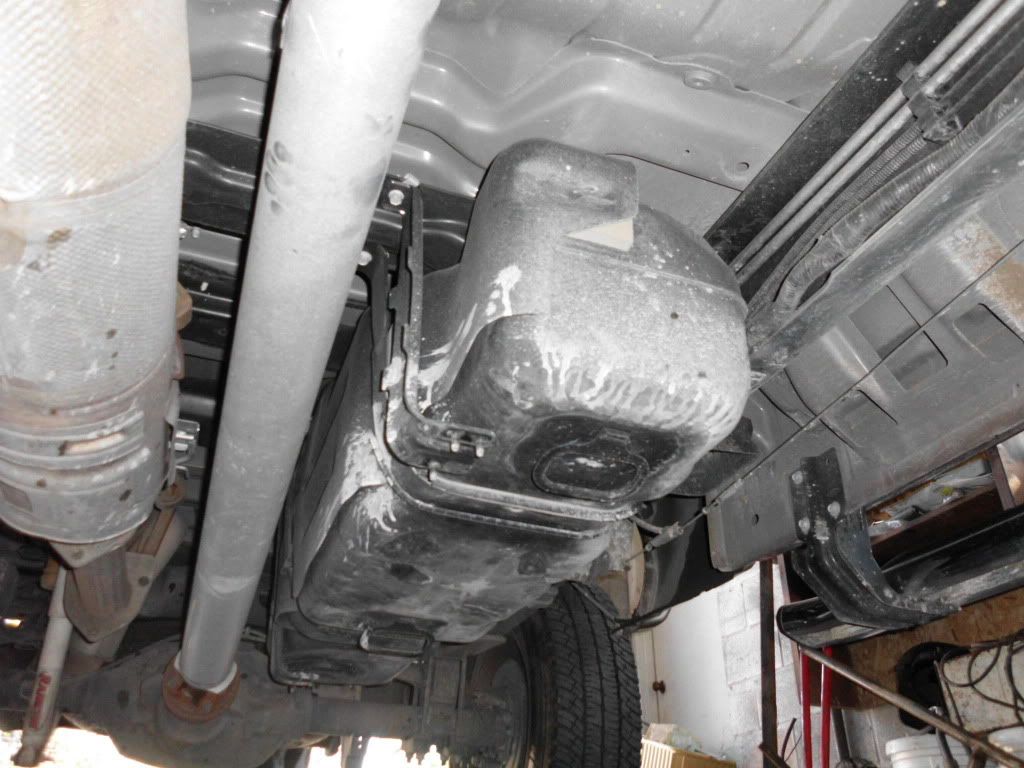
Having never seen one of these in person, I have often wondered how they work. I am assuming that the fuel pickup/sending unit is positioned such that it still sits in the same position relative to the bottom of the tank. I can't really tell by the pictures, but have they formed the lower sump to approximately the same capacity as the OEM tank?
I've never heard anybody report on the accuracy of the gauge and MTE reading after installing one of these. It will be interesting to follow how this works out for you.
I've never heard anybody report on the accuracy of the gauge and MTE reading after installing one of these. It will be interesting to follow how this works out for you.
#11
10-18-2010, 07:53 PM

#12
10-18-2010, 08:14 PM
...and you would be correct. The gauge reads 1/4 at 1/4 and full when I filled it up. The sump is definitely deeper. Titan told me when the low fuel light will come on with about 2 more gallons left in the tank than when stock. MTE is out until someone figures a way to reprogram the computer. I have 50 gallons of fuel right now and MTE shows 392 miles. I am towing about 350 miles this weekend. I am eager to see how it works out. It will be nice to not have to fuel up every 250 miles.
#14
10-18-2010, 11:50 PM

I thought all crew cabs were supposed to have the 36 gallon tank....weird.
Edit:
Nevermind...Ford seems to have it's spec sheet all messed up on it's spec sheet page regarding the Crew Cabs
2011 Ford Super Duty | View All Ford Super Duty Specifications | FordVehicles.com
Crew cab short beds are apparently 156.2" wheelbase, while the Long Bed SuperCab is 158" ..I think..but the specs say 36 gallons on the crew cab, even though it's does not have 156" wheel base.
36 gals only on 158" and 172" wheelbases...
All messed up...
Last edited by Powerdude; 10-18-2010 at 11:56 PM. Reason: New Info


